Guest post written by Alan Epstein aka Big Al aka Al Doggy Dogg aka The Rainmaker
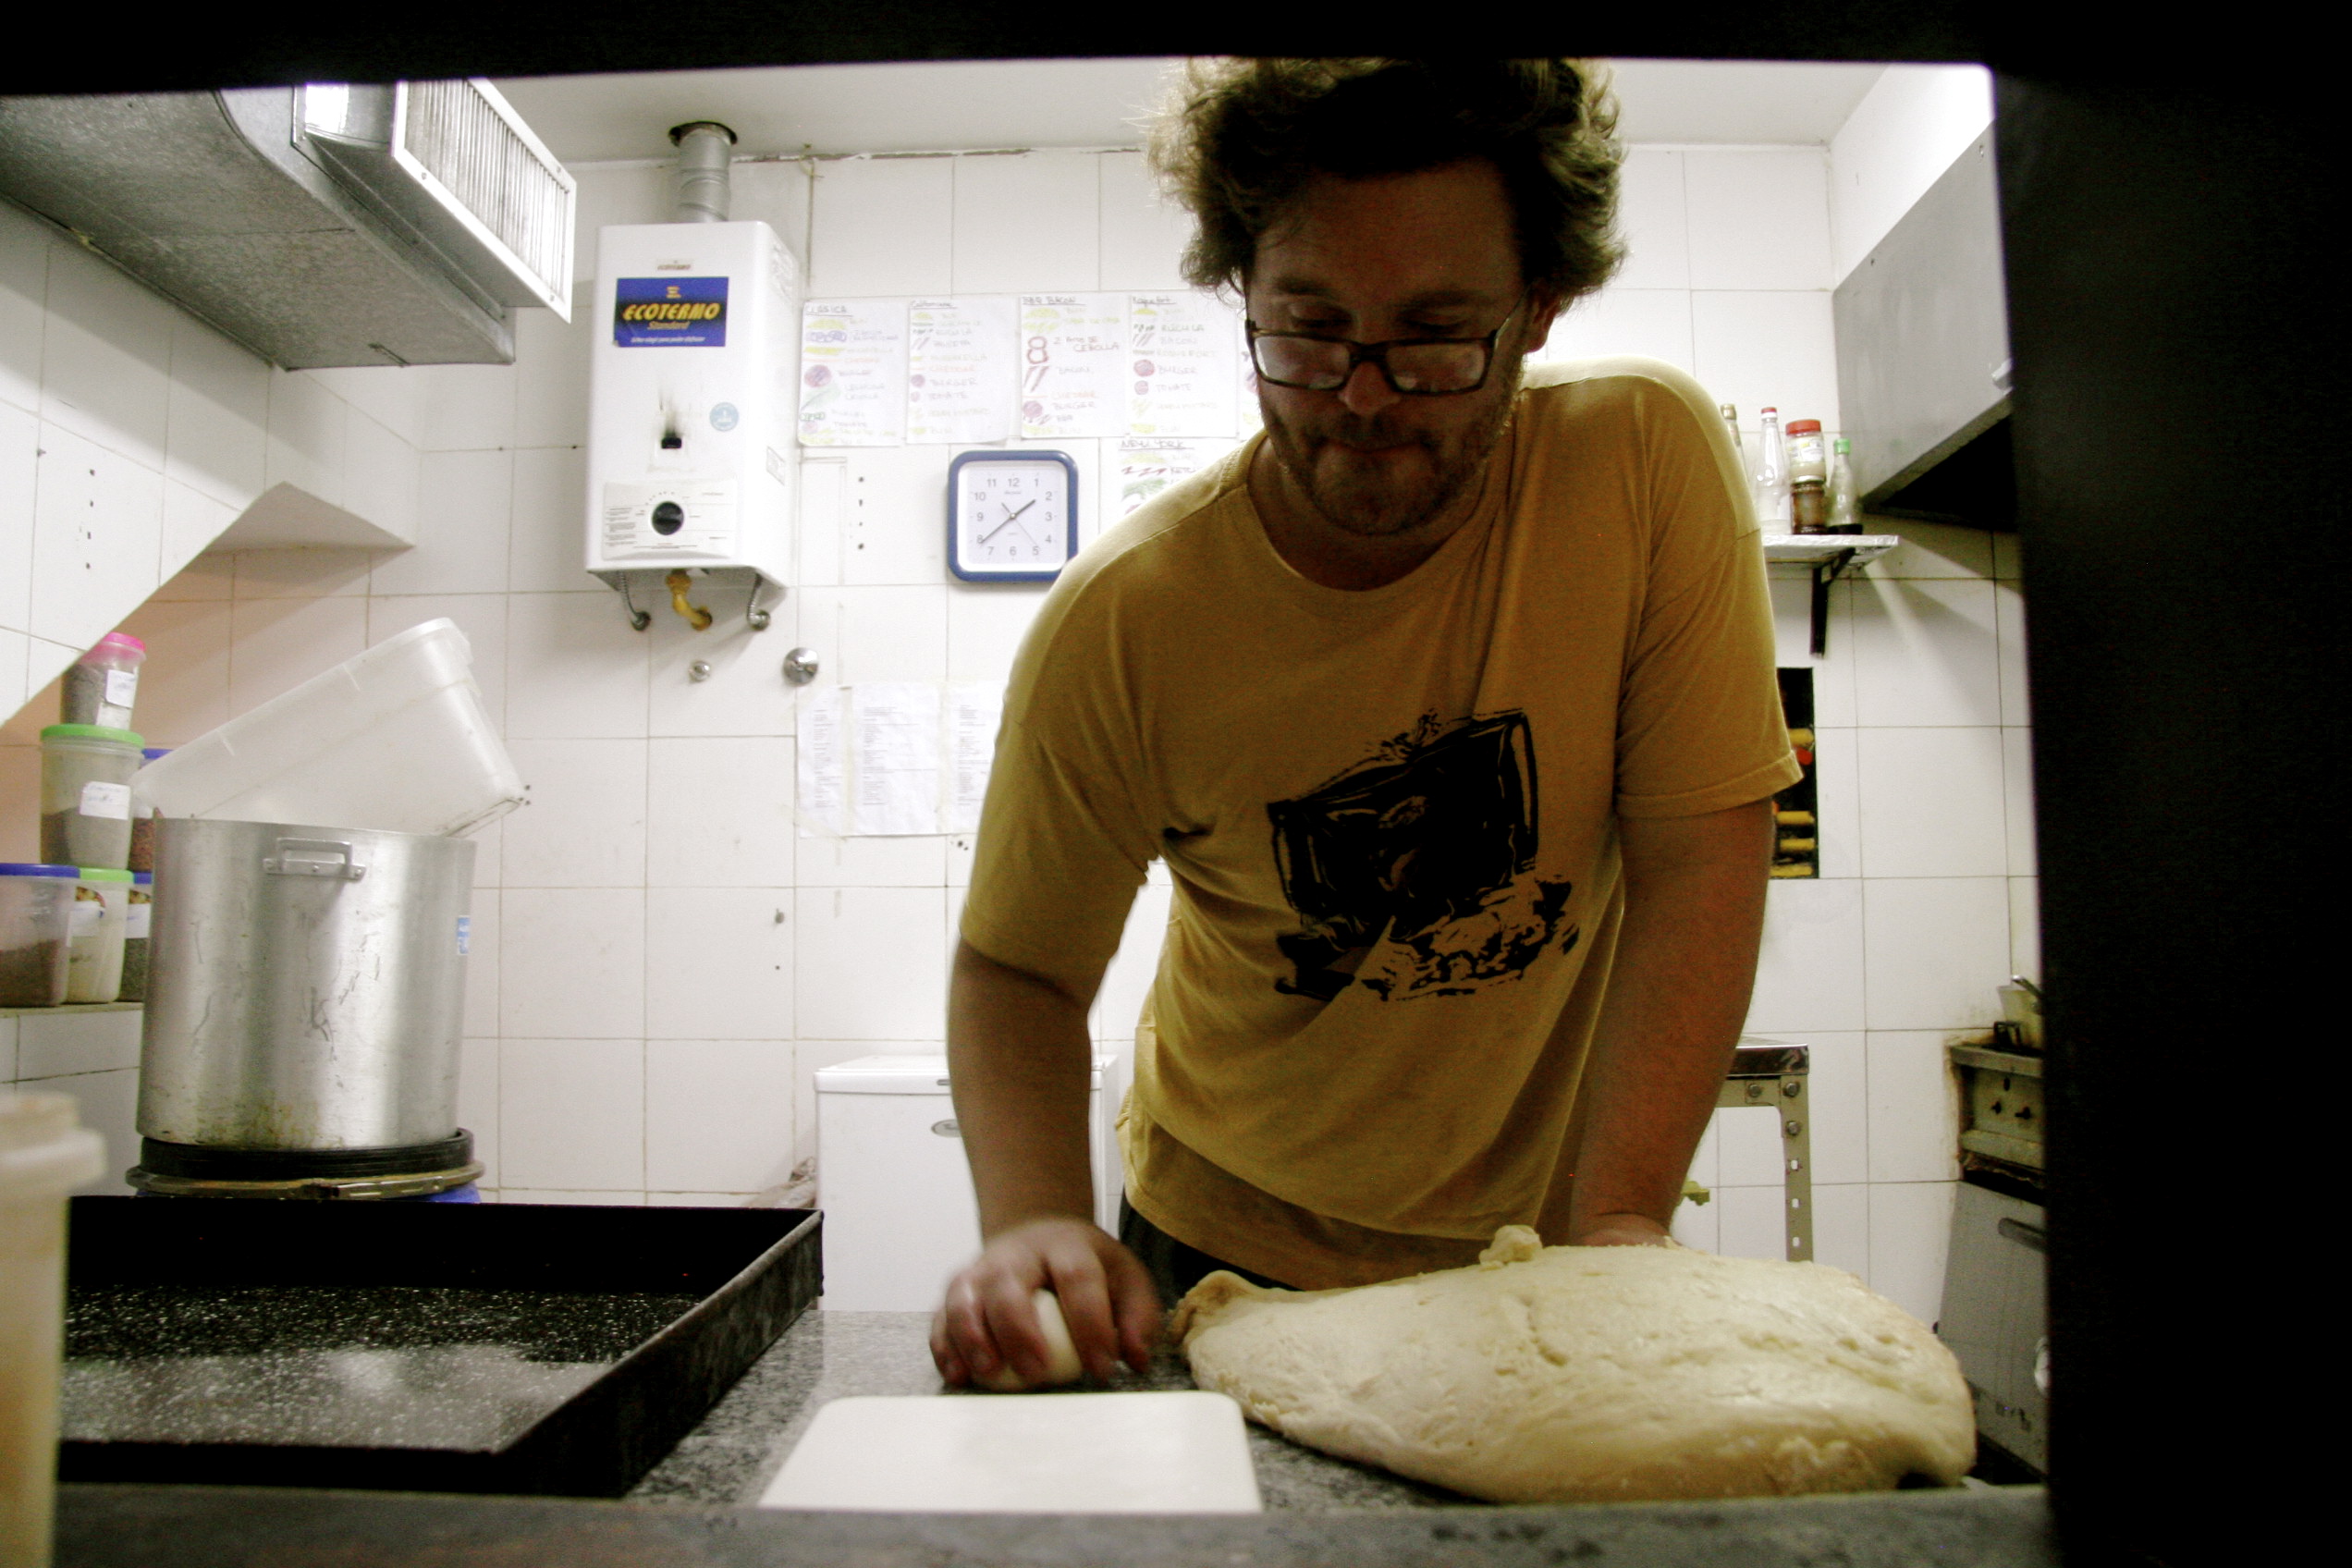
“My anaconda don’t want none unless you got buns hun.” – Sir Mix-A-Lot
I’ve always been impressed by Sir Mix-A-Lot’s sage-like wisdom on the importance of being selective about the buns in which you serve your meat.
I’m gonna break it down in baby steps like Bob Wiley so you too can make fly brioche burger buns for your next BBQ party.
It’s simple:
Step 1: GET ALL THE SHIT YOU NEED
Restaurant people will call this Mise en Place, which is really just French talk for having all your shit ready. This is the size of the batch I used to do at THE OFFICE. Much more than this isn’t manageable by hand and we didn’t have one of those fancy bread kneading machines, I’ll assume you don’t either.
This makes 30 buns. I took and modified the recipe from Smitten Kitchen who found it in the New York Times who adapted it from the Comme Ça restaurant in LA.
11 cups AP Flour (000)
4 1/2 cups Cake Flour (0000)
200 grams butter
2 tablespoons
salt
38 grams yeast
10 tablespoons sugar
1 cup milk
4 cups pretty hot water
4 eggs
1 big ass tupperware
1 fairly large bowl
1 fork or whisk
1 rubber spatula
1 pastry brush a little bit of vegetable oil
1 egg for painting the tops

STEP 2: ACTIVATE THE YEAST
In one big ass bowl put 1 cup of milk, the yeast, the sugar and the water. The water should be somewhere in between the temperature of a hot shower and a jacuzzi, hot but not enough to burn you (120-130F).
While you are waiting on that, put all the flour, butter and salt in the tupperware container and mix the butter and salt in with your hands.
Then break four eggs, dump them in another bowl and beat it.
Now the yeast should be activated or almost activated, when you see that its frothy on top like a cappuccino, you’re good.
STEP 3: MIX THAT SHIT
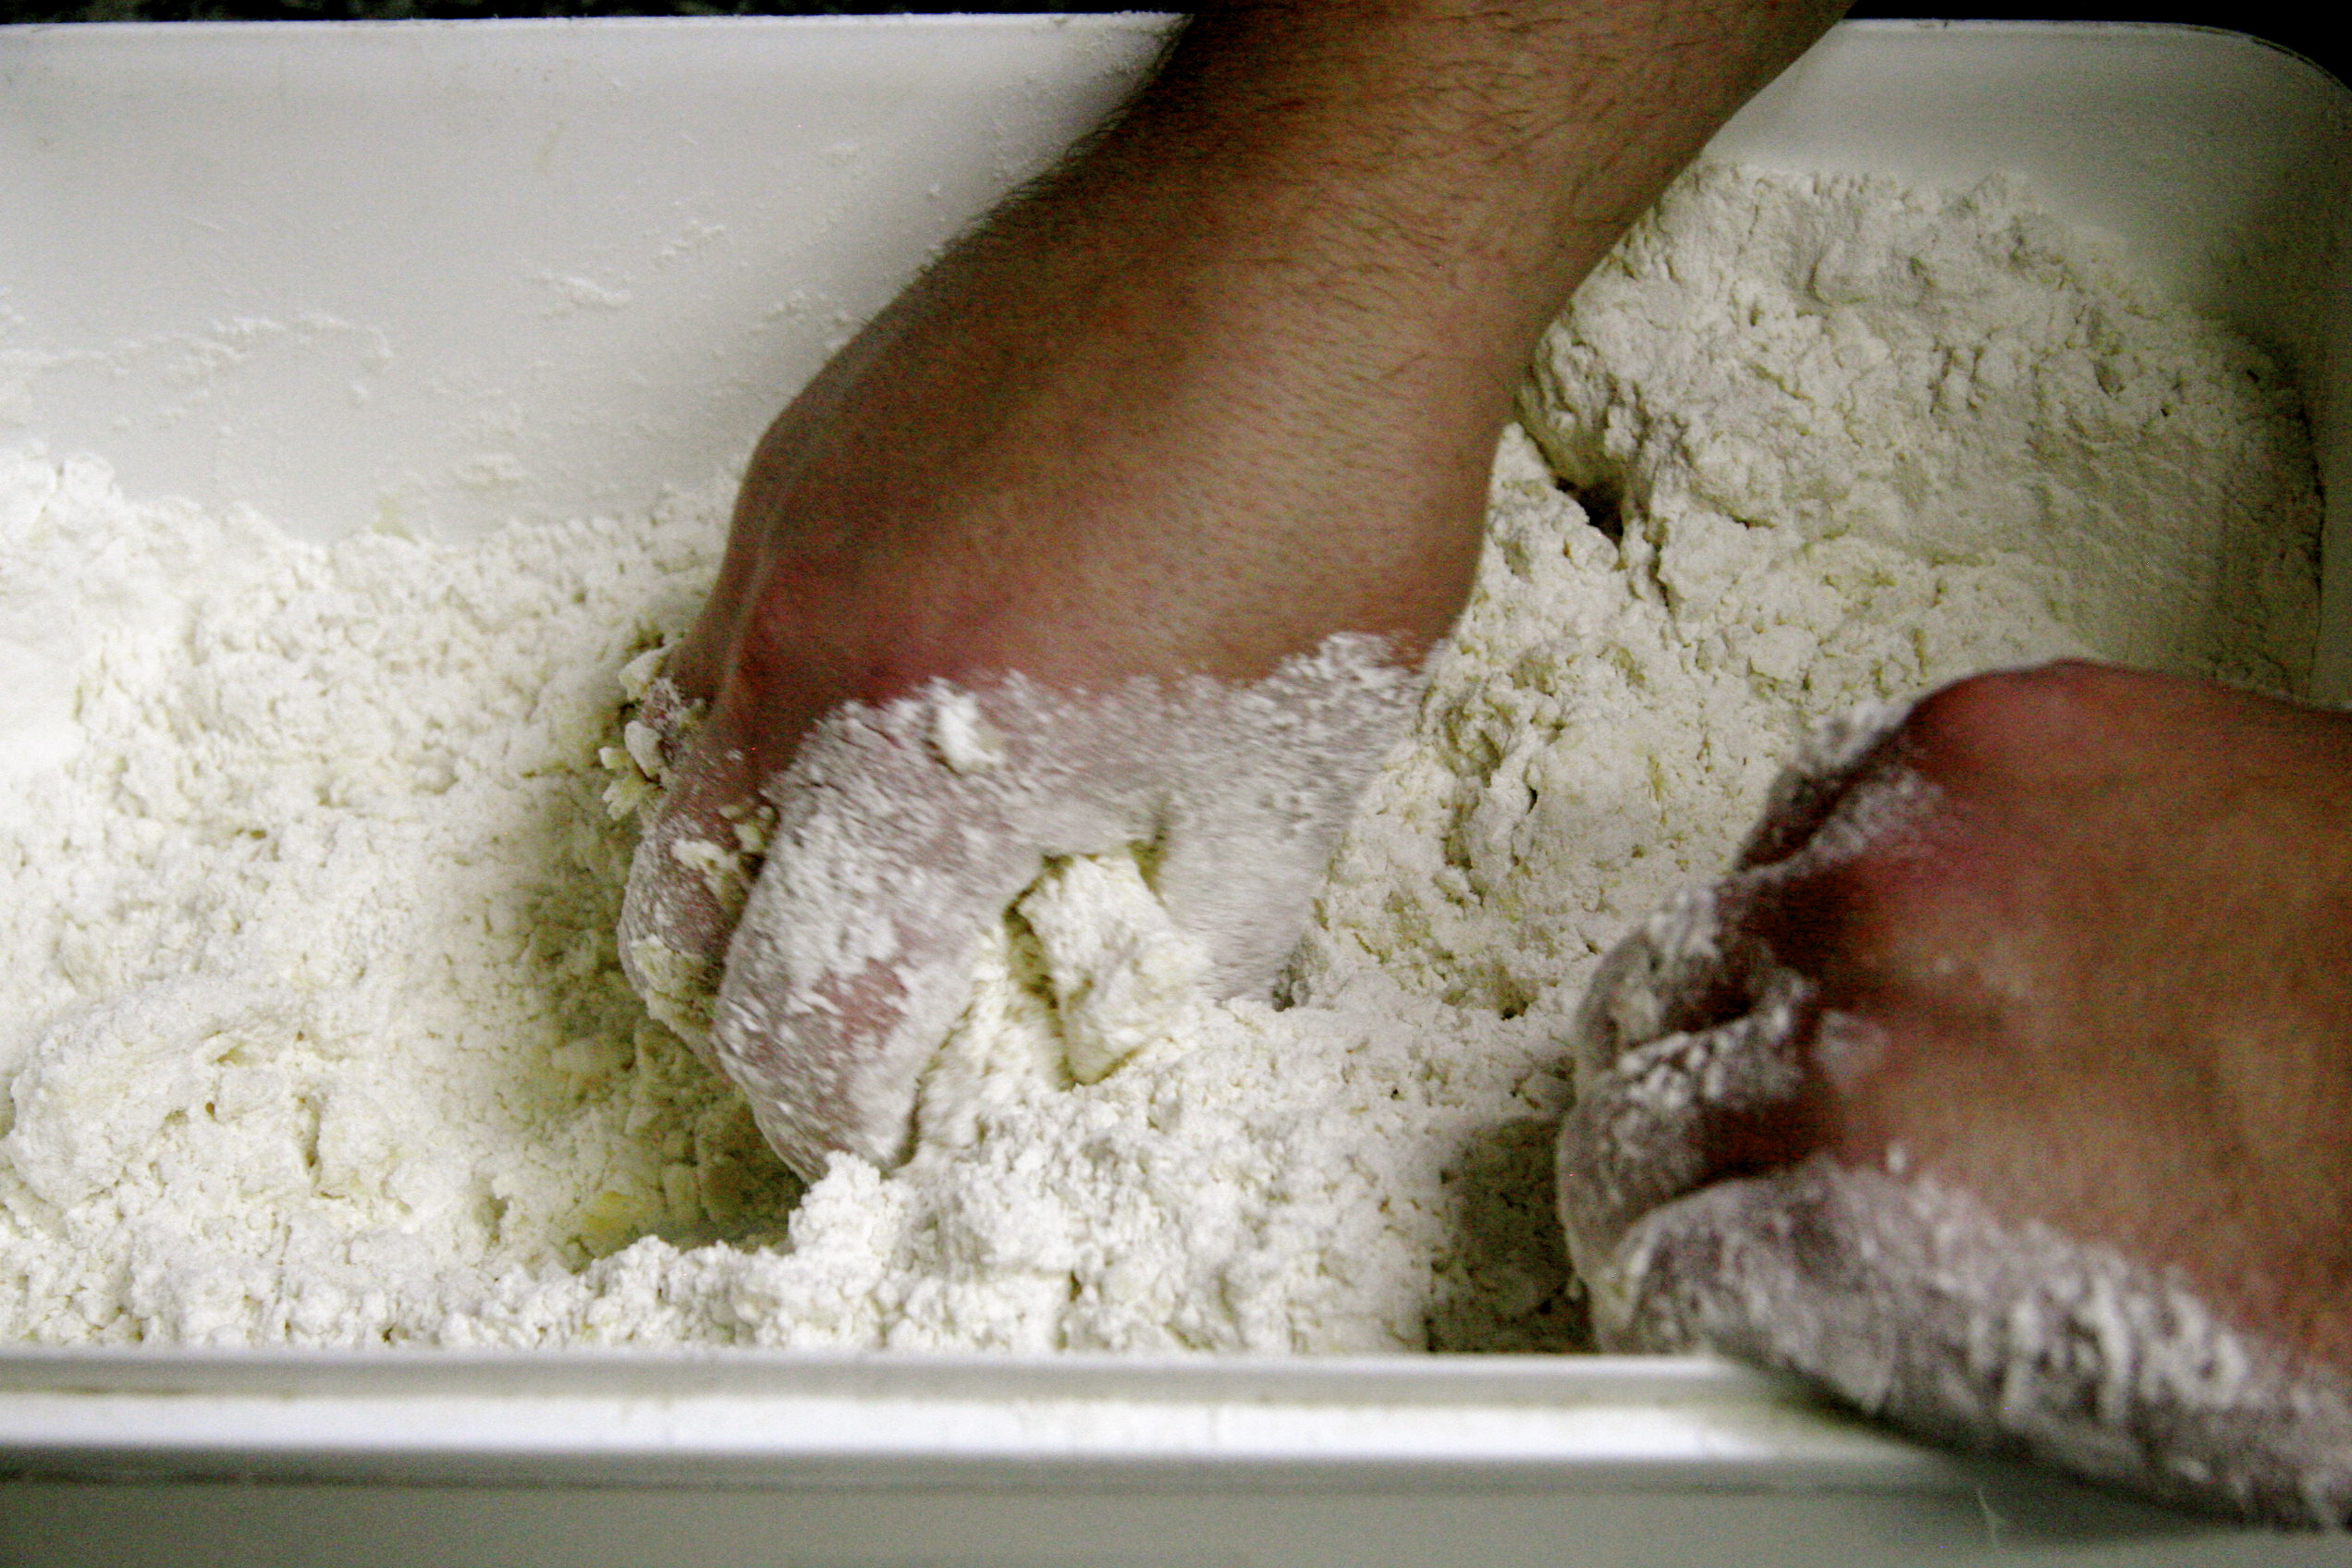
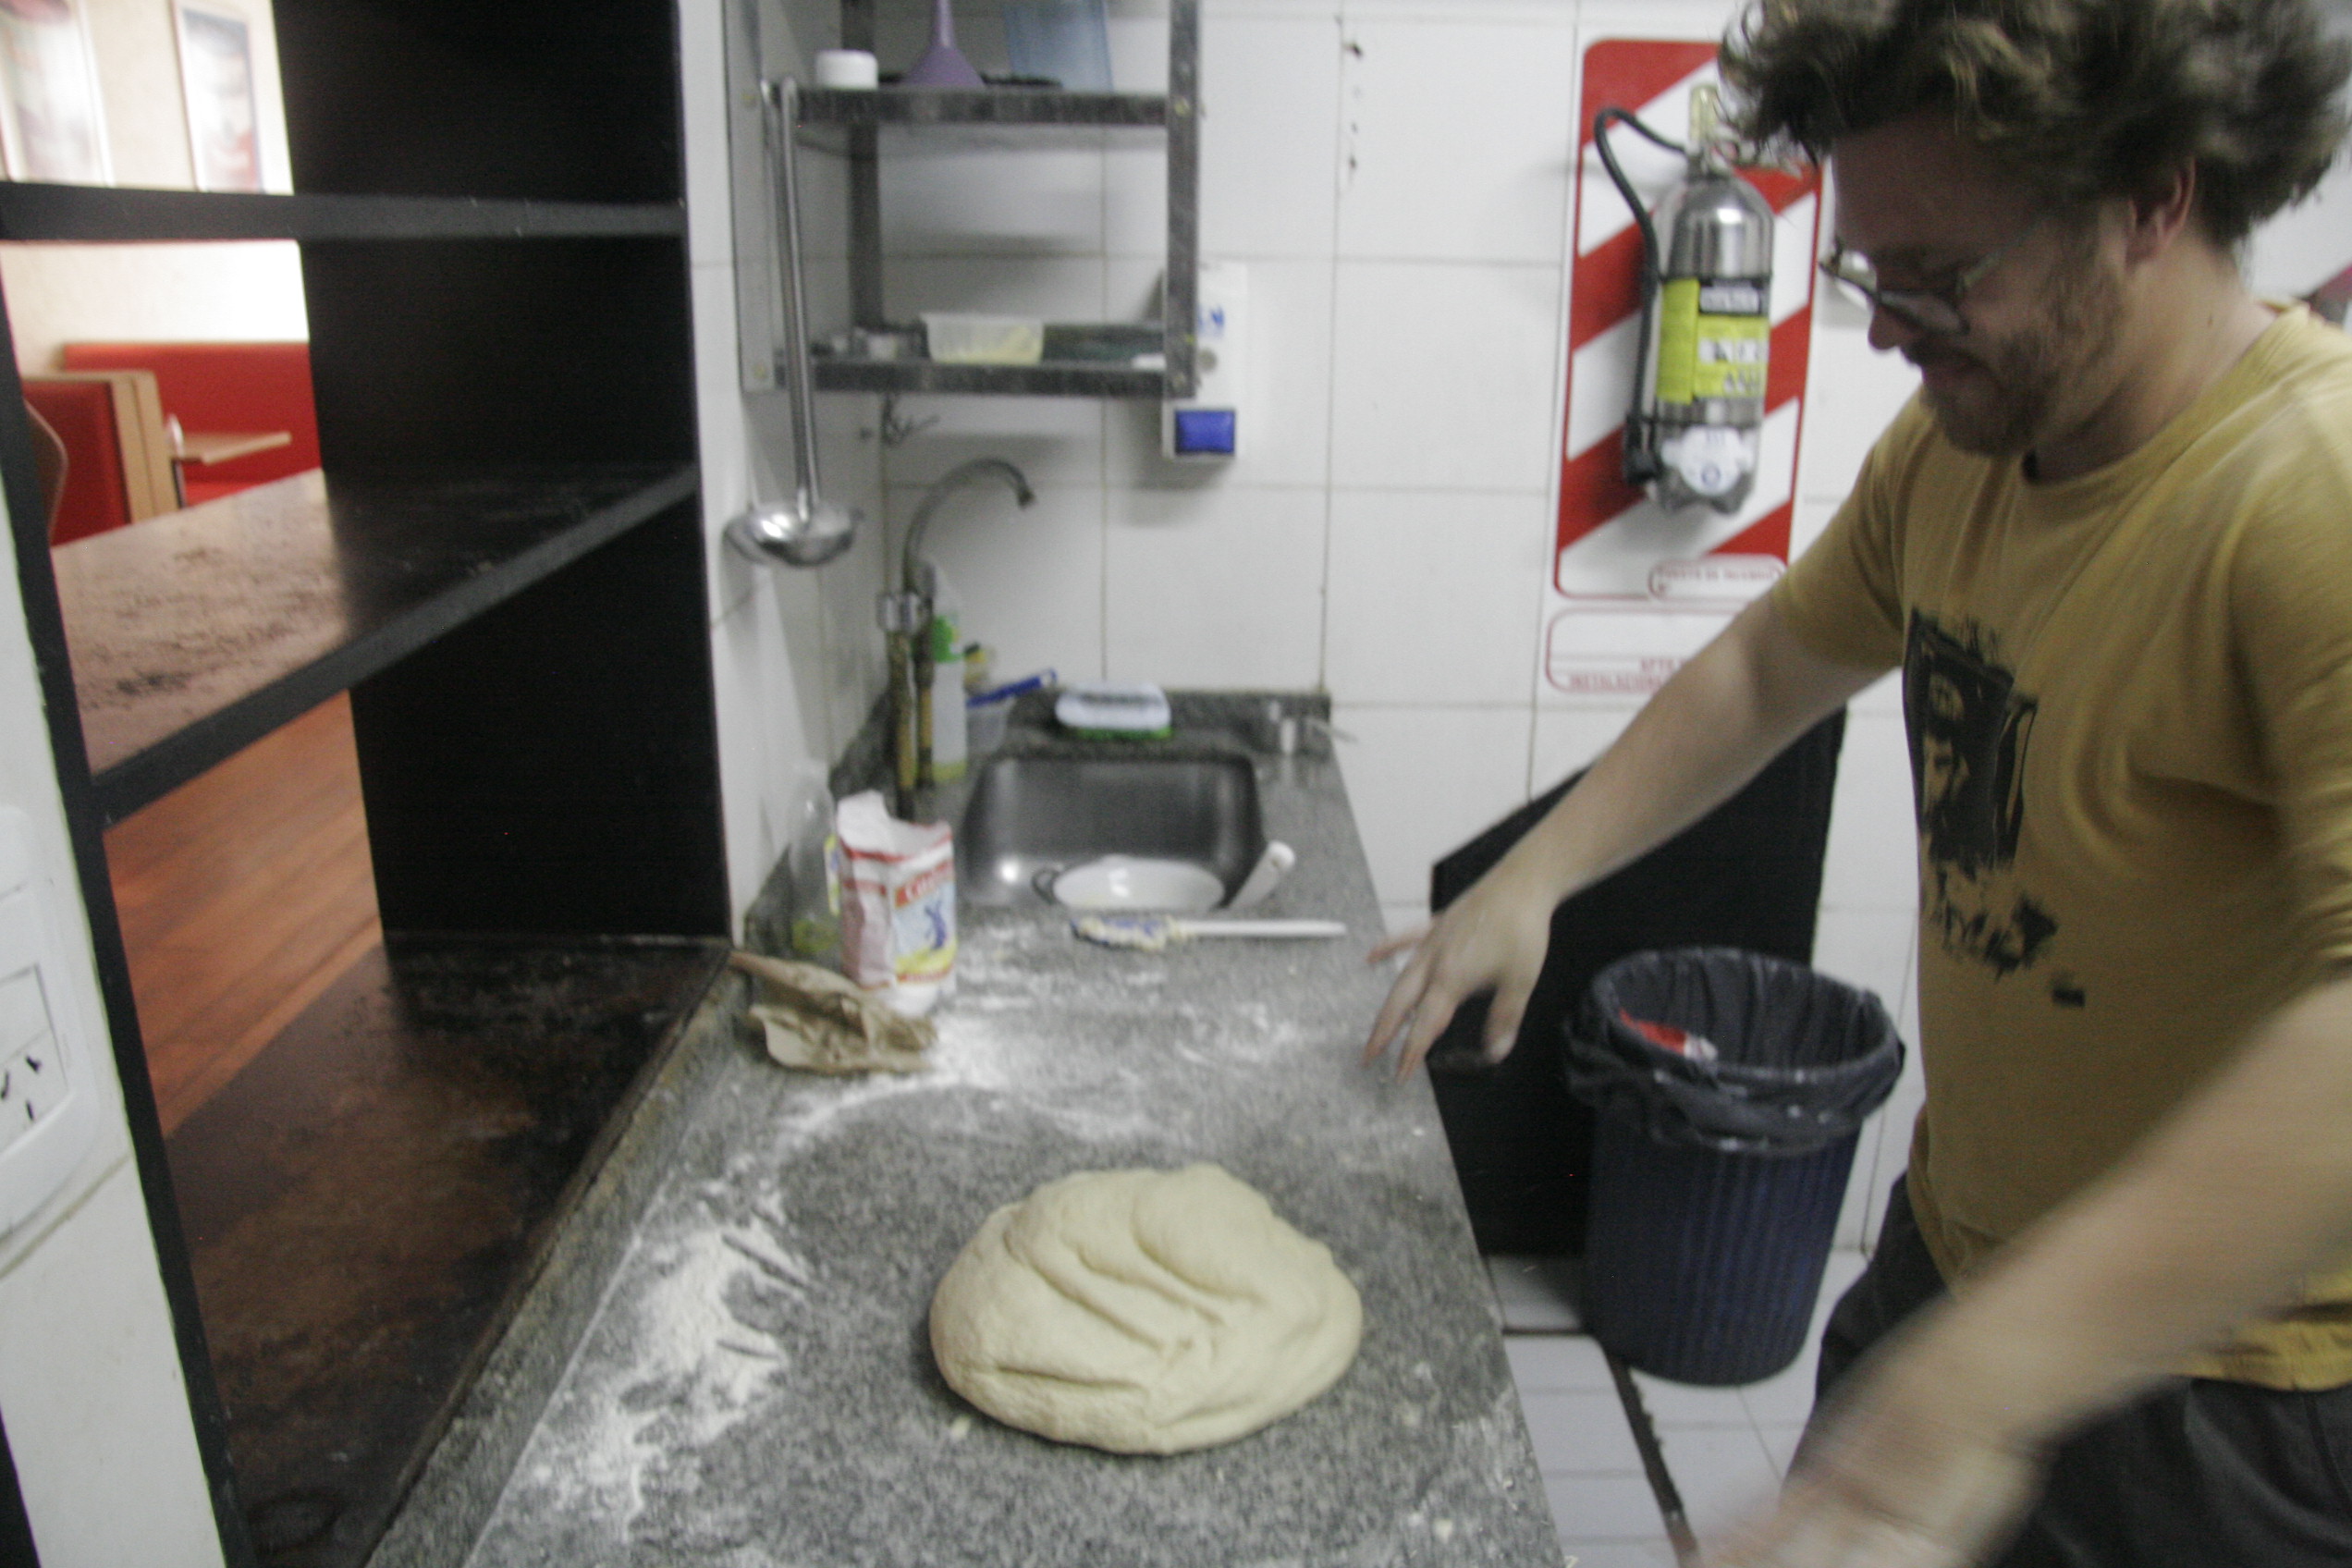
Pour everything from the other two bowls into the tupperware container with the flour mixture. I like to mix it up with a spatula at first because if you stick your hands directly in there it will be all sticky and you won’t be able to get it off your hands forever. Stir it up with the spatula until is basically all incorporated, then throw some more AP flour down on your countertop and dump your mixture right on top of that. Then sprinkle it with a little more AP flour.
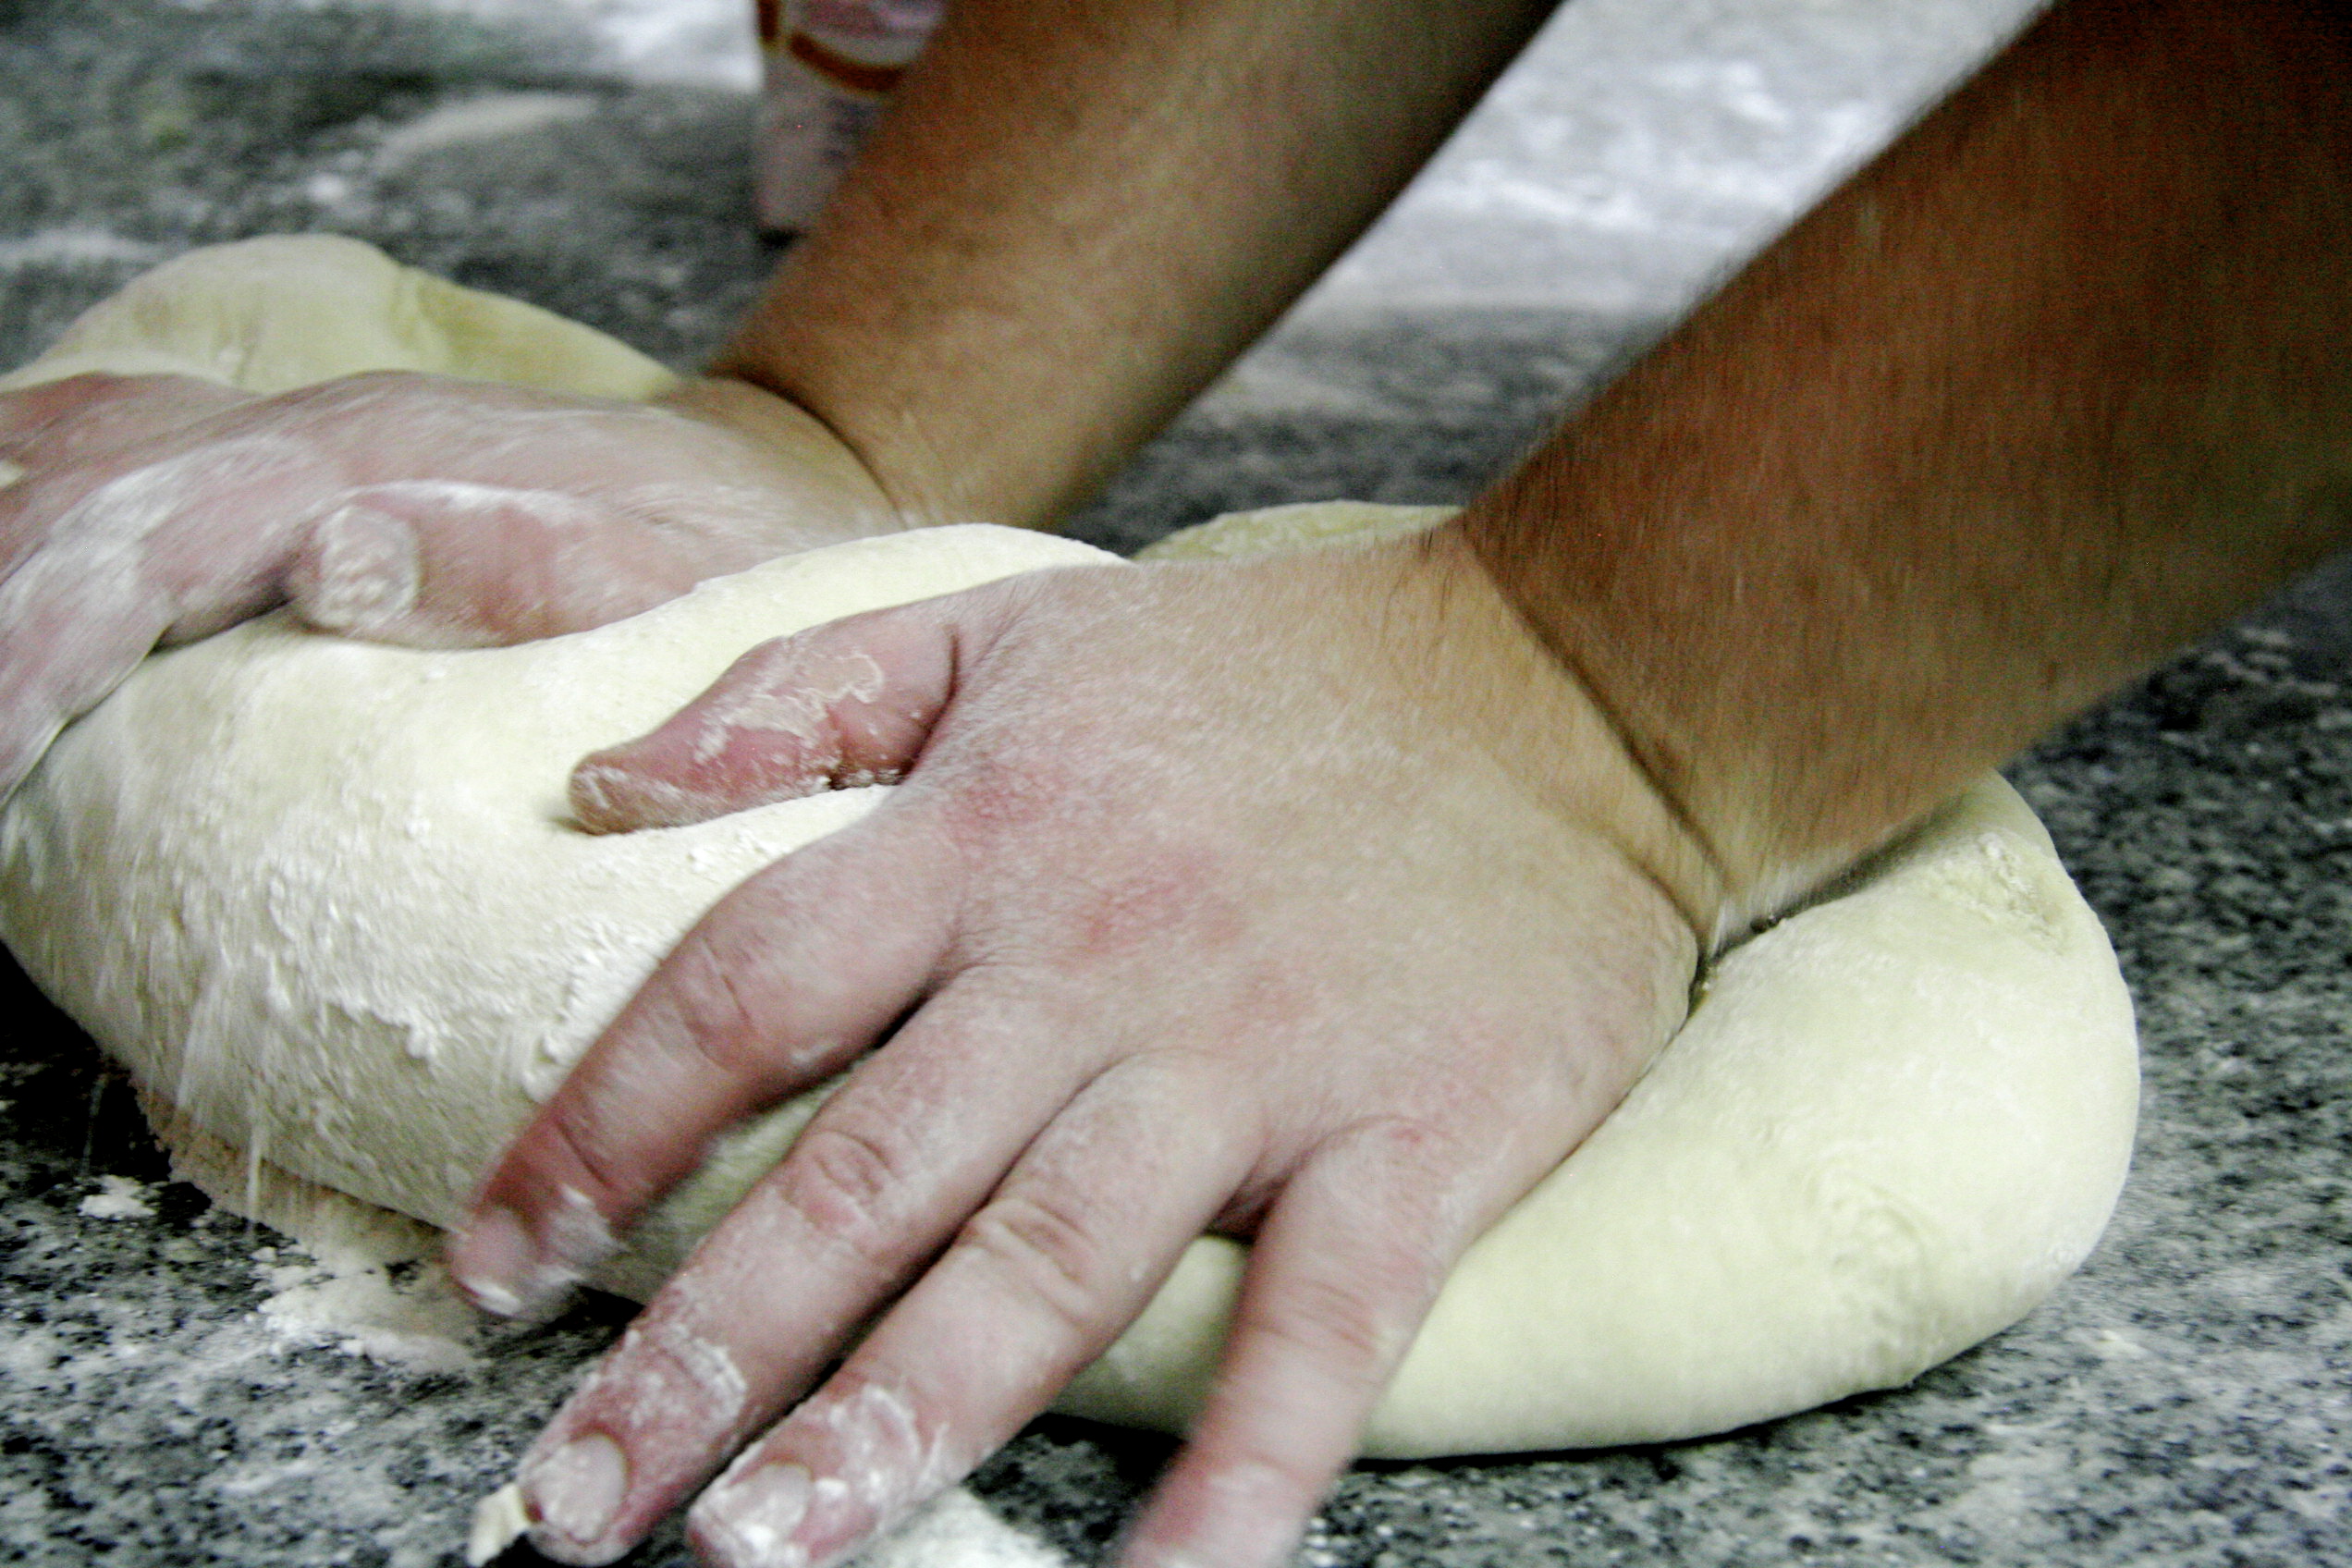
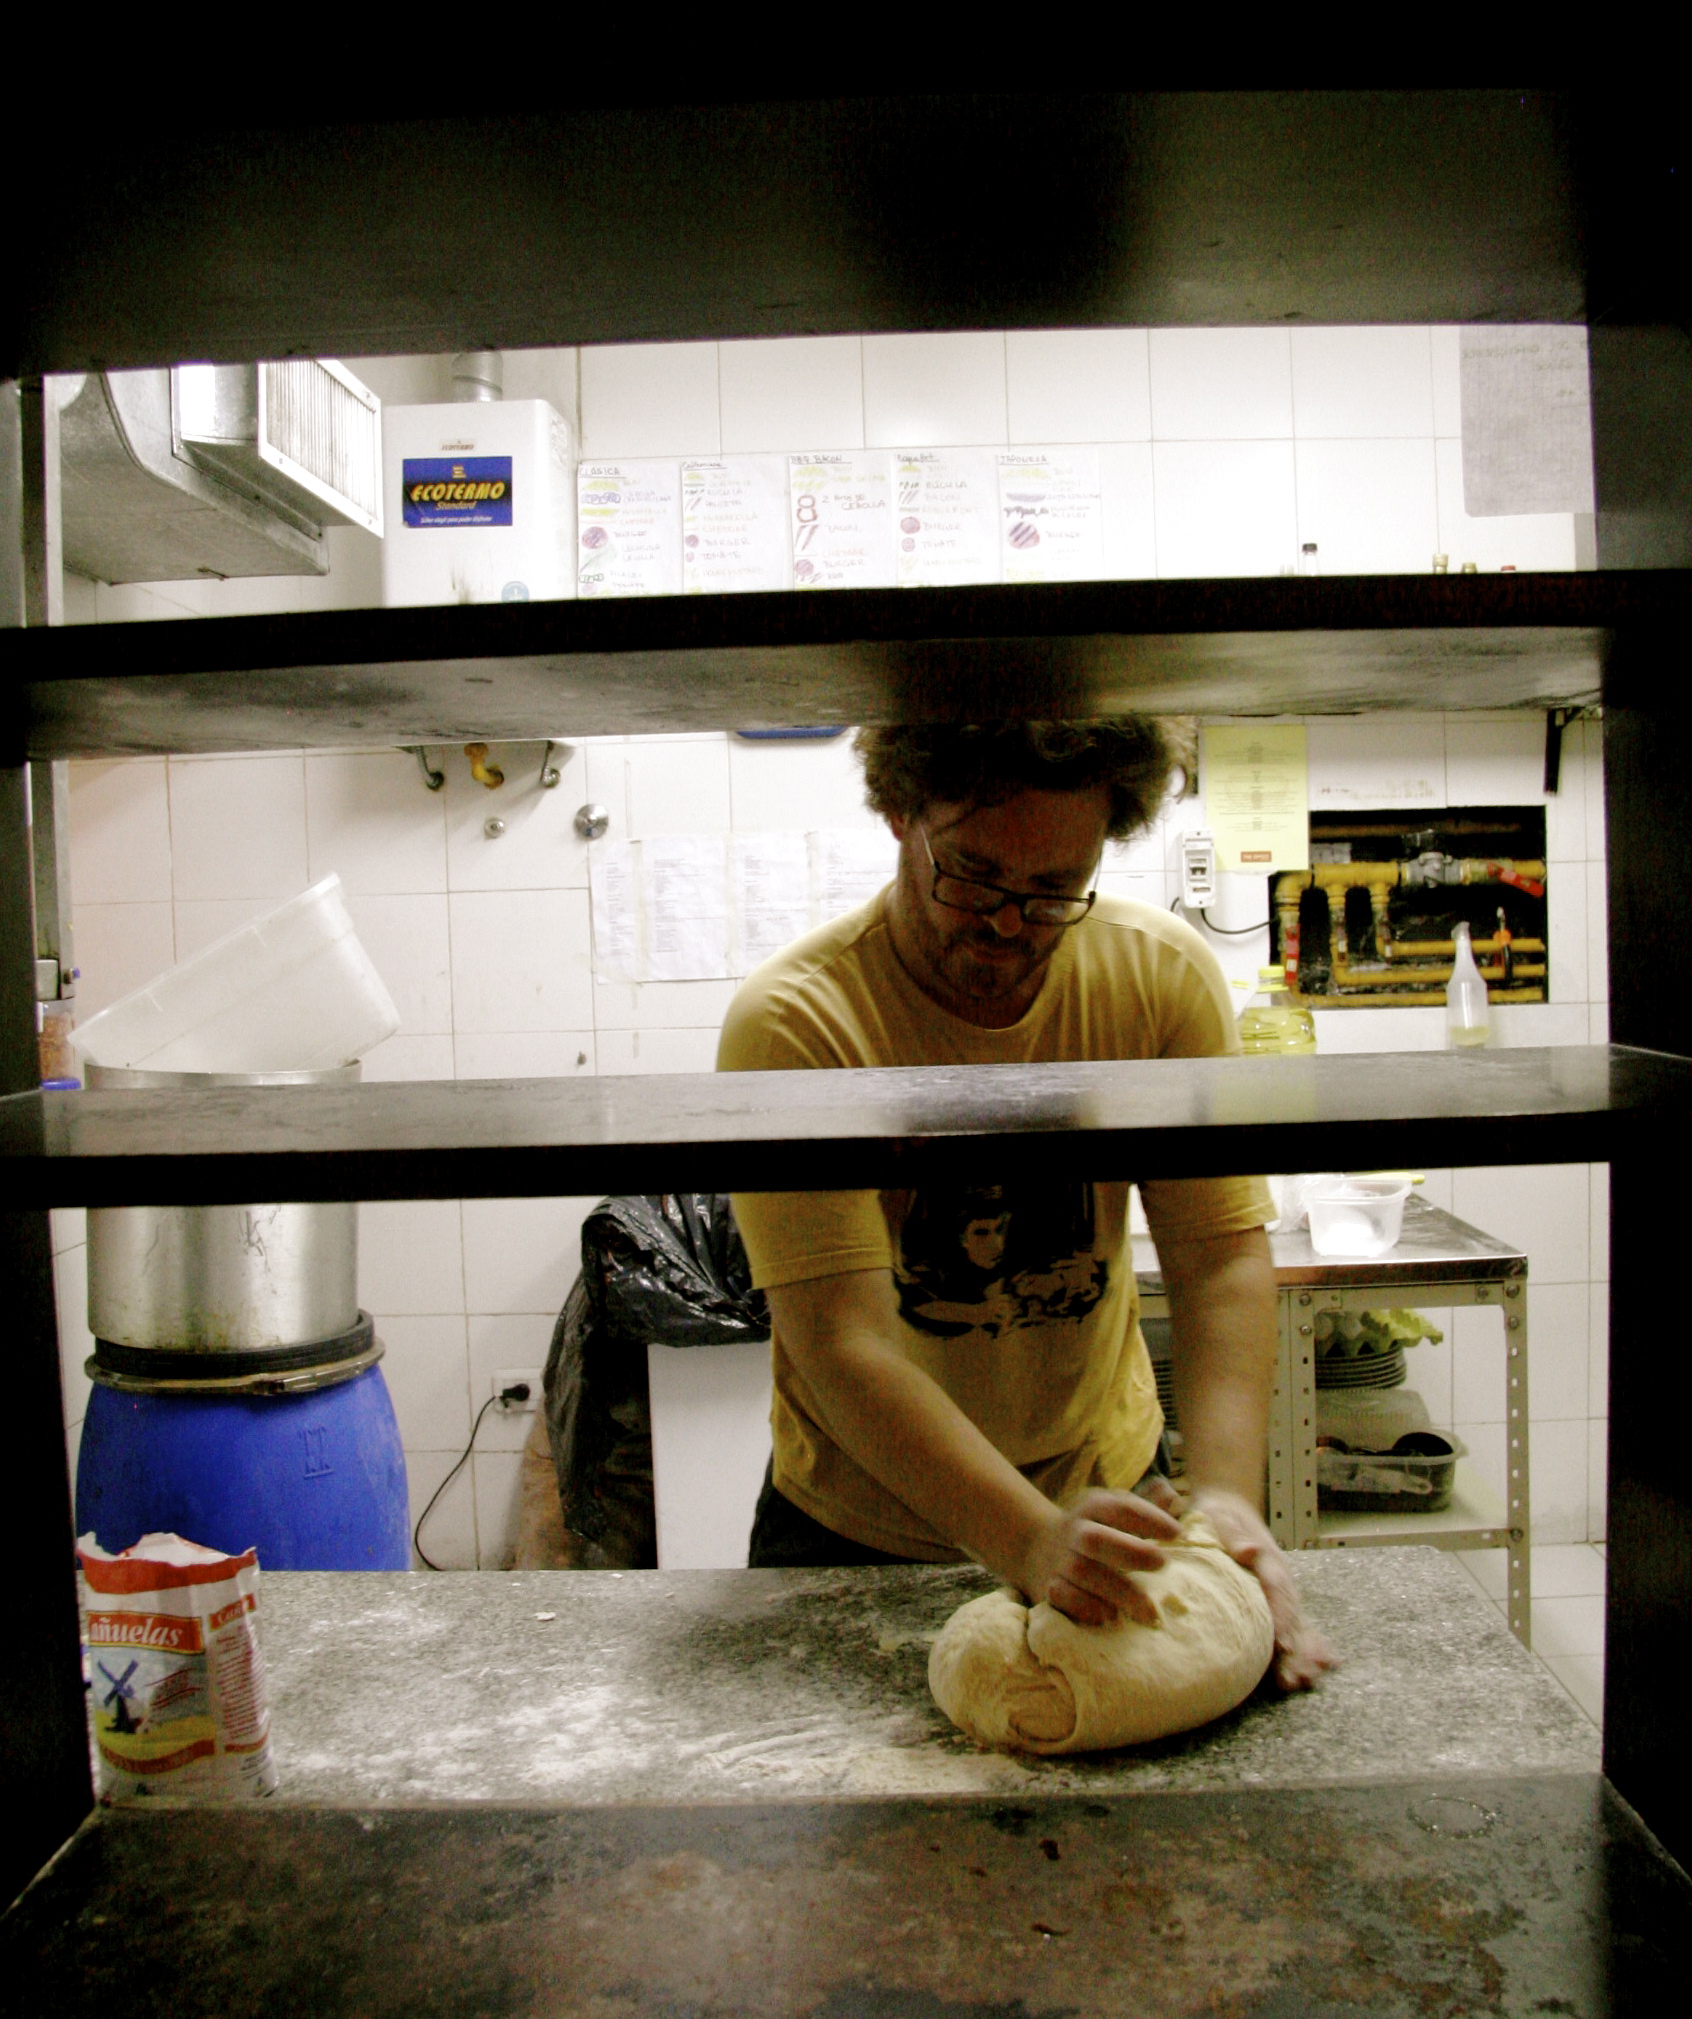
Dump your hands in the flour too, this will stop the mixture from sticking to your hands. Start kneading the dough.
PUSH TURN FOLD
Fold the dough in half; push down hard against it with your hands, away from the body. As you pull back, give the dough a quarter of a turn. Fold it. Push. Repeat the sequence — push-turn-fold.
One must realize that the kneading process is like an important battle in which it is imperative to pummel your opponent (the dough) into submission (in this case submission comes in the form of gluten making an elastic network to trap the carbon dioxide produced by the yeast).*
You might think the dough is sweet and elegant and should be gently caressed, but it really wants it rough so its inner gluten* can activate and it can rise to its full potential. Here are some techniques:
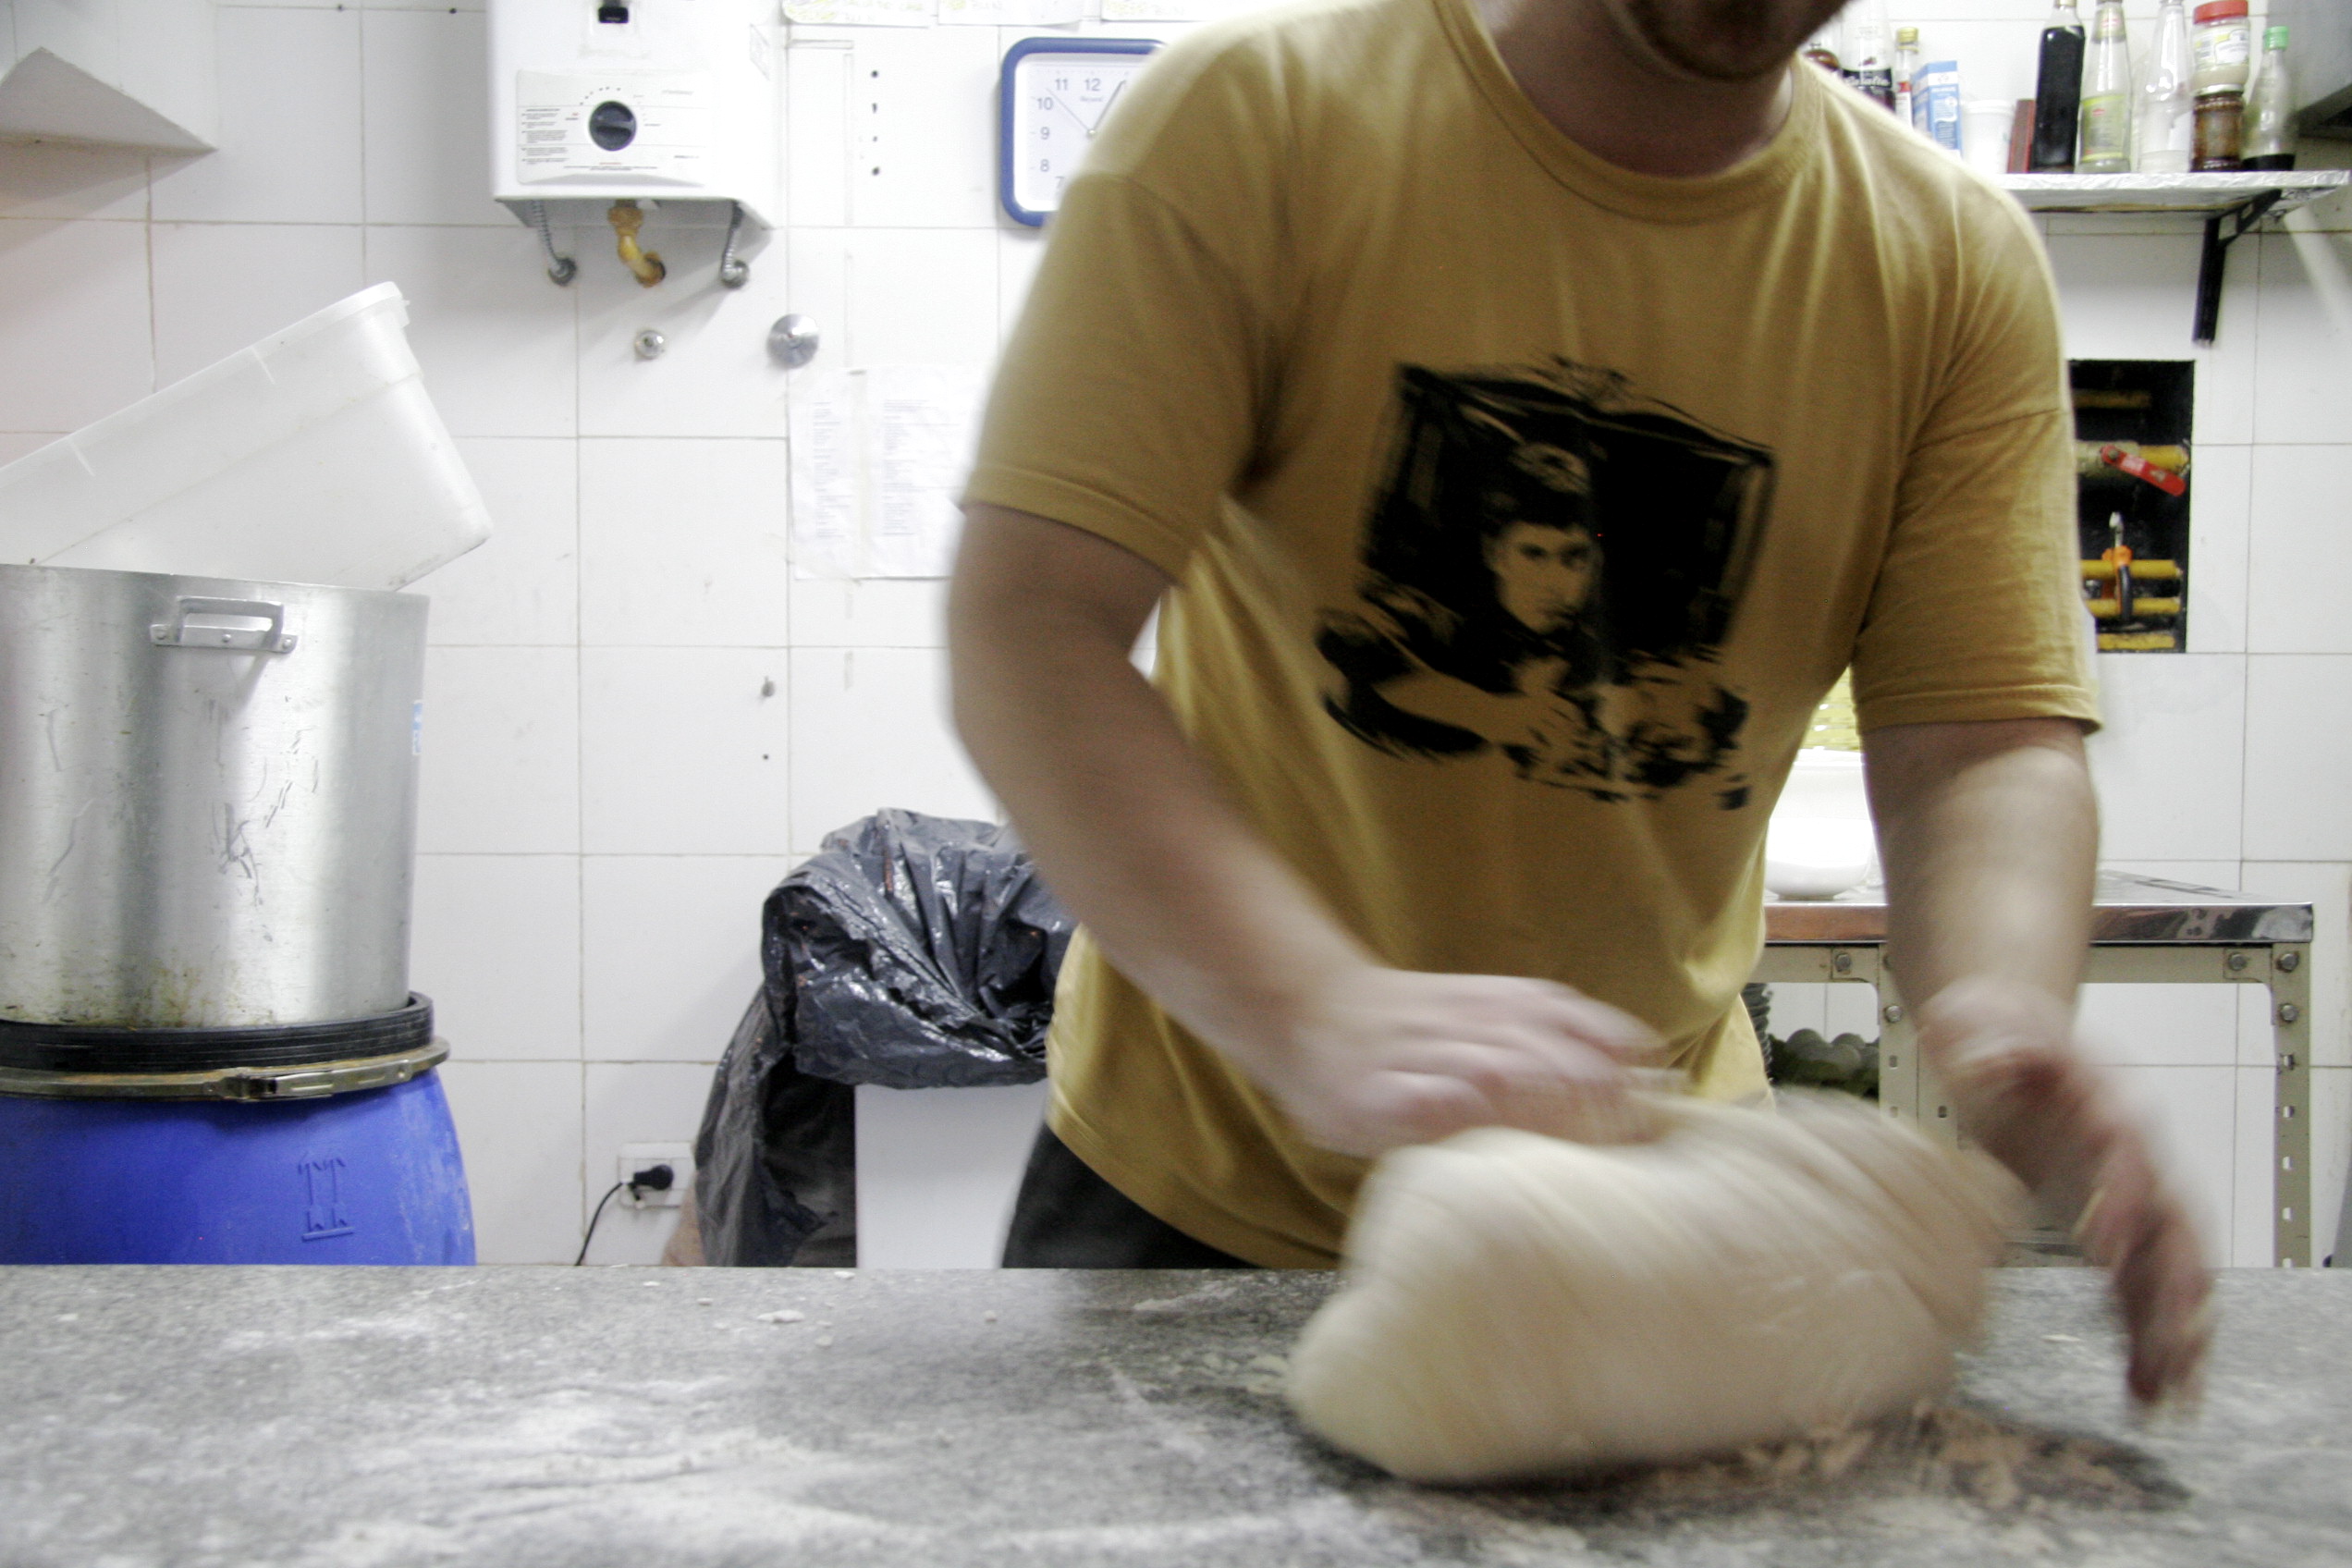
There is the PUSH PUSH TWIST which goes a little something like this. 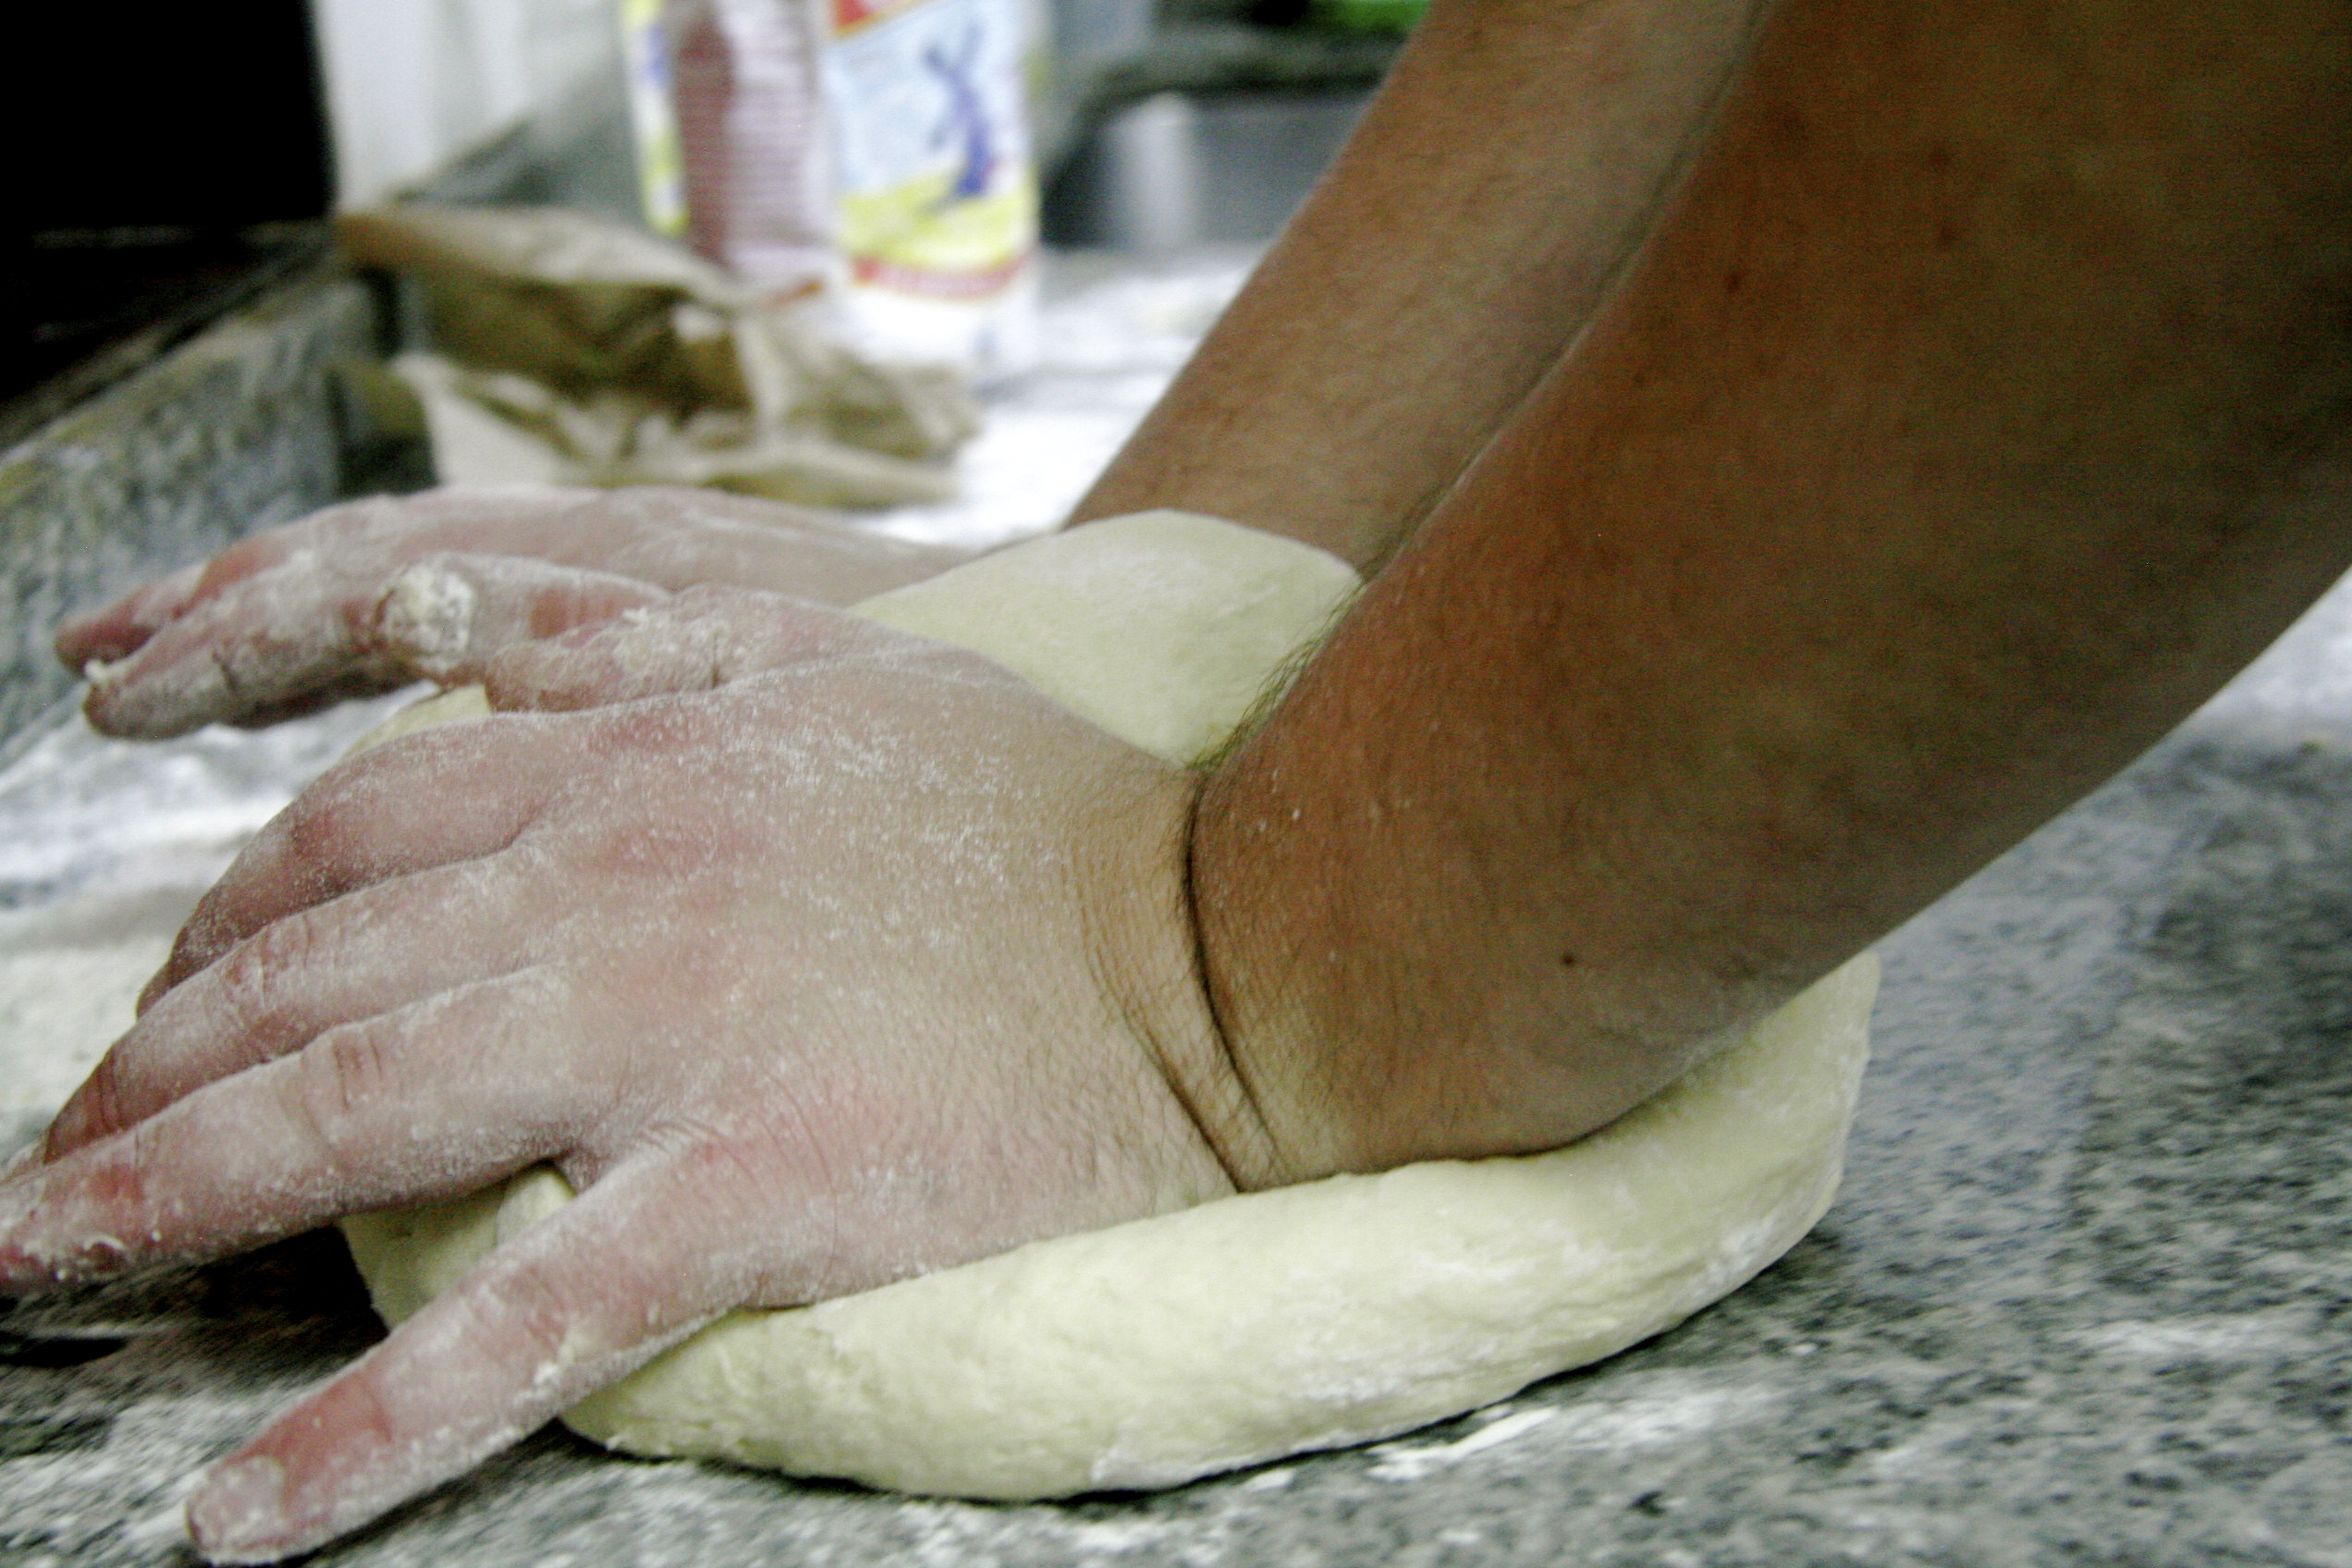
THE E HONDA HUNDRED HAND SLAP
While you may not be a Japanese sumo wrestler, surely you can appreciate multiple rapid-fire stiff arms to your opponent.
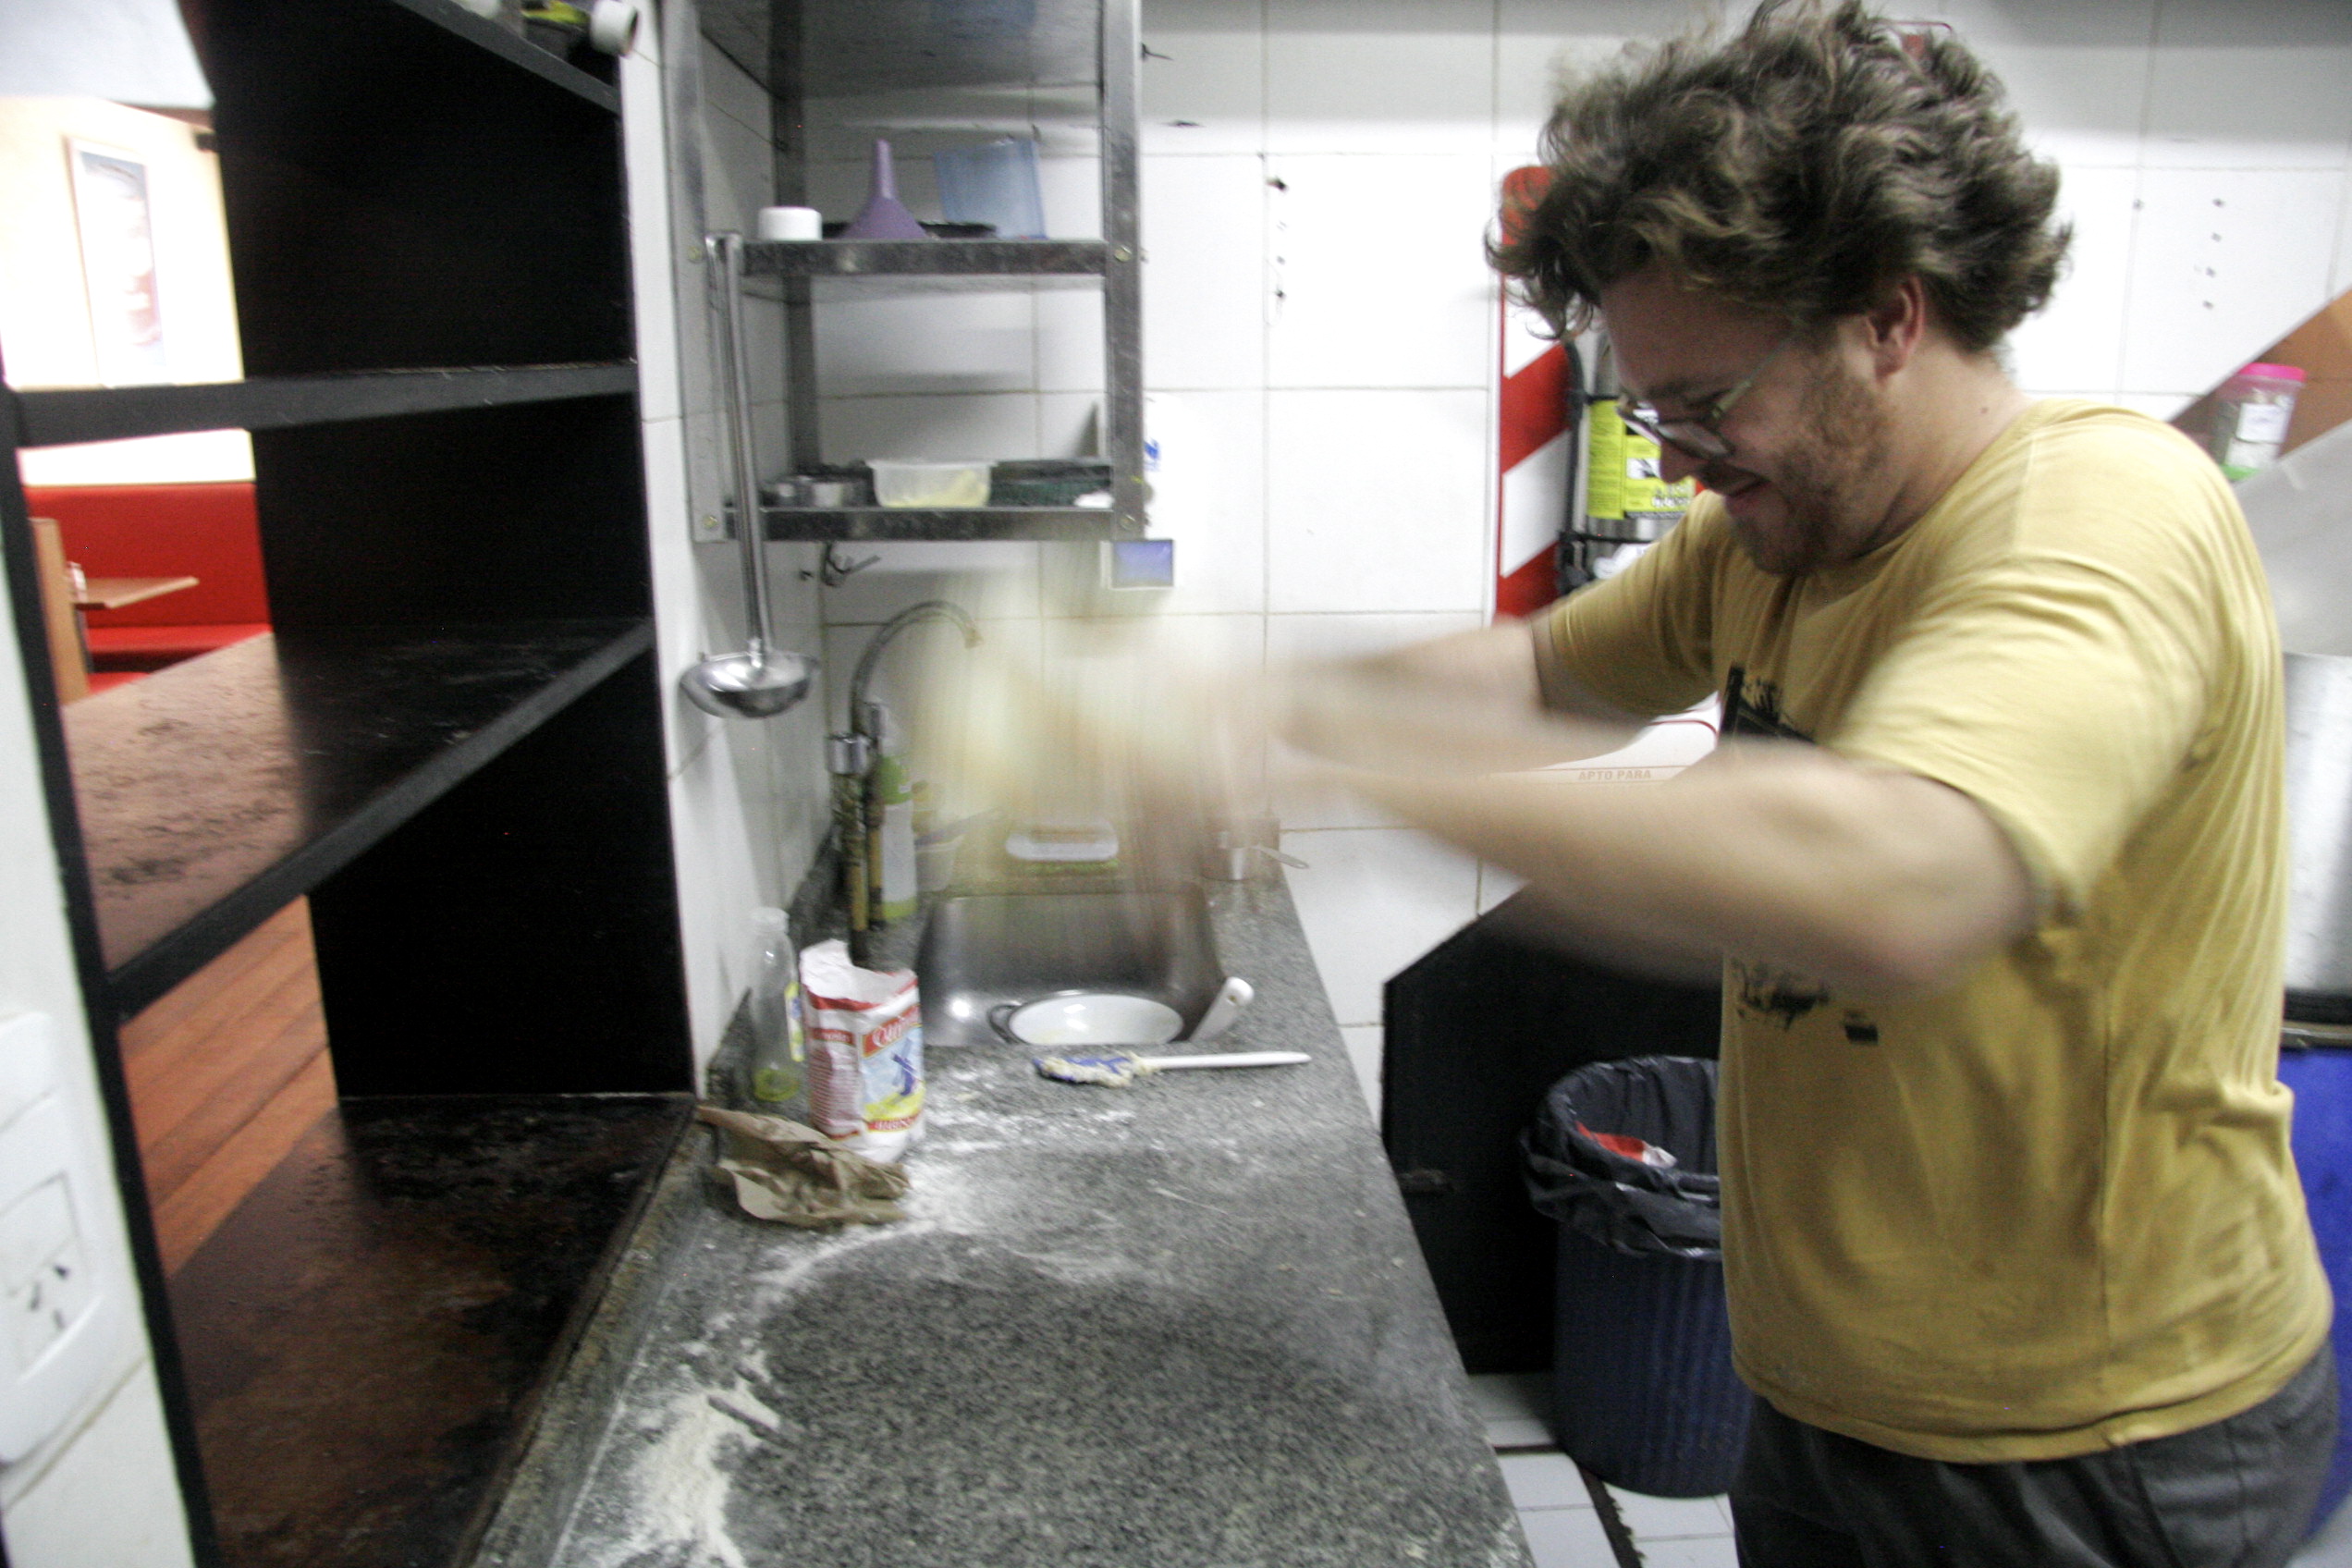
 And then the BODYSLAM, where you lift it over your head and slam it back on the countertop.
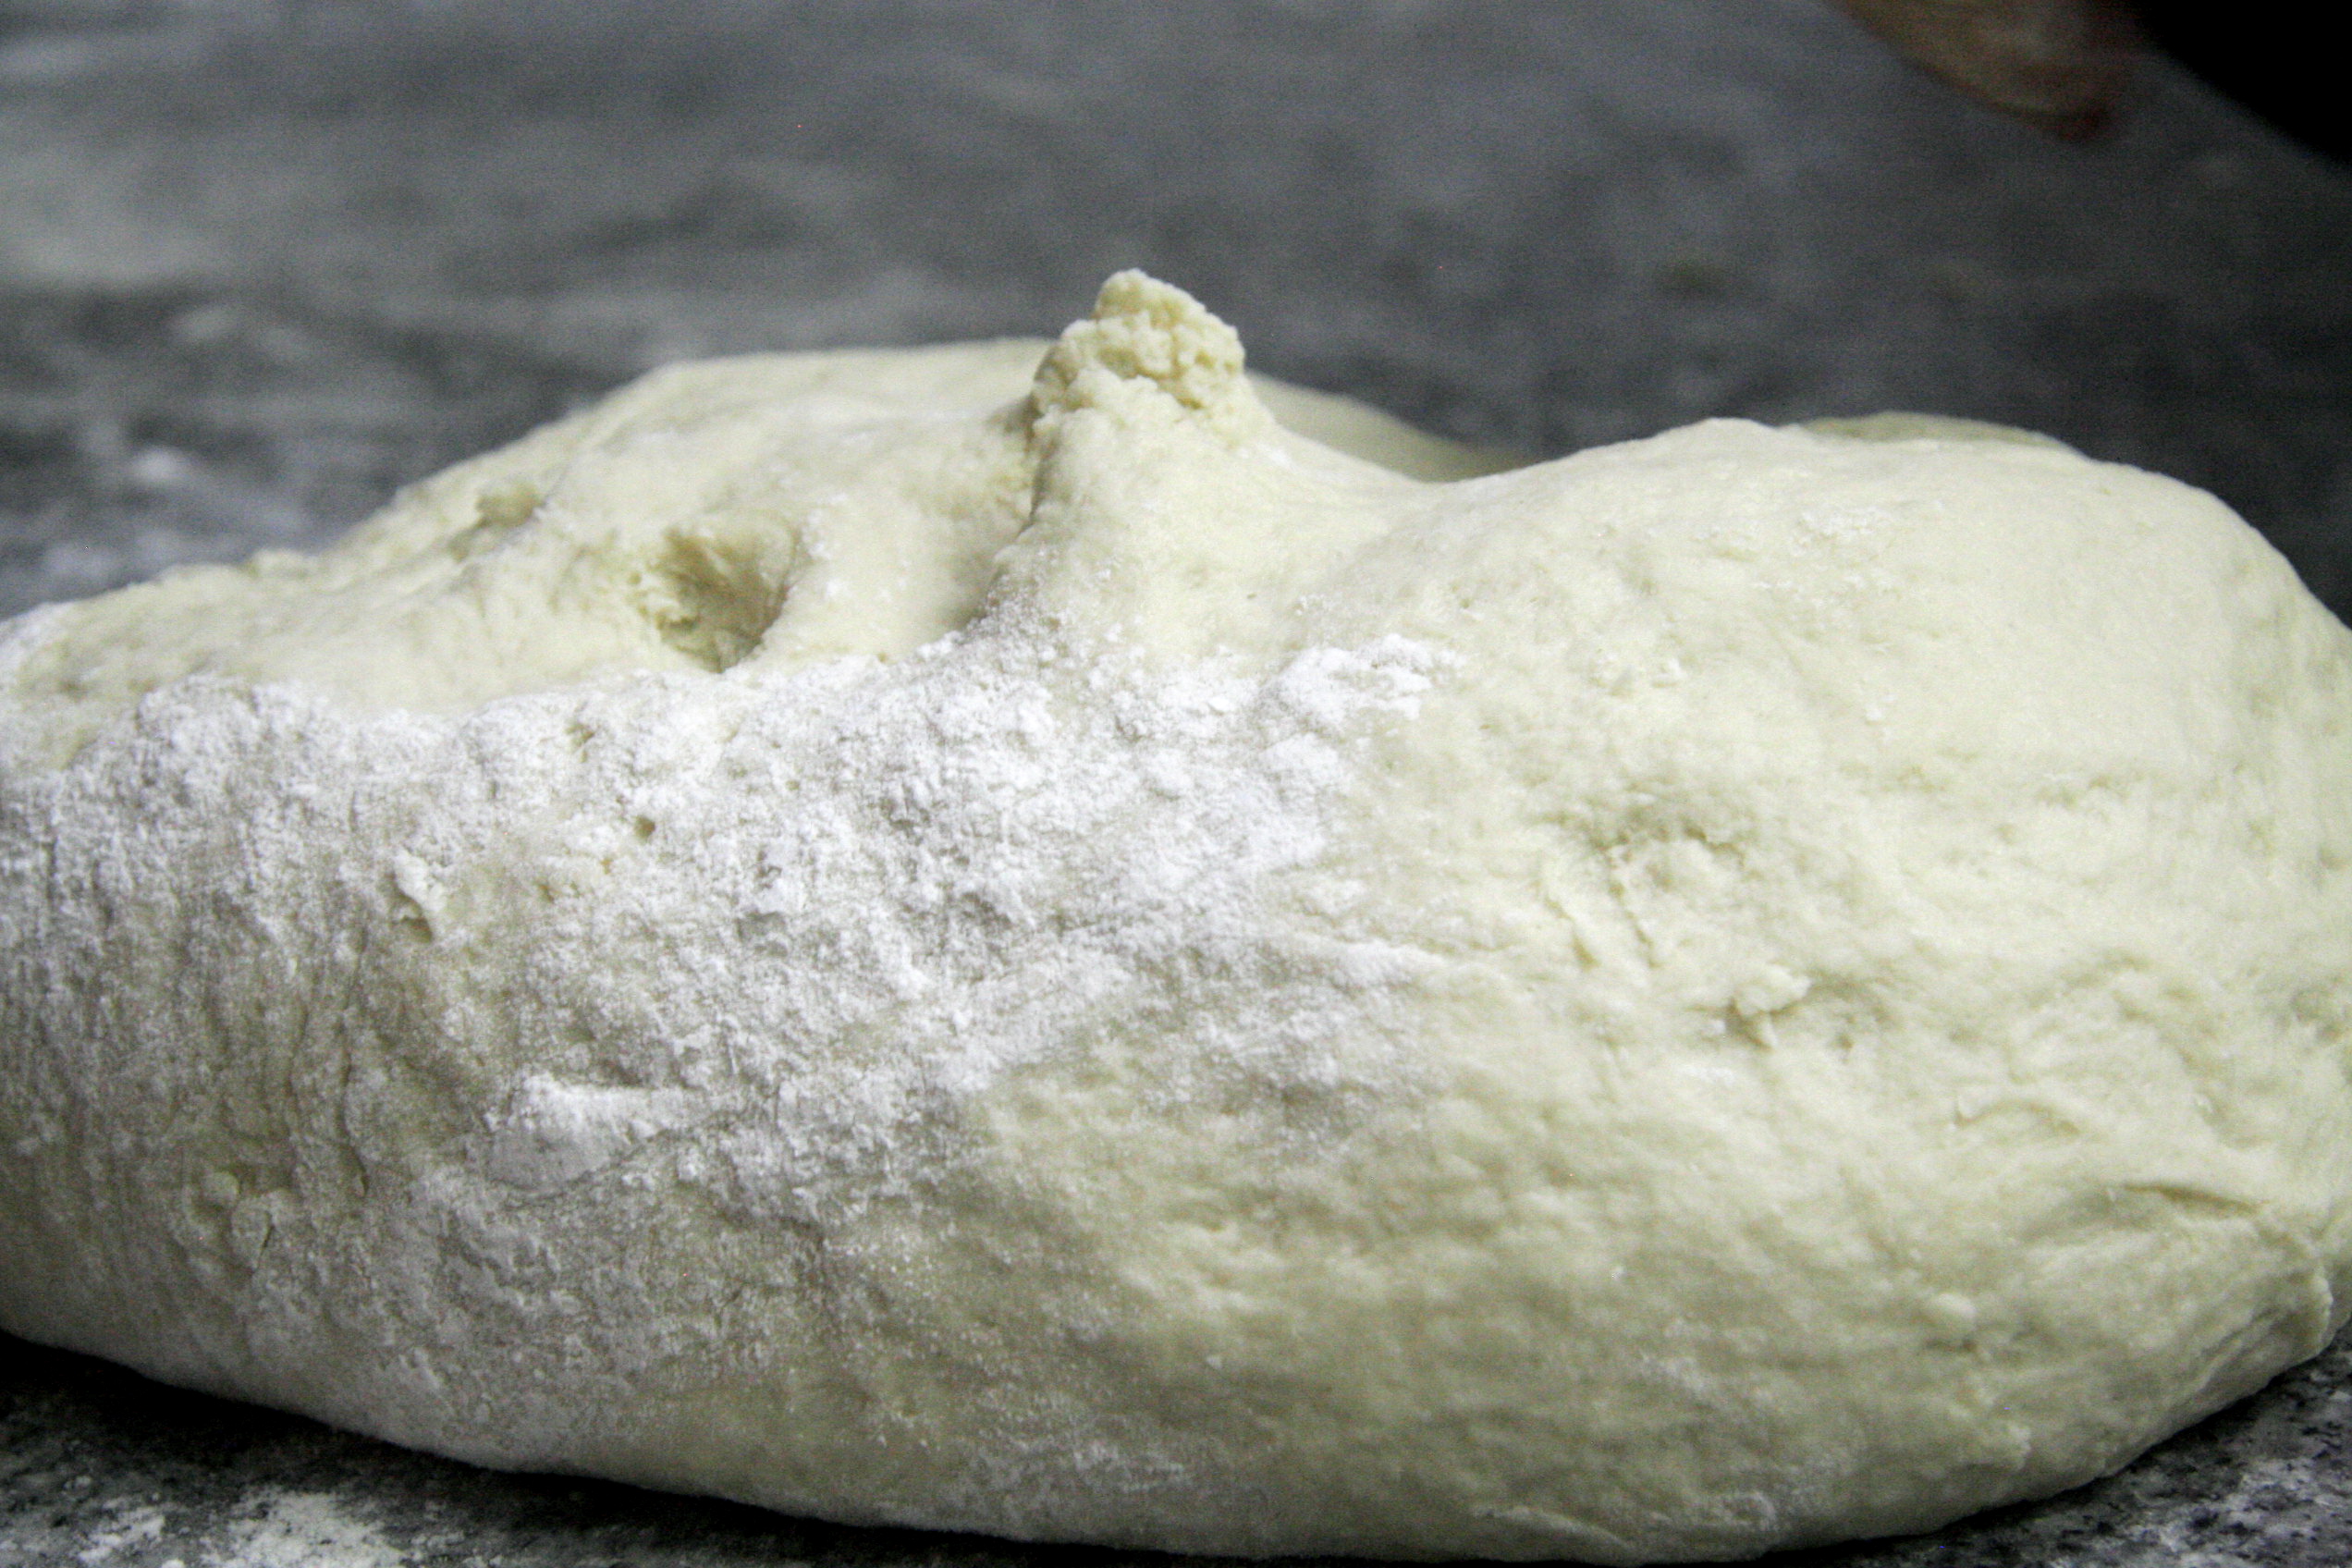
Other than these that you have to feel out the moisture of the dough, you basically wanna keep adding flour until the dough doesn’t stick to your hands anymore, nor to the countertop. 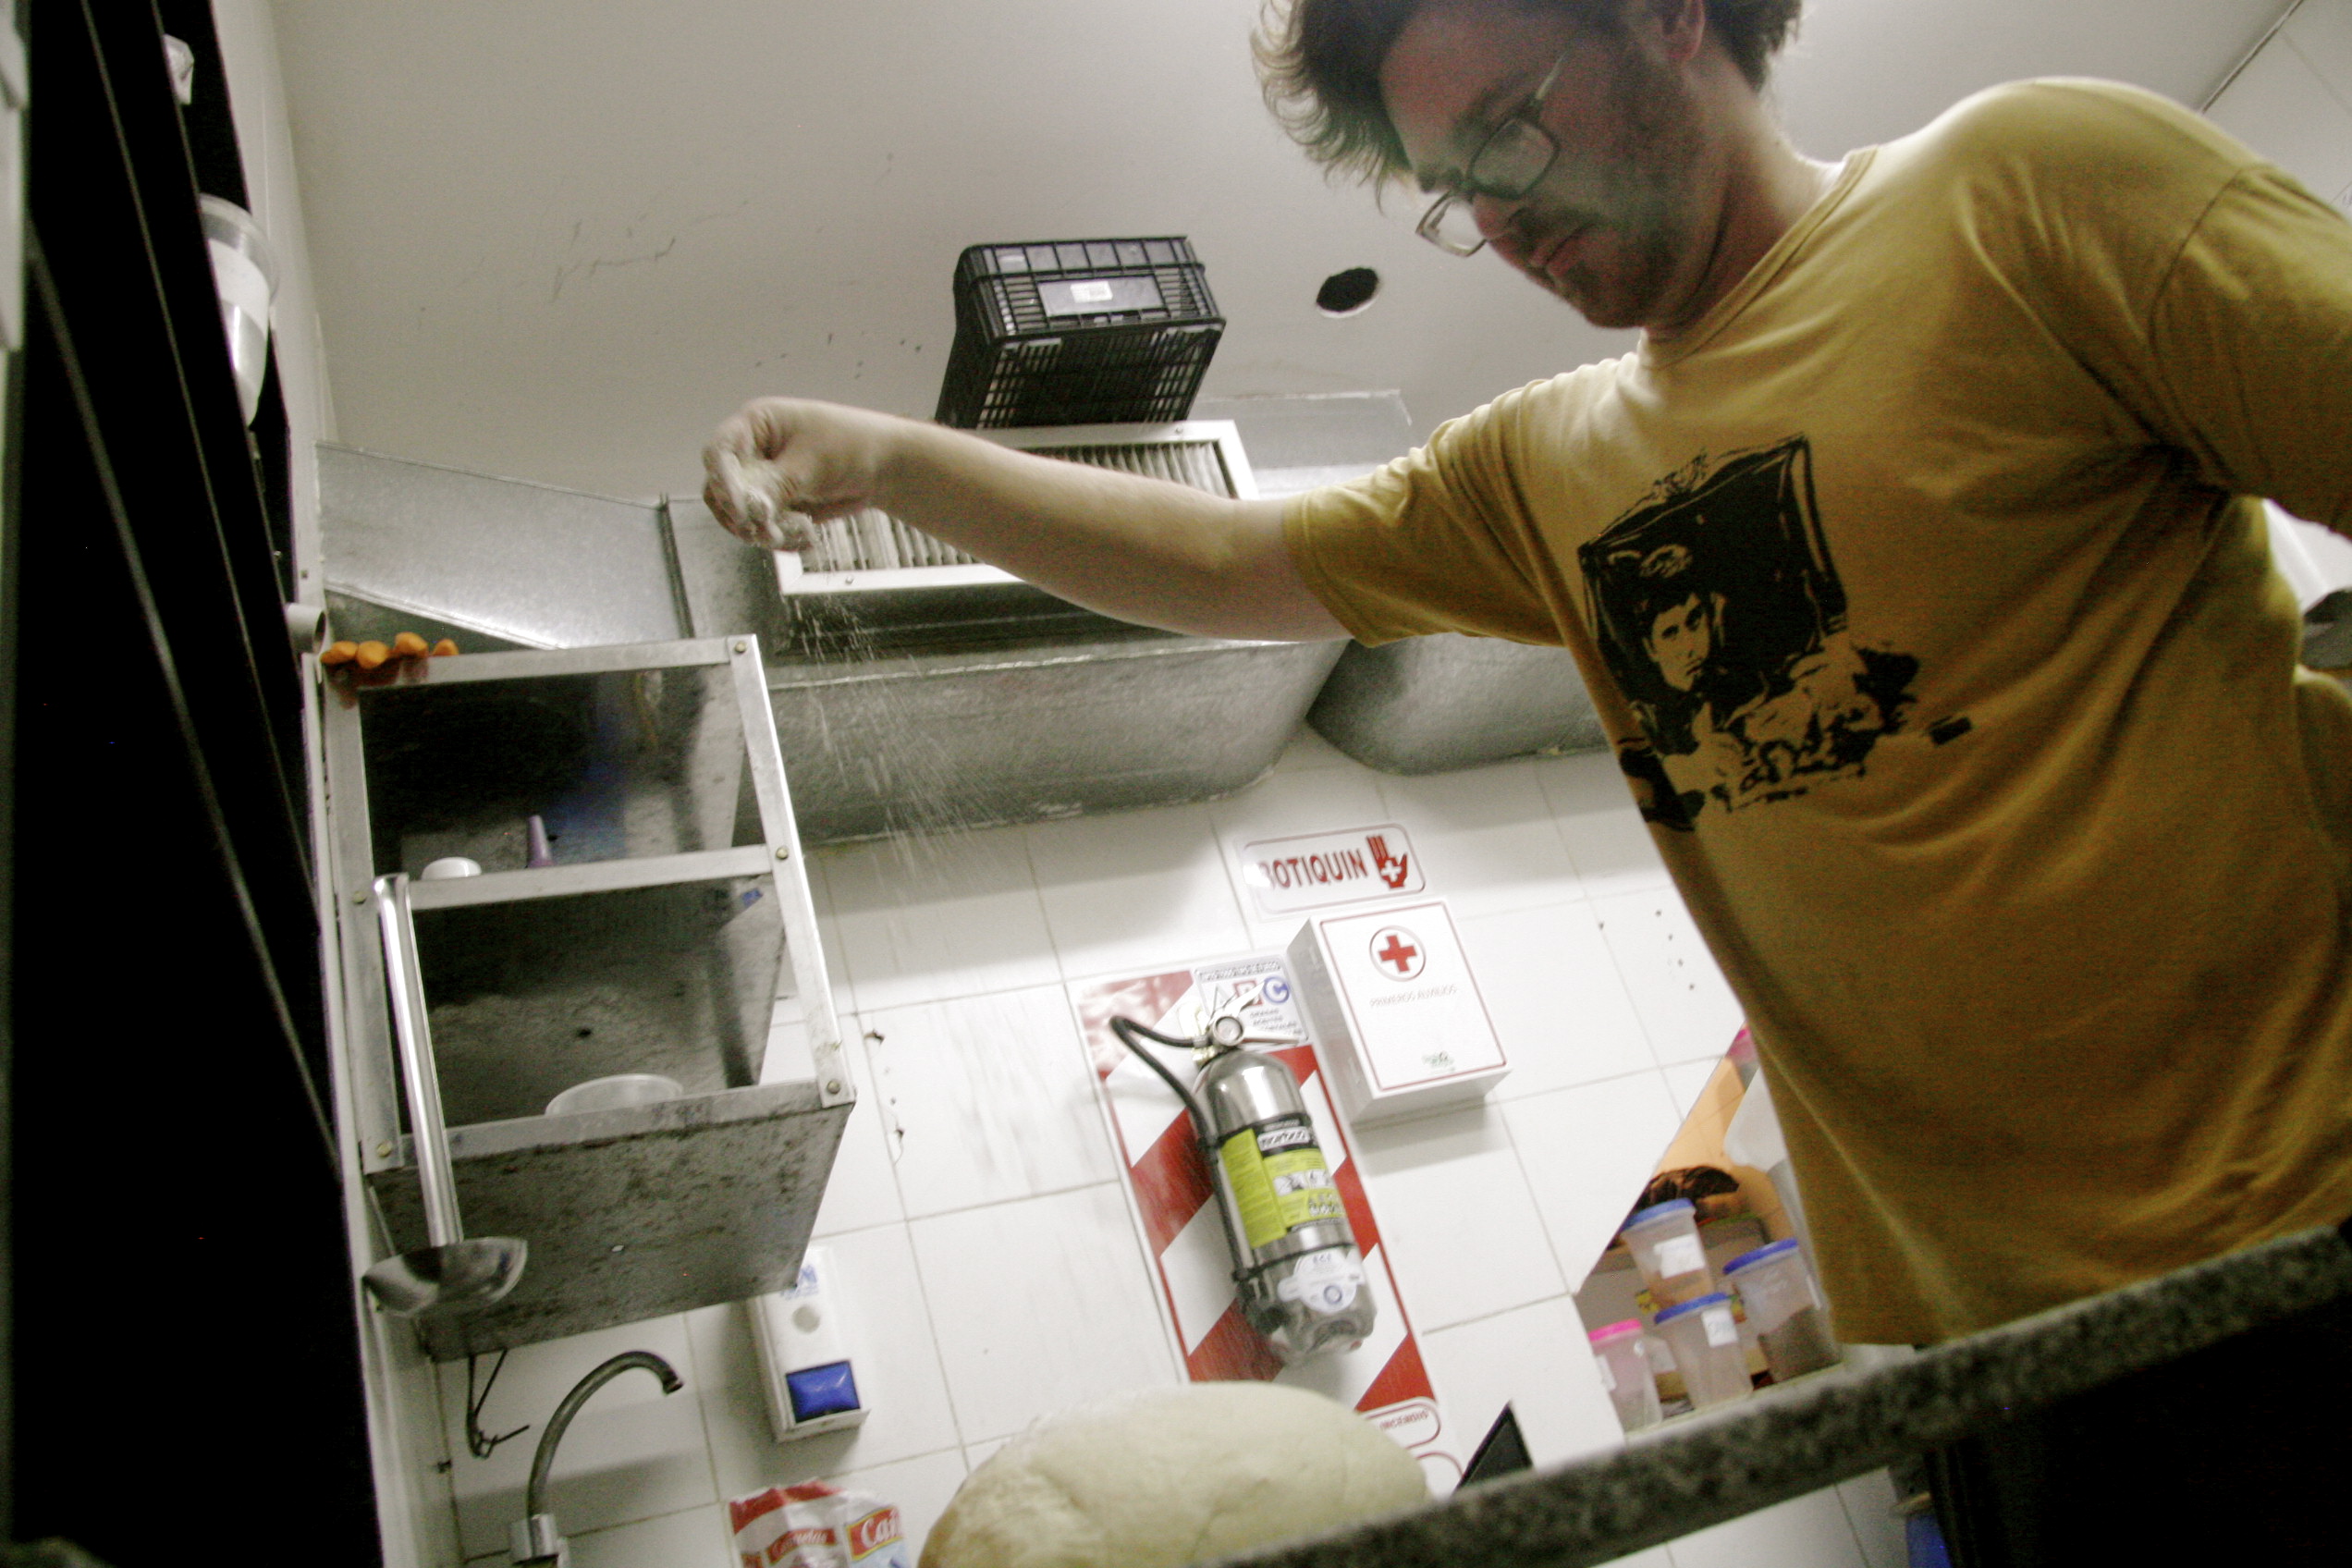
Do combos of those for about 10 to 12 minutes to make sure the gluten inside its doing its thing.
STEP 4: LET THAT SHIT CHILL
Take the dough, put it in the tupperware, then listen to Teddy Riley, Aaron Hall and that other dude and let it chill for an hour or two. Cover it with a towel or a plastic bag and leave it the fuck alone. The dough should rise up and at least double in size. Its boring, but its important.
STEP 5: ROLL THAT SHIT UP
Butter up a baking sheet or any large pan you can find. This is important so the bread doesn’t stick to the pan and also for another layer of deliciousness.
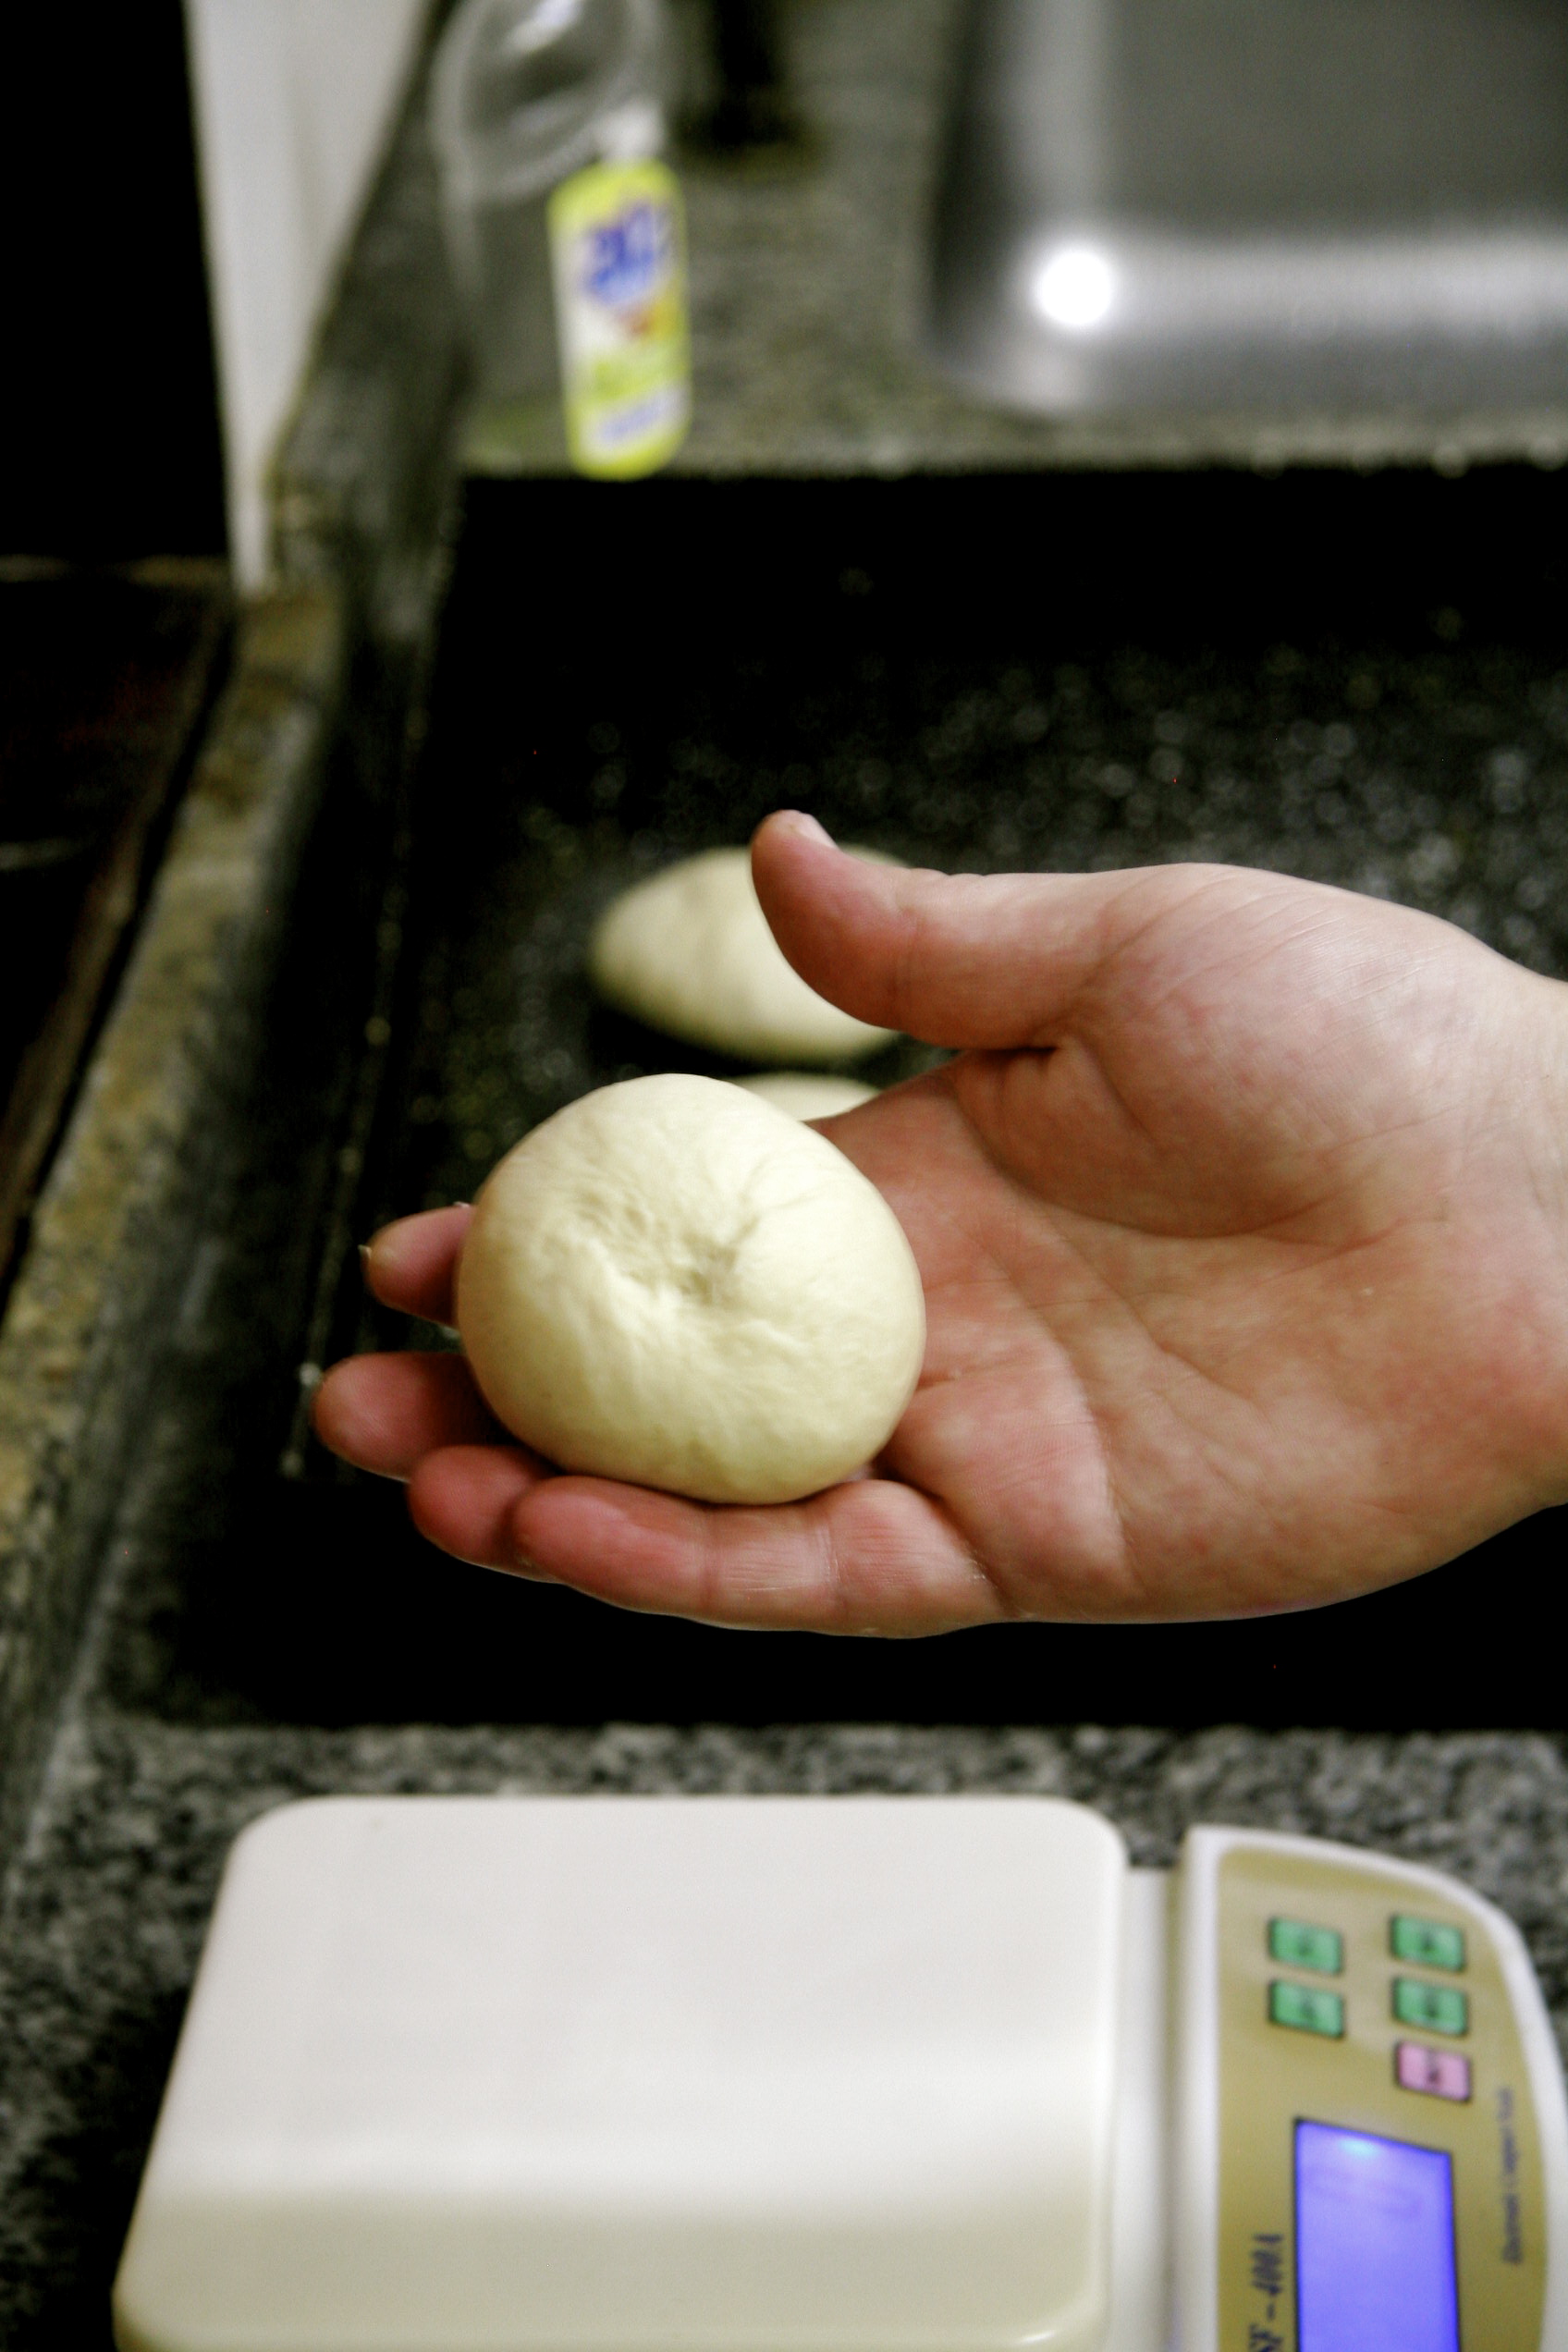
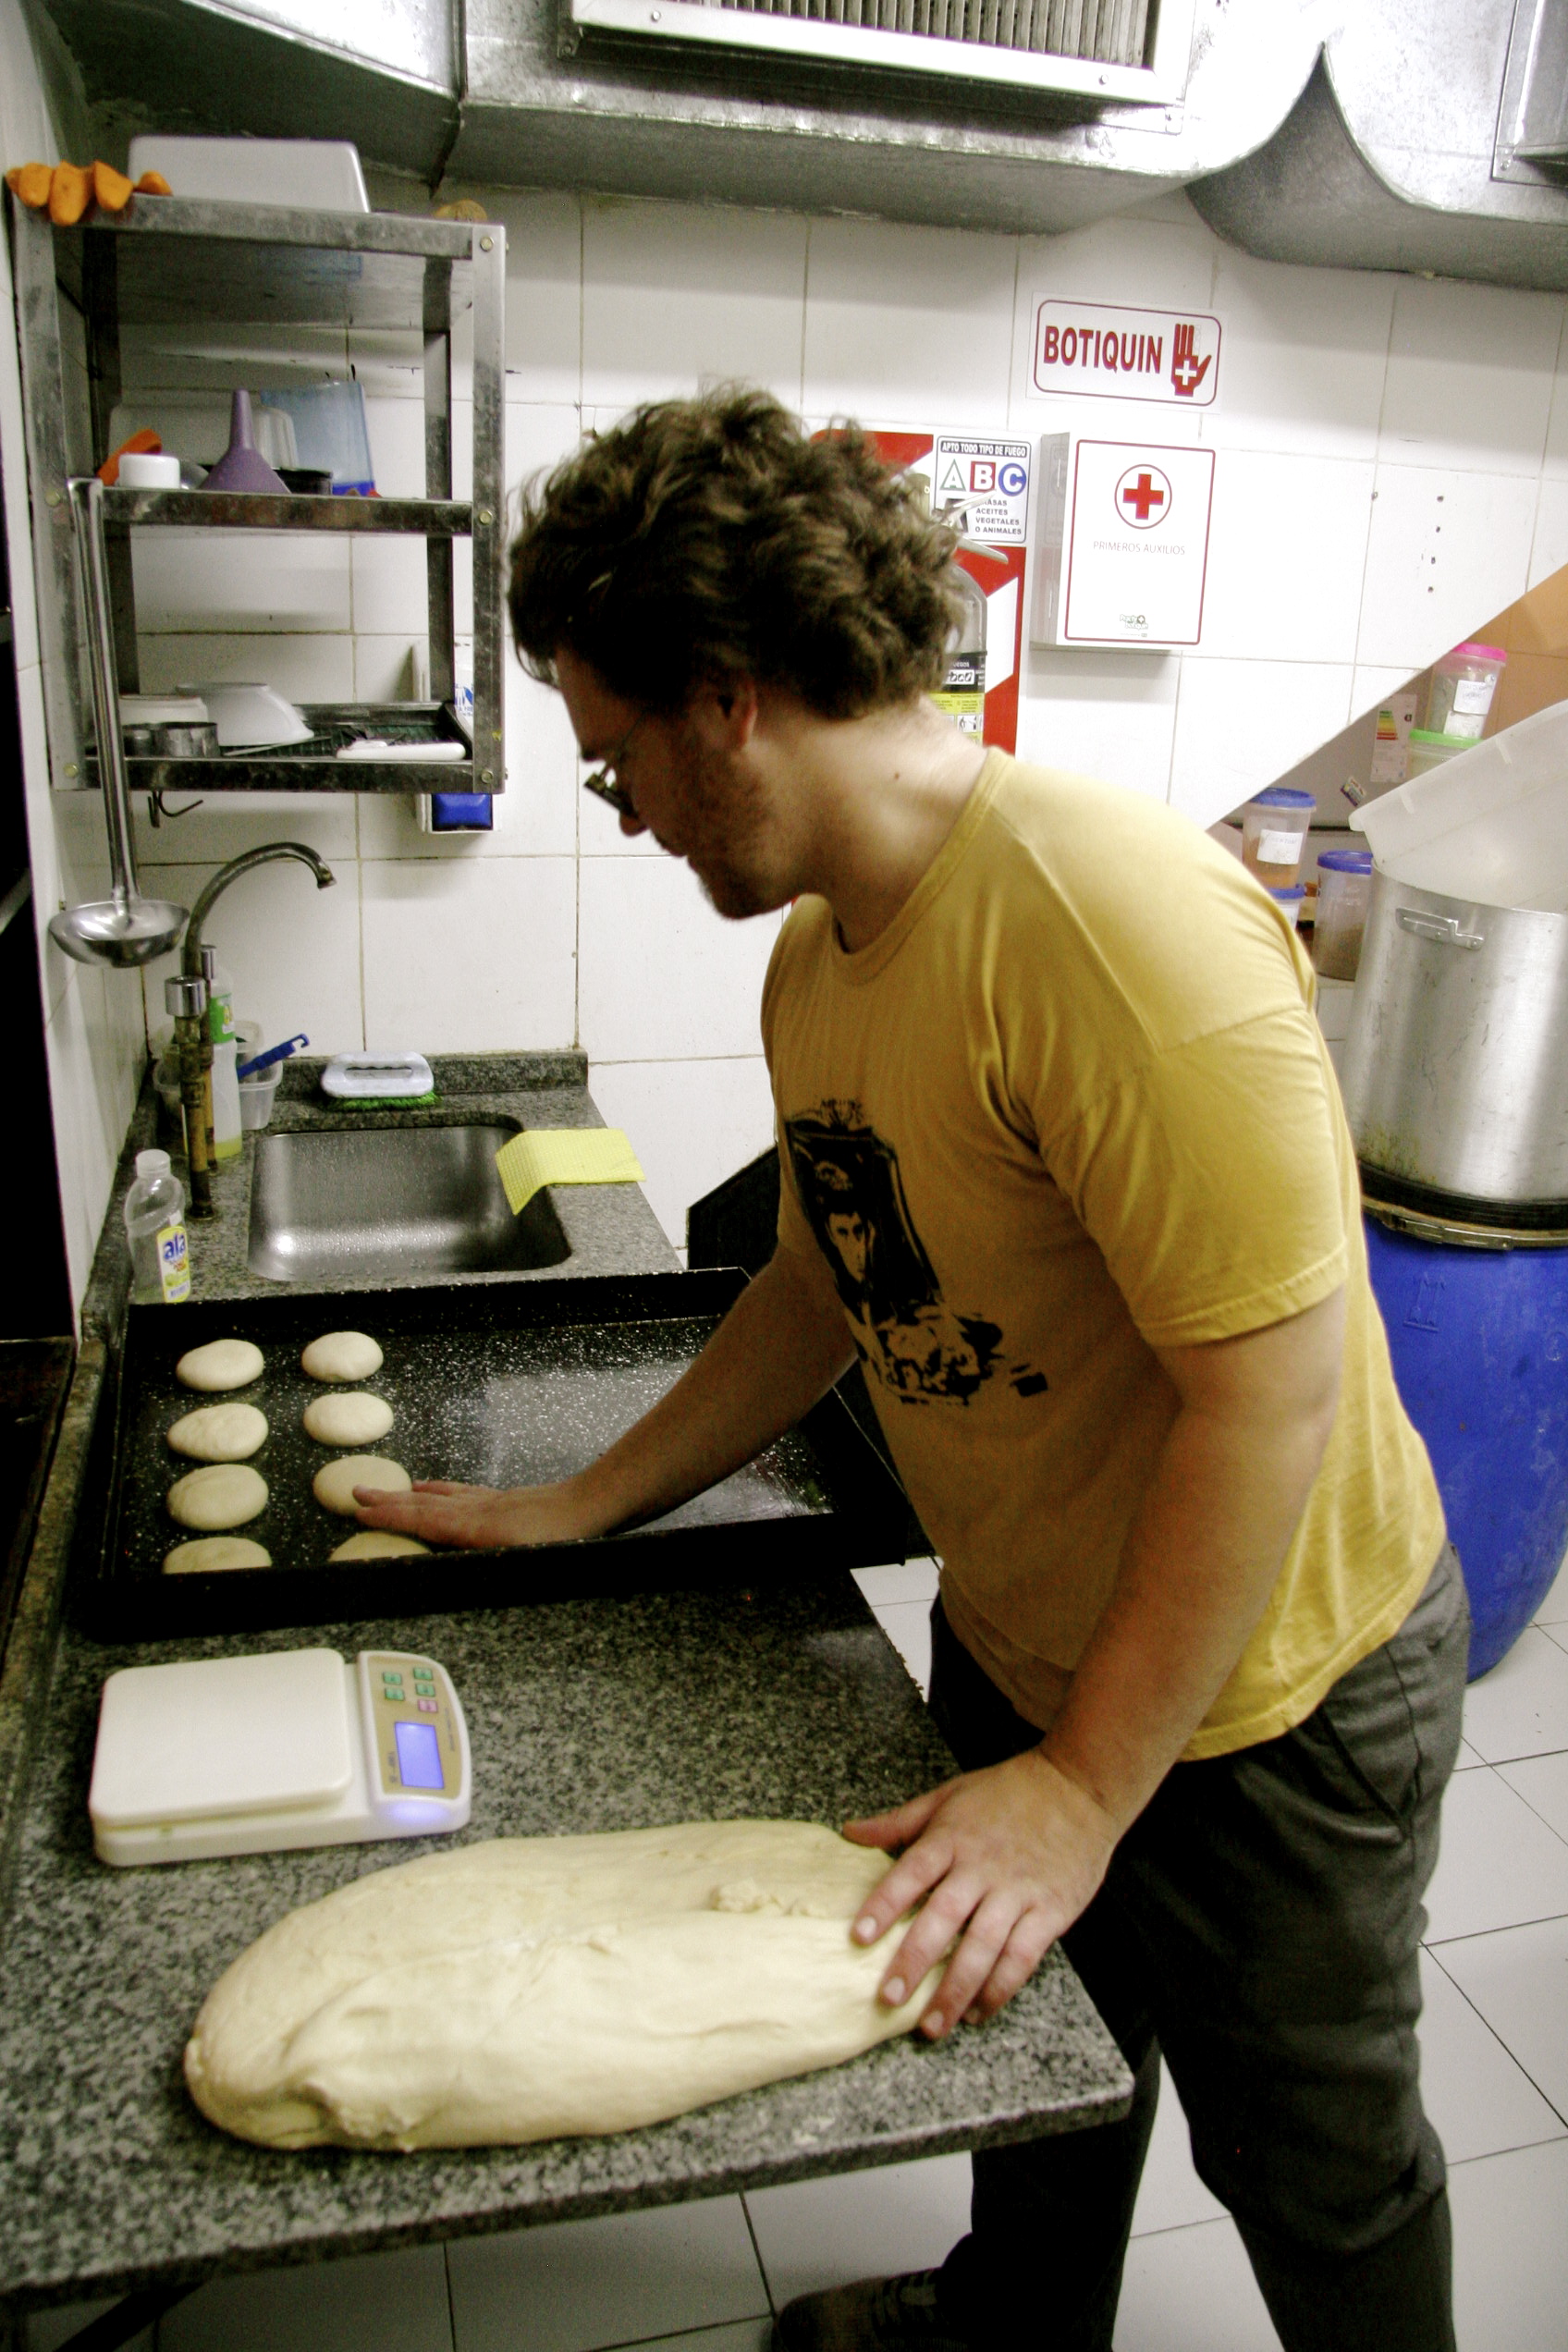
Get a digital scale. I’m sure you can find other uses for it than just measuring bread. Put the dough on it. Measure 115 grams and roll it in a circular motion, pressing the dough under one way with your thumb and the other with your other four fingers until you have created the Eye of the Tiger.
Place the bun on the sheet. Tenderly smush it down a little bit. Not like you were angry with it, but more like you were sternly guiding it.
Do that 30 times then get a pastry brush and some vegetable oil. Oil them all down. 
STEP 5: KEEP CHILLIN
Cover it up again and let it keep chillin for an hour. This will give your buns the airiness you deeply desire. Don’t get impatient and throw them in the oven early or they won’t get big enough. If you let it go too long they will rise even more but they will collapse like the Roman Empire after you throw them in the oven and they will look terrible.
Let them rise like a phoenix until they look like this. 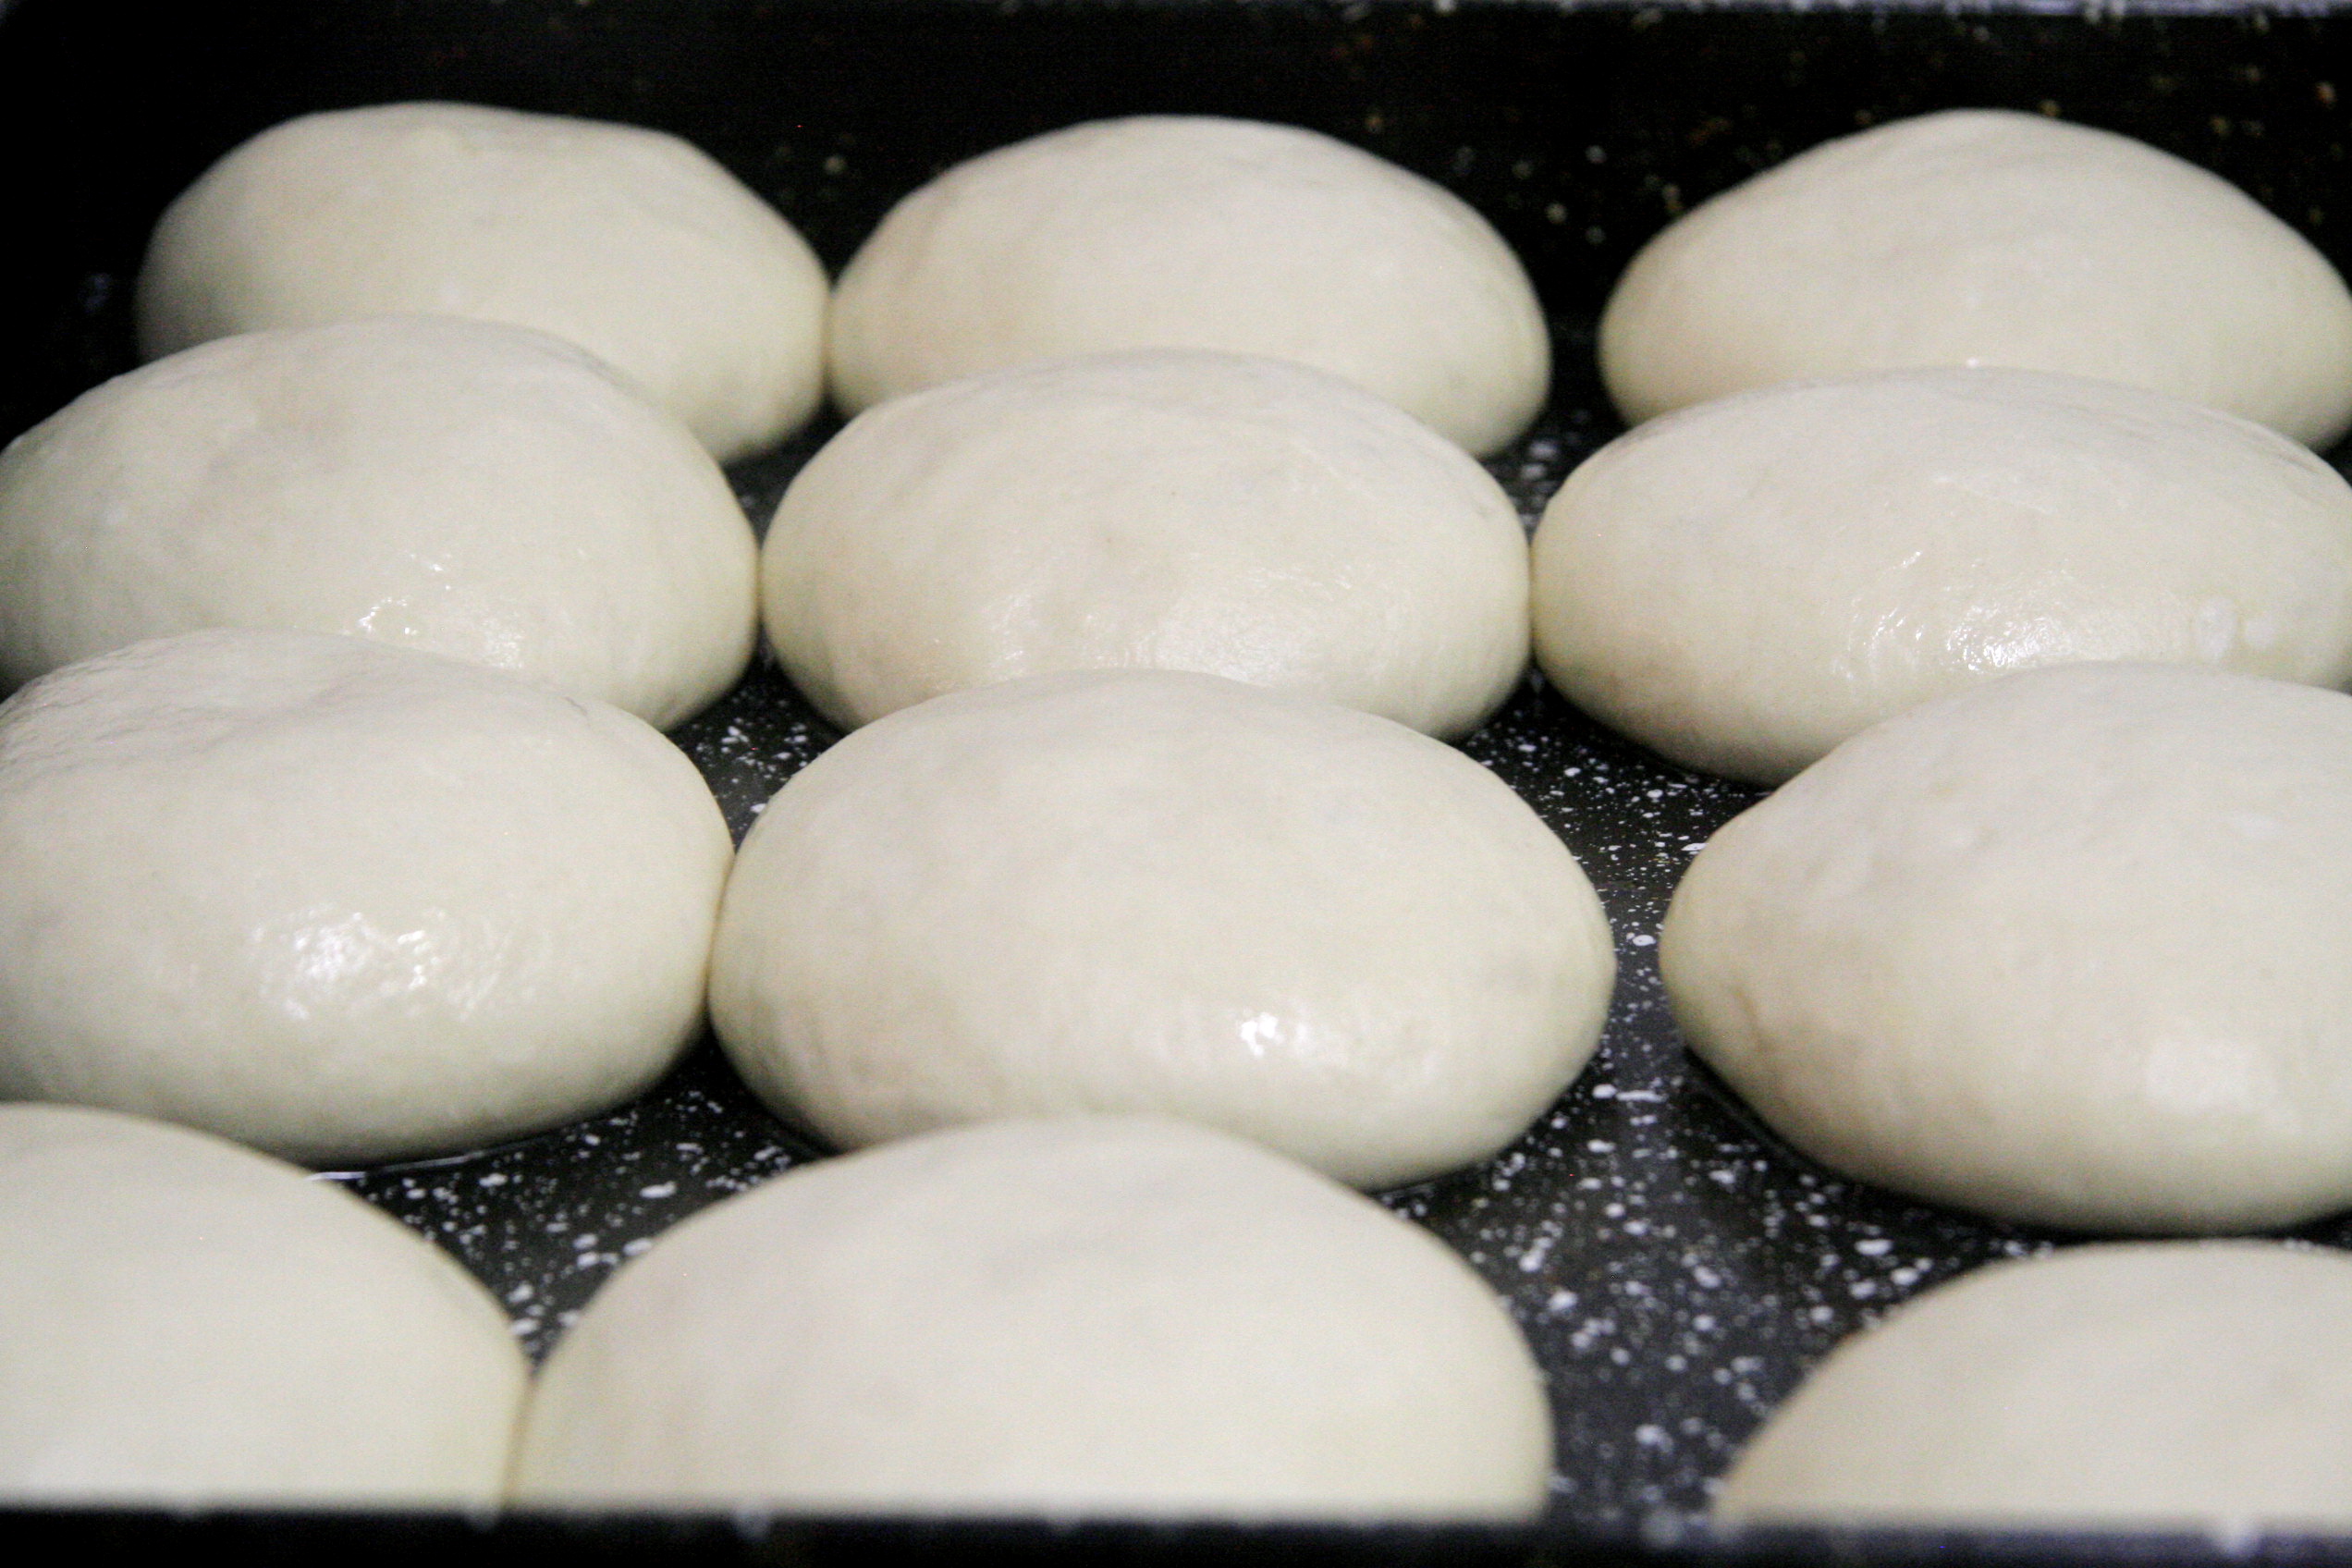
STEP 6. MAKE IT RAIN
Take off the cover. Beat an egg, dunk your brush in it and get your Picasso on all over the tops of the buns. 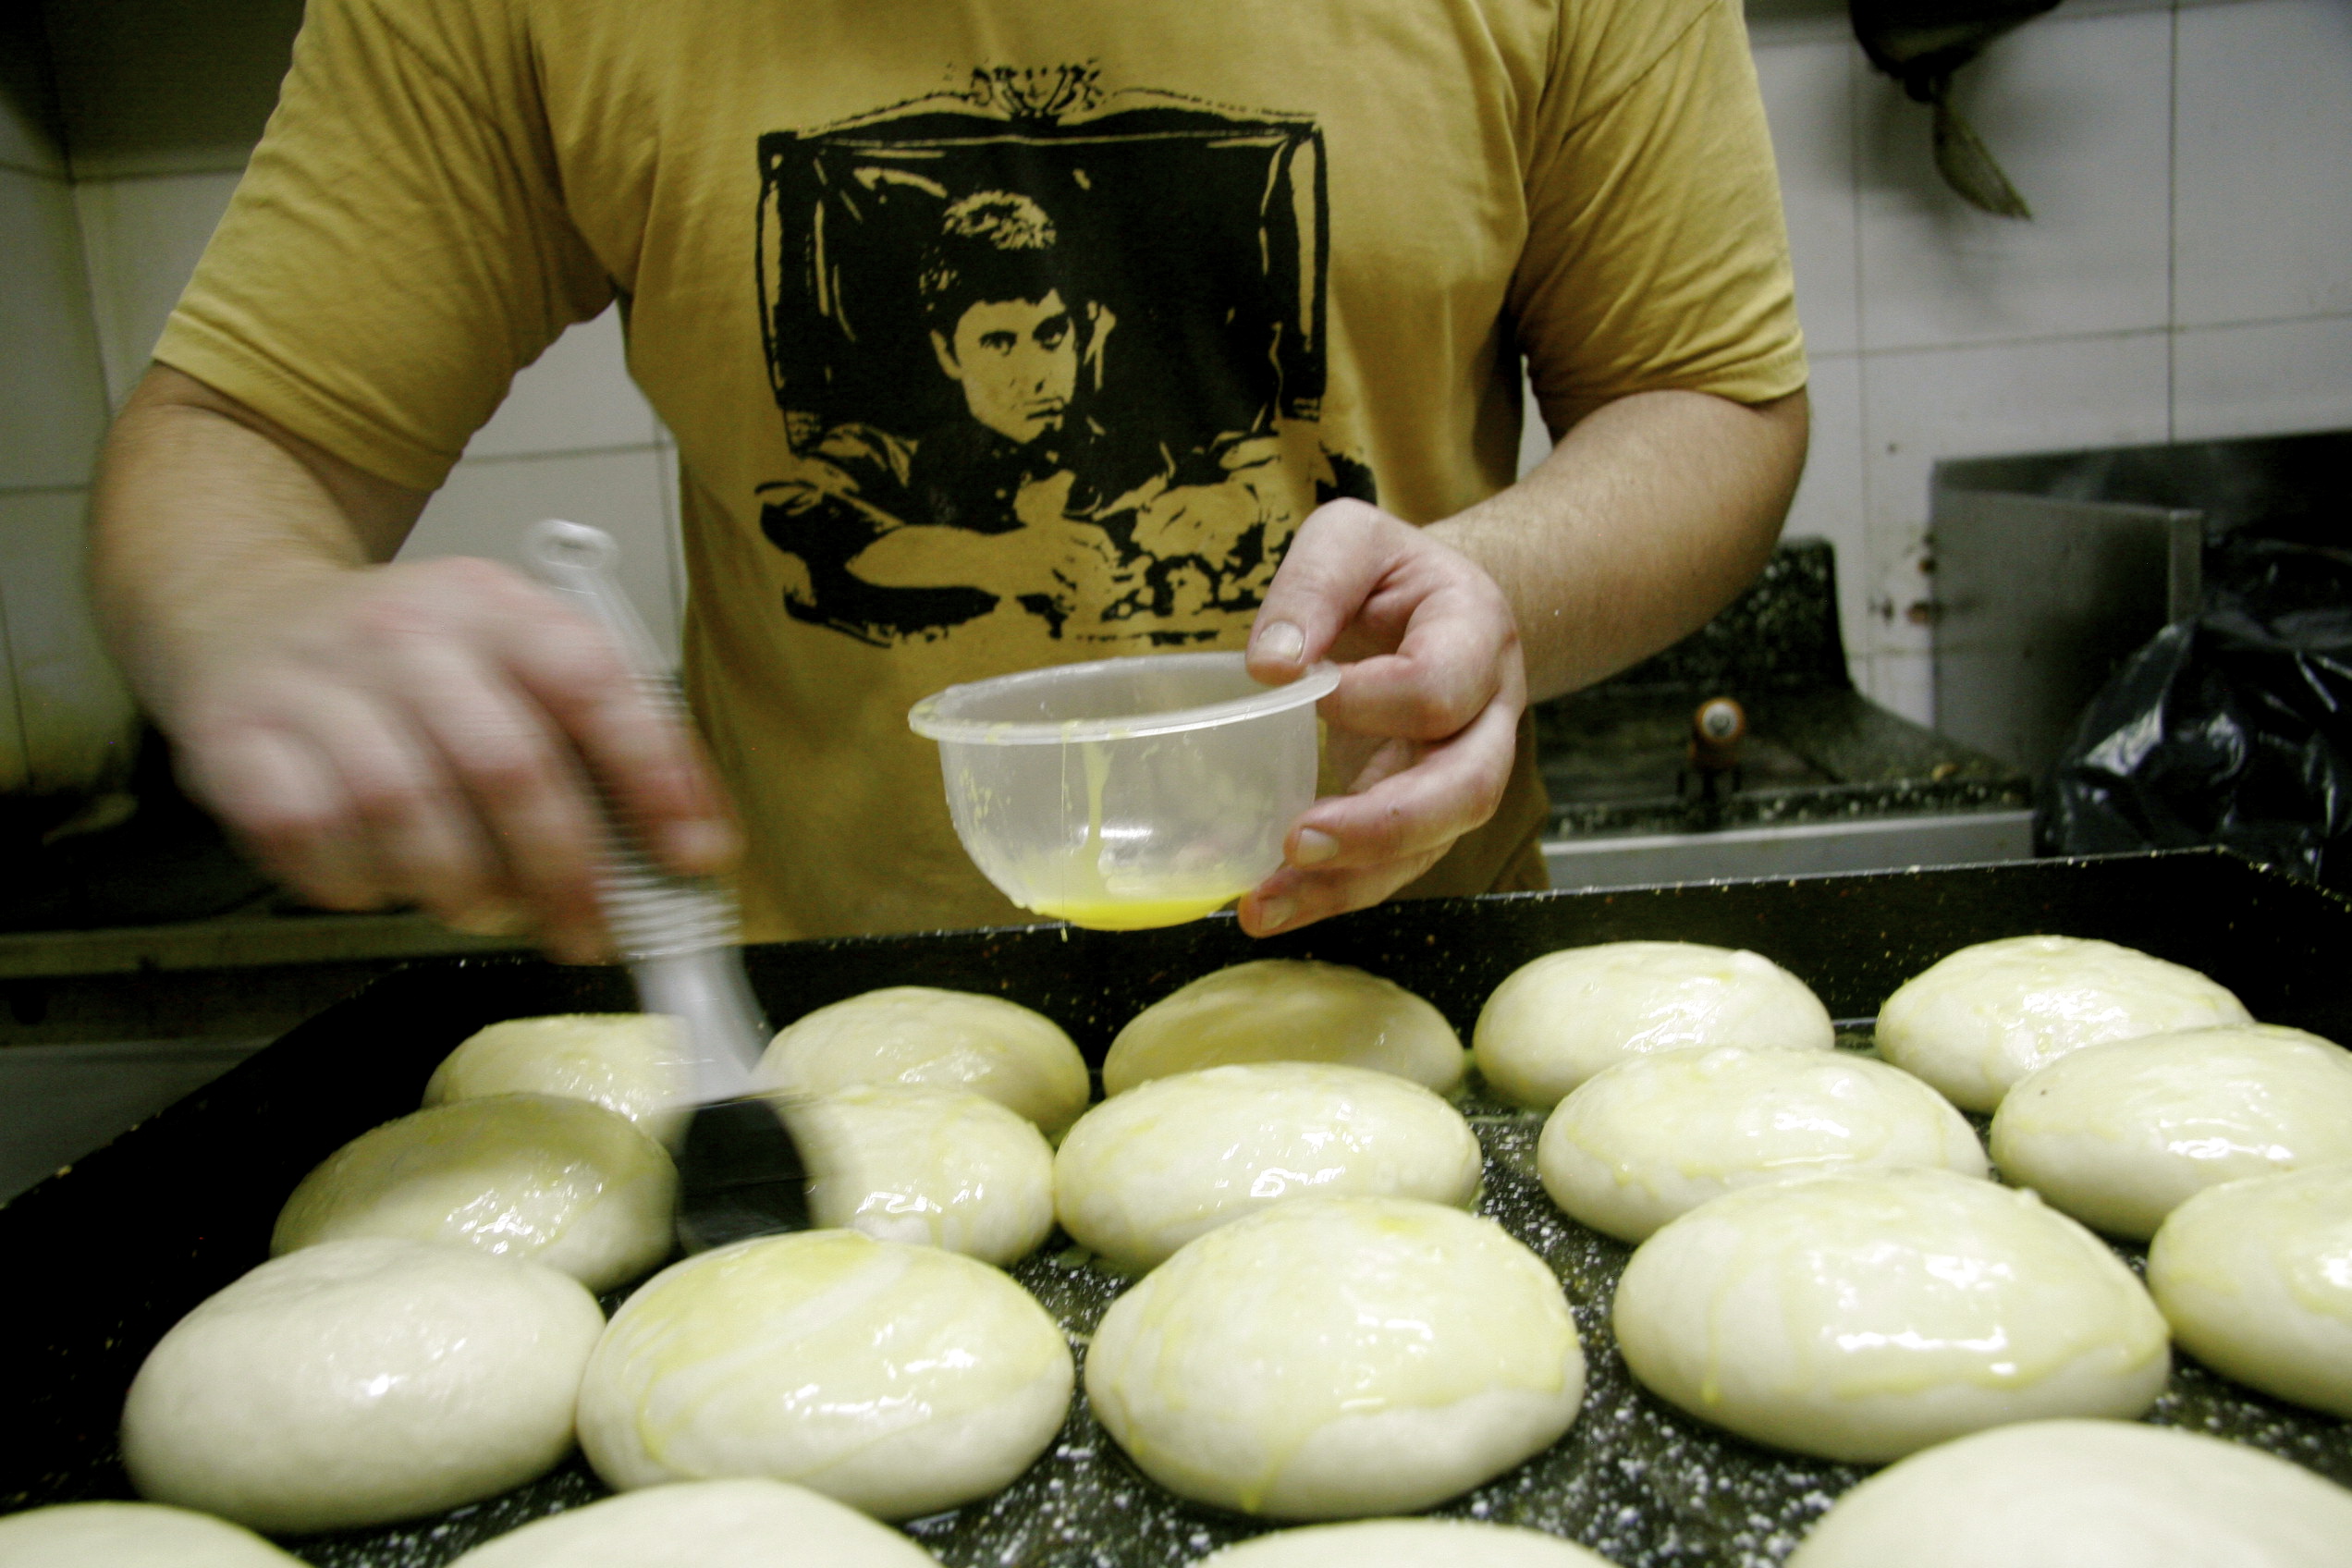
Then make it rain sesame sprinkles all over their buttery tops. 
When rainmaking, one should emulate nature and do so from as close to the heavens as he can reach.
STEP 7. BAKE THAT SHIT
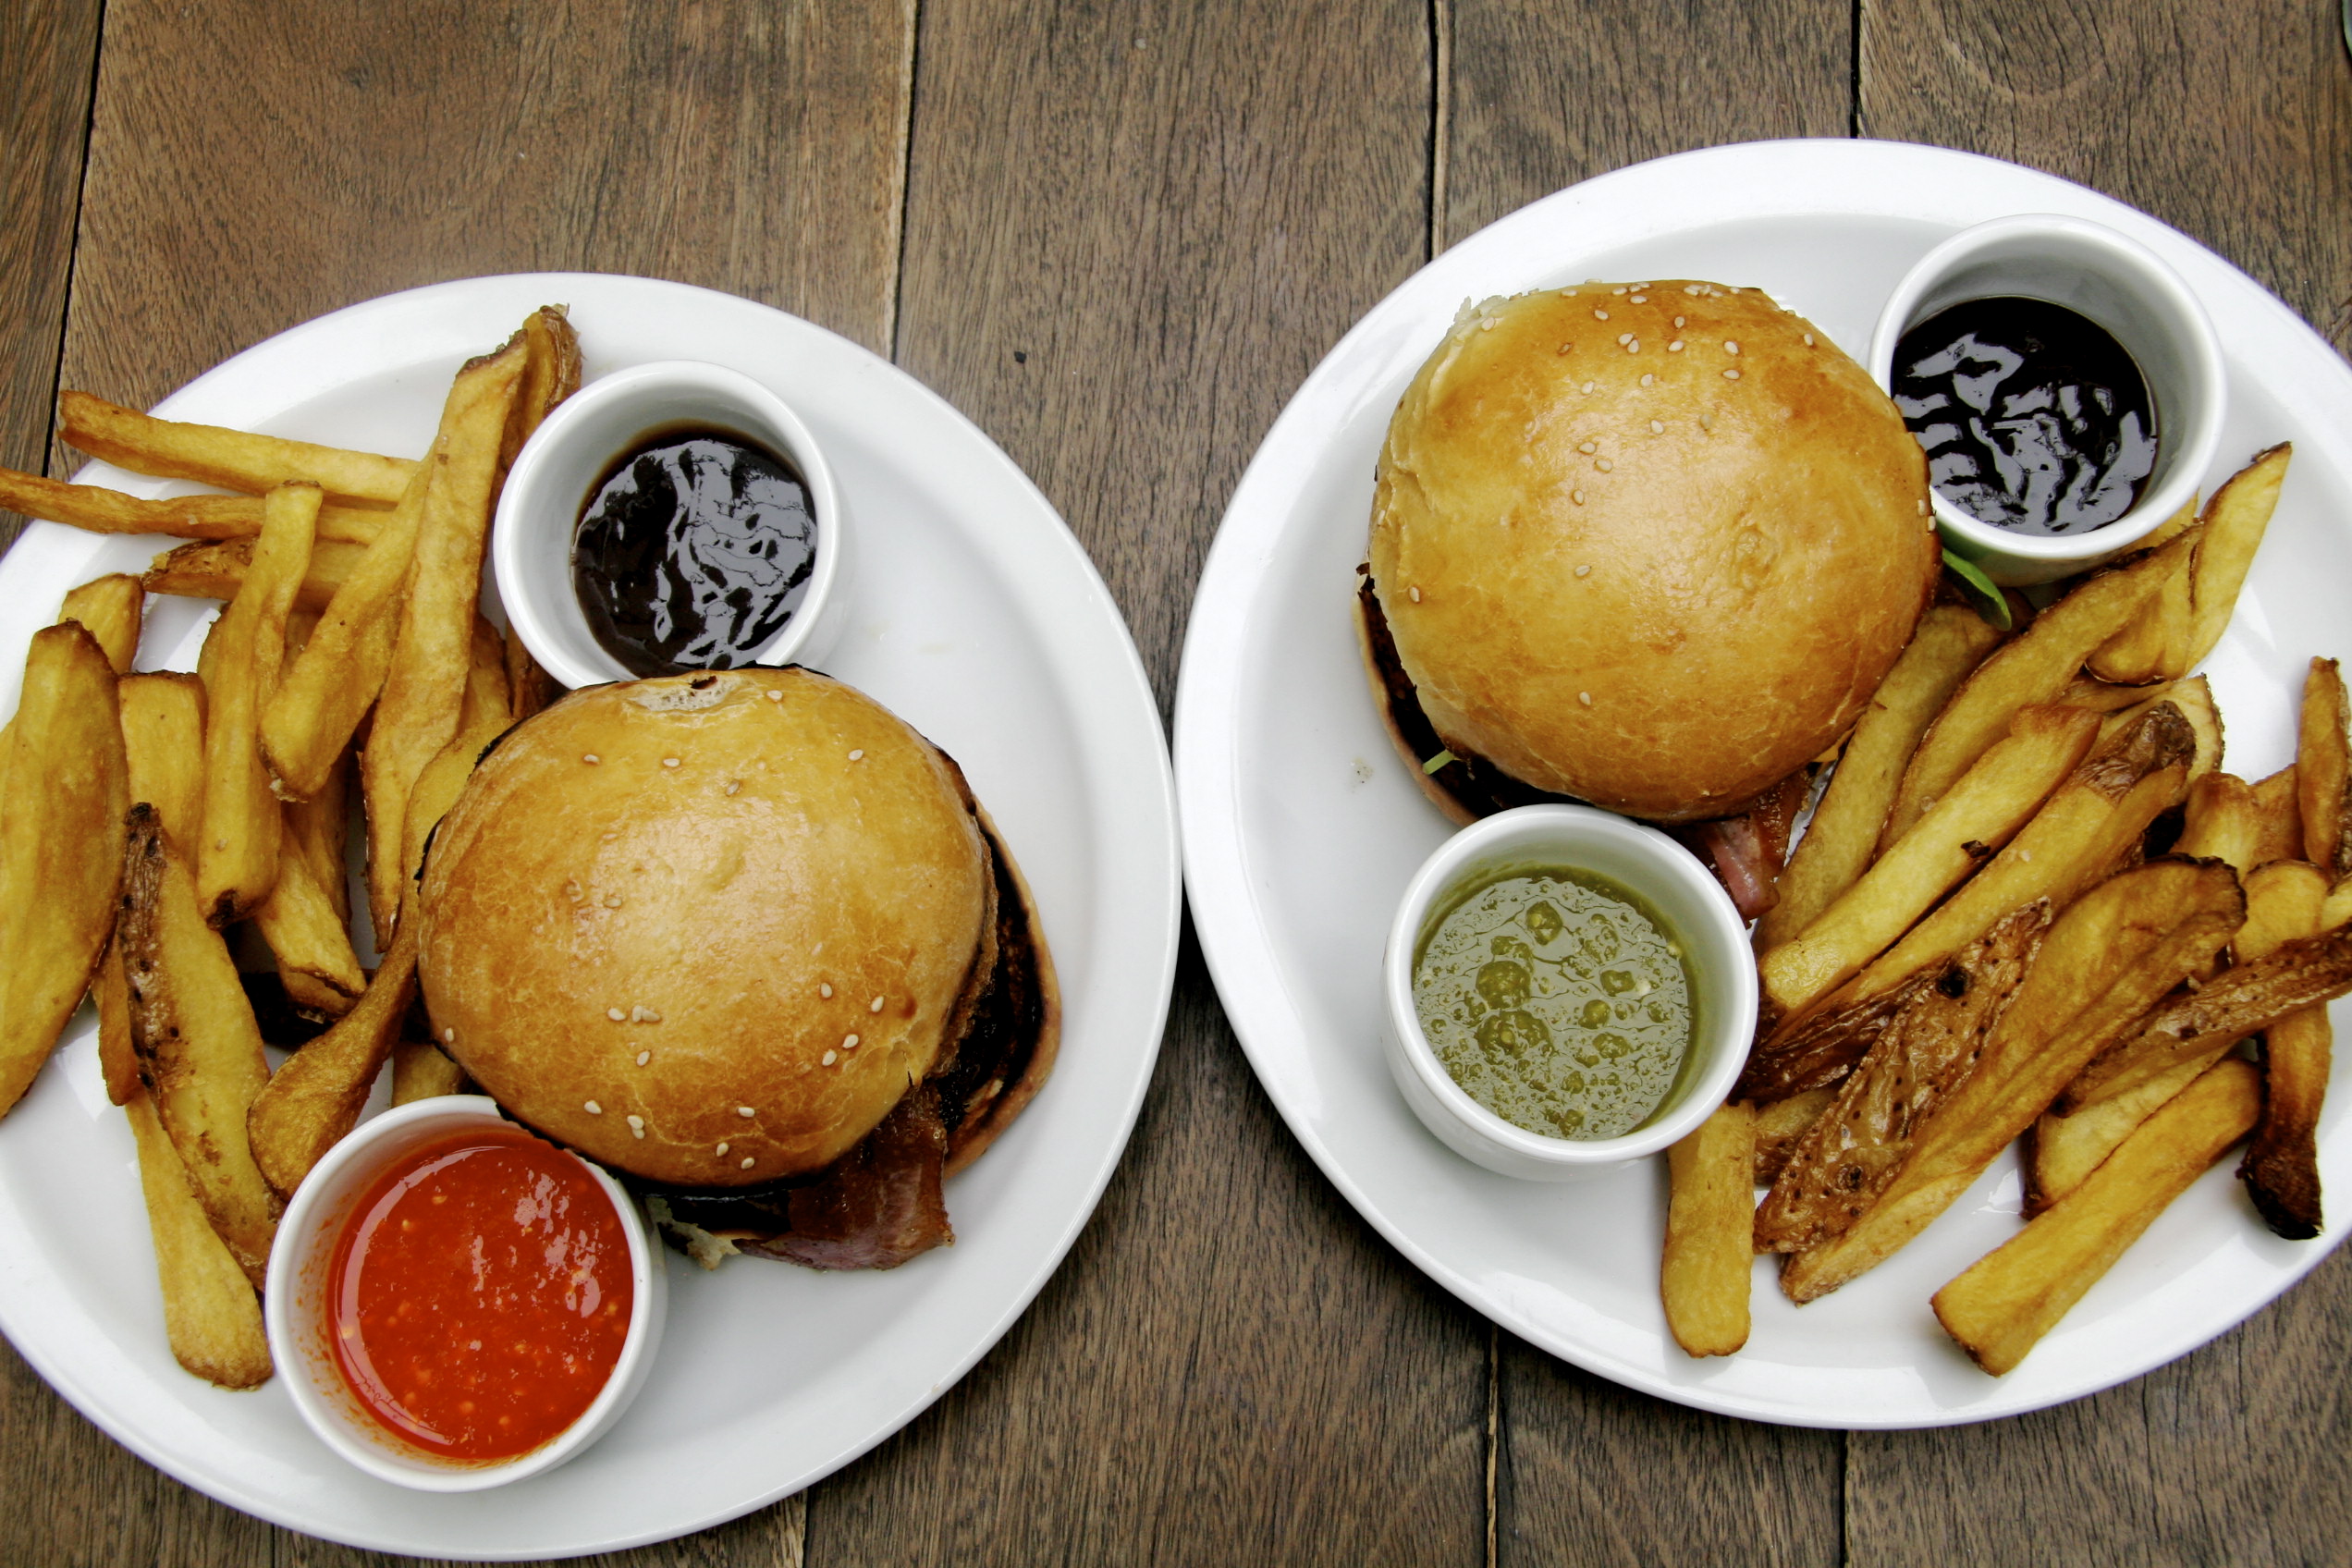
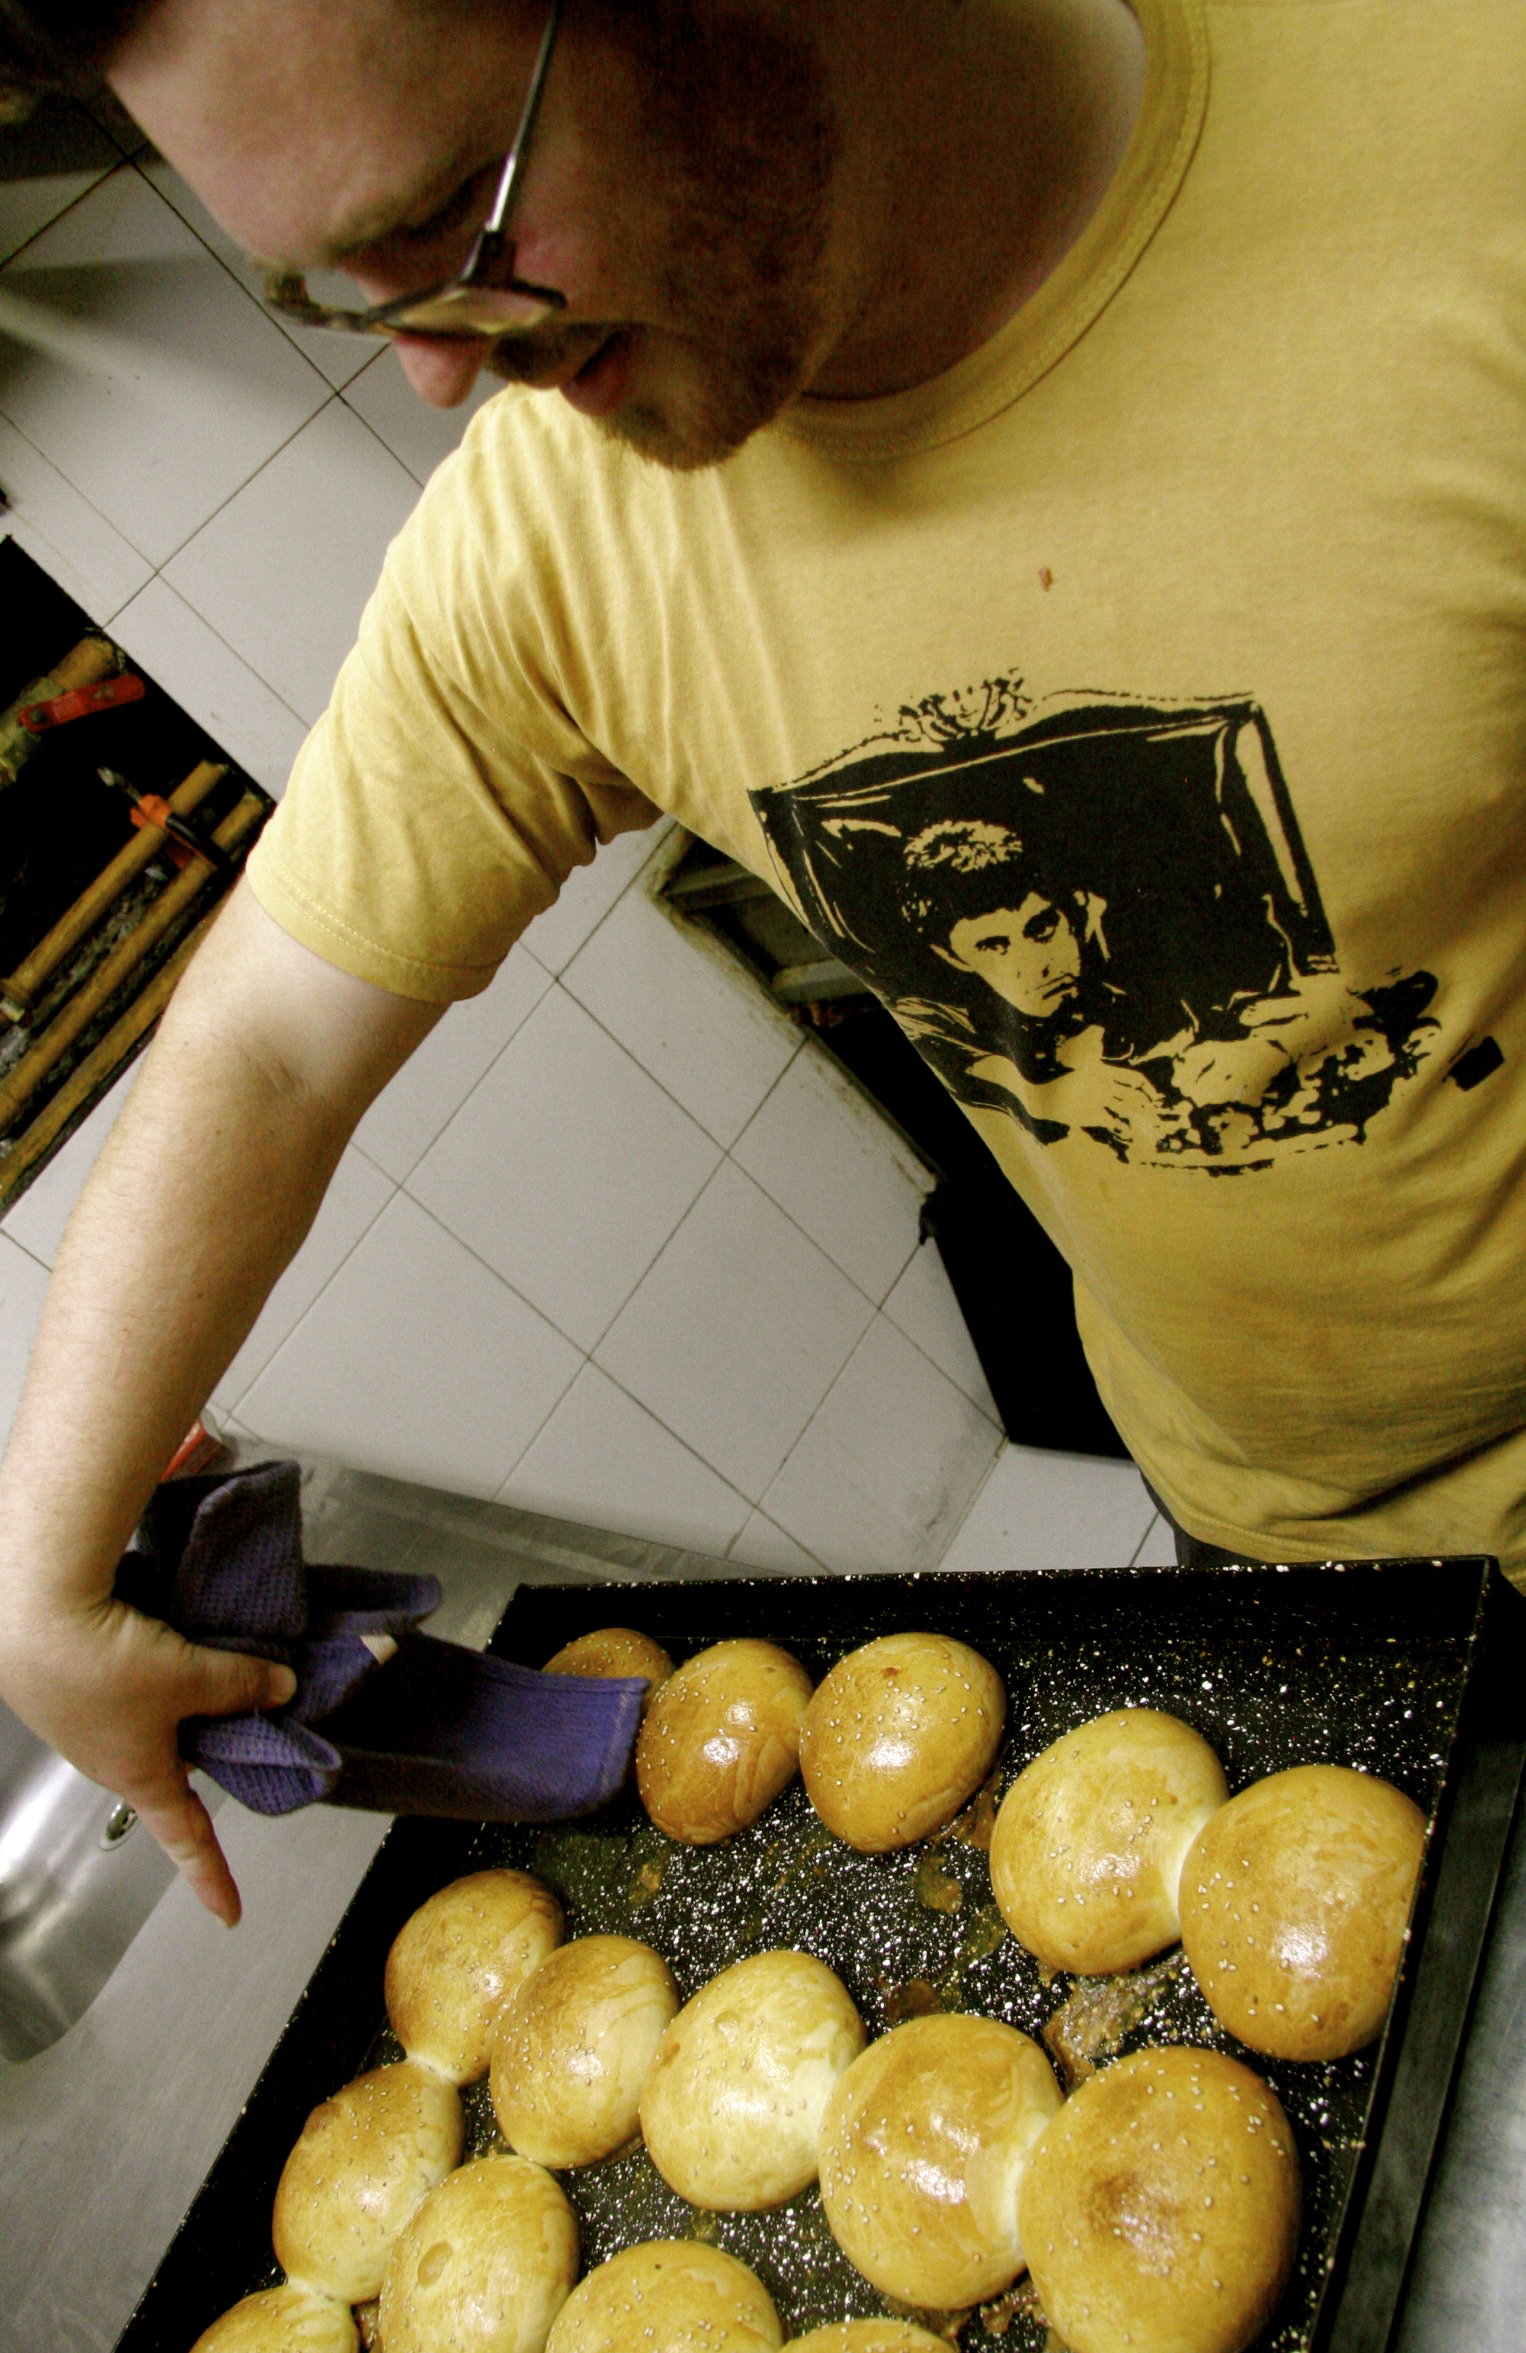
Throw em in the oven at 400 degrees. Let em go for 20 minutes. Pull em out when the tops are golden brown.
Sometimes you even get a kinky surprise.
STEP 8. TELL EVERYBODY YOU MADE THAT SHIT YOURSELF
Thats the whole point of going through the effort right? I used to like to go around the restaurant telling people while they are eating that I made that bun this morning. I don’t know if anybody cares, but I find it highly entertaining.



Daniel says
Now I know where that reddish hair I found in my fucking bun came !
Jim Carruthers says
The Office was one of my destinations while I was in BA this past January. The buns were terrific!!
Argentina vacation says
Looks so good! thanks a lot for giving every little detail. Hopefully mine will look as good as yours!!
gurso says
Now you’ve done something useful! See? Kudos.
Ramirez says
Haha. Fantasizing about becoming a chef and knowing shit about making food and then writing witty blogs about it. Thank you for sharing, I thoroughly enjoyed the read.
Pearl says
Perfect instructions. I want to make these. And I love the pictures.
carly says
Aka Arbolito :)
NOLAchef says
Alan and his big buns. Genial.