I’m not the type of person who likes to bake. I’m not able to make things perfectly shaped. I find it annoying to measure out exact amounts, keep track of baking times, wait for foods to rise, to rest, to cool. Then, comes the clean up, or not cleaning it up, and having to suffer the dried up wet flour mixture consequences. None of those things sound like my idea of a fun or relaxing activity. But I do like to eat. Especially foods that aren’t available in Buenos Aires. And that’s what one chewy, soft and doughy bread has got me really excited. Ecstatic, you could say. And you should be happy about it too.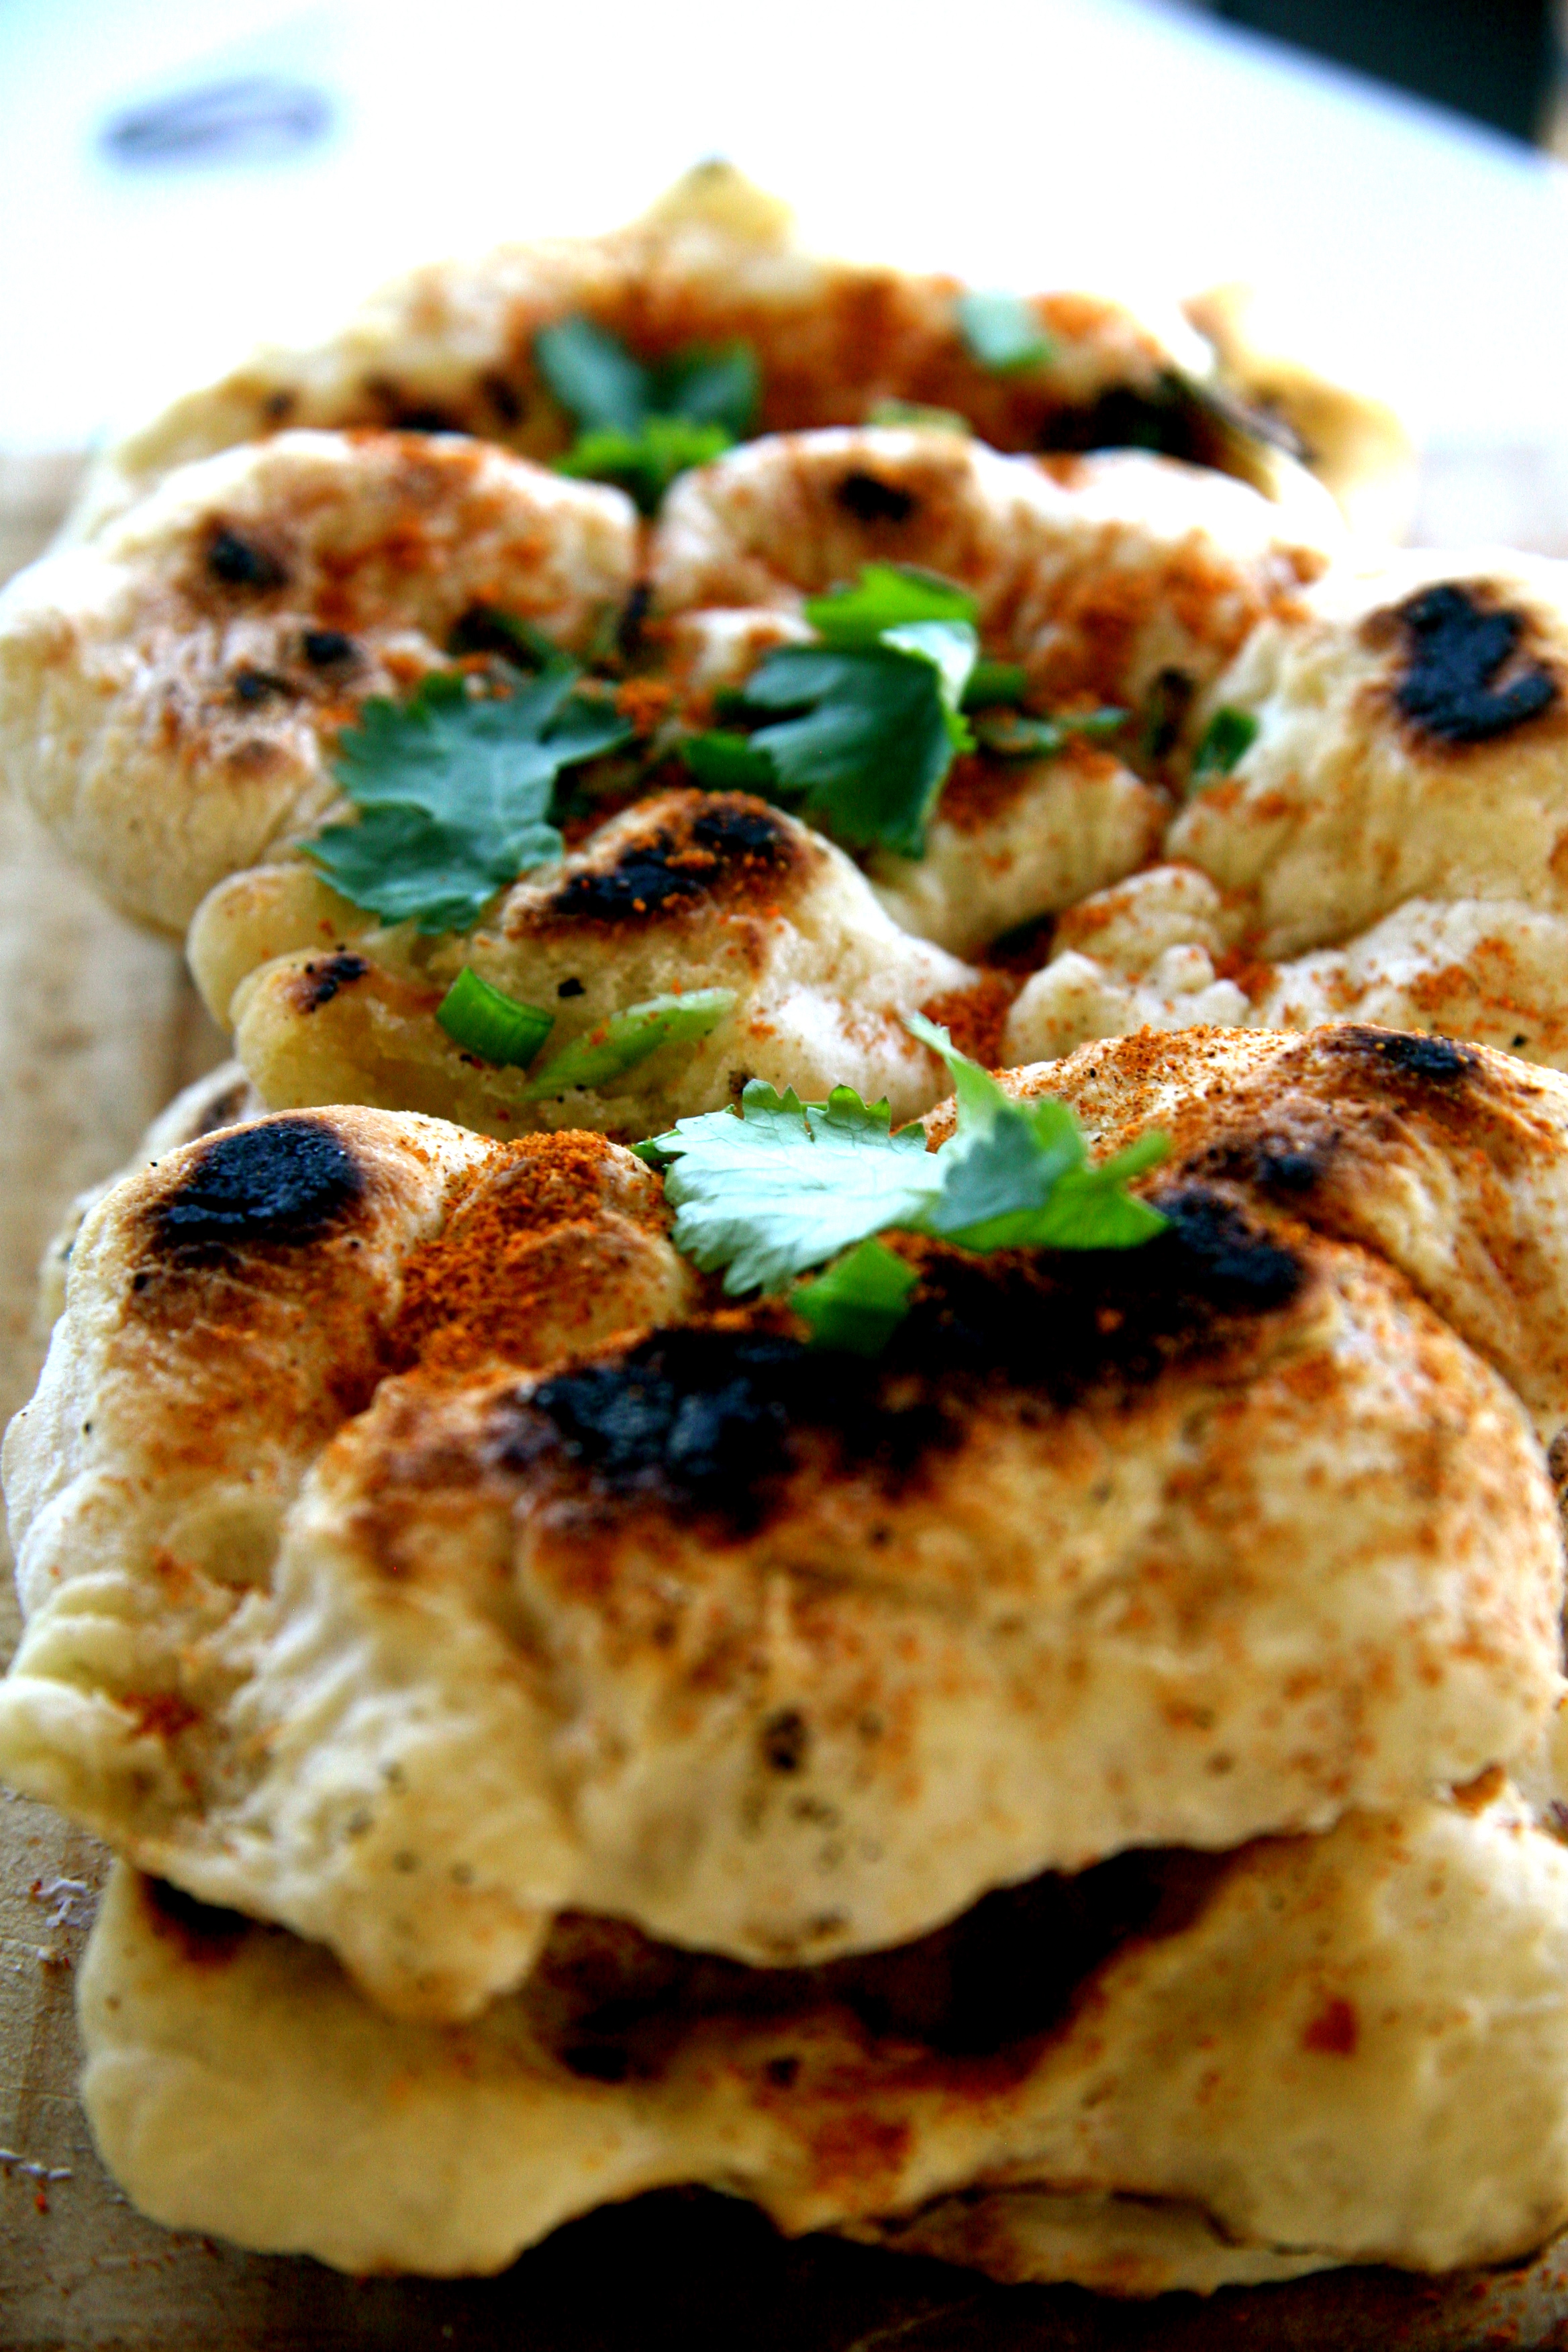
Making naan bread at home is simple, easy, cheap and virtually requires no skills nor baking. Here’s a step by step game plan of how to make your very own batch of naan.
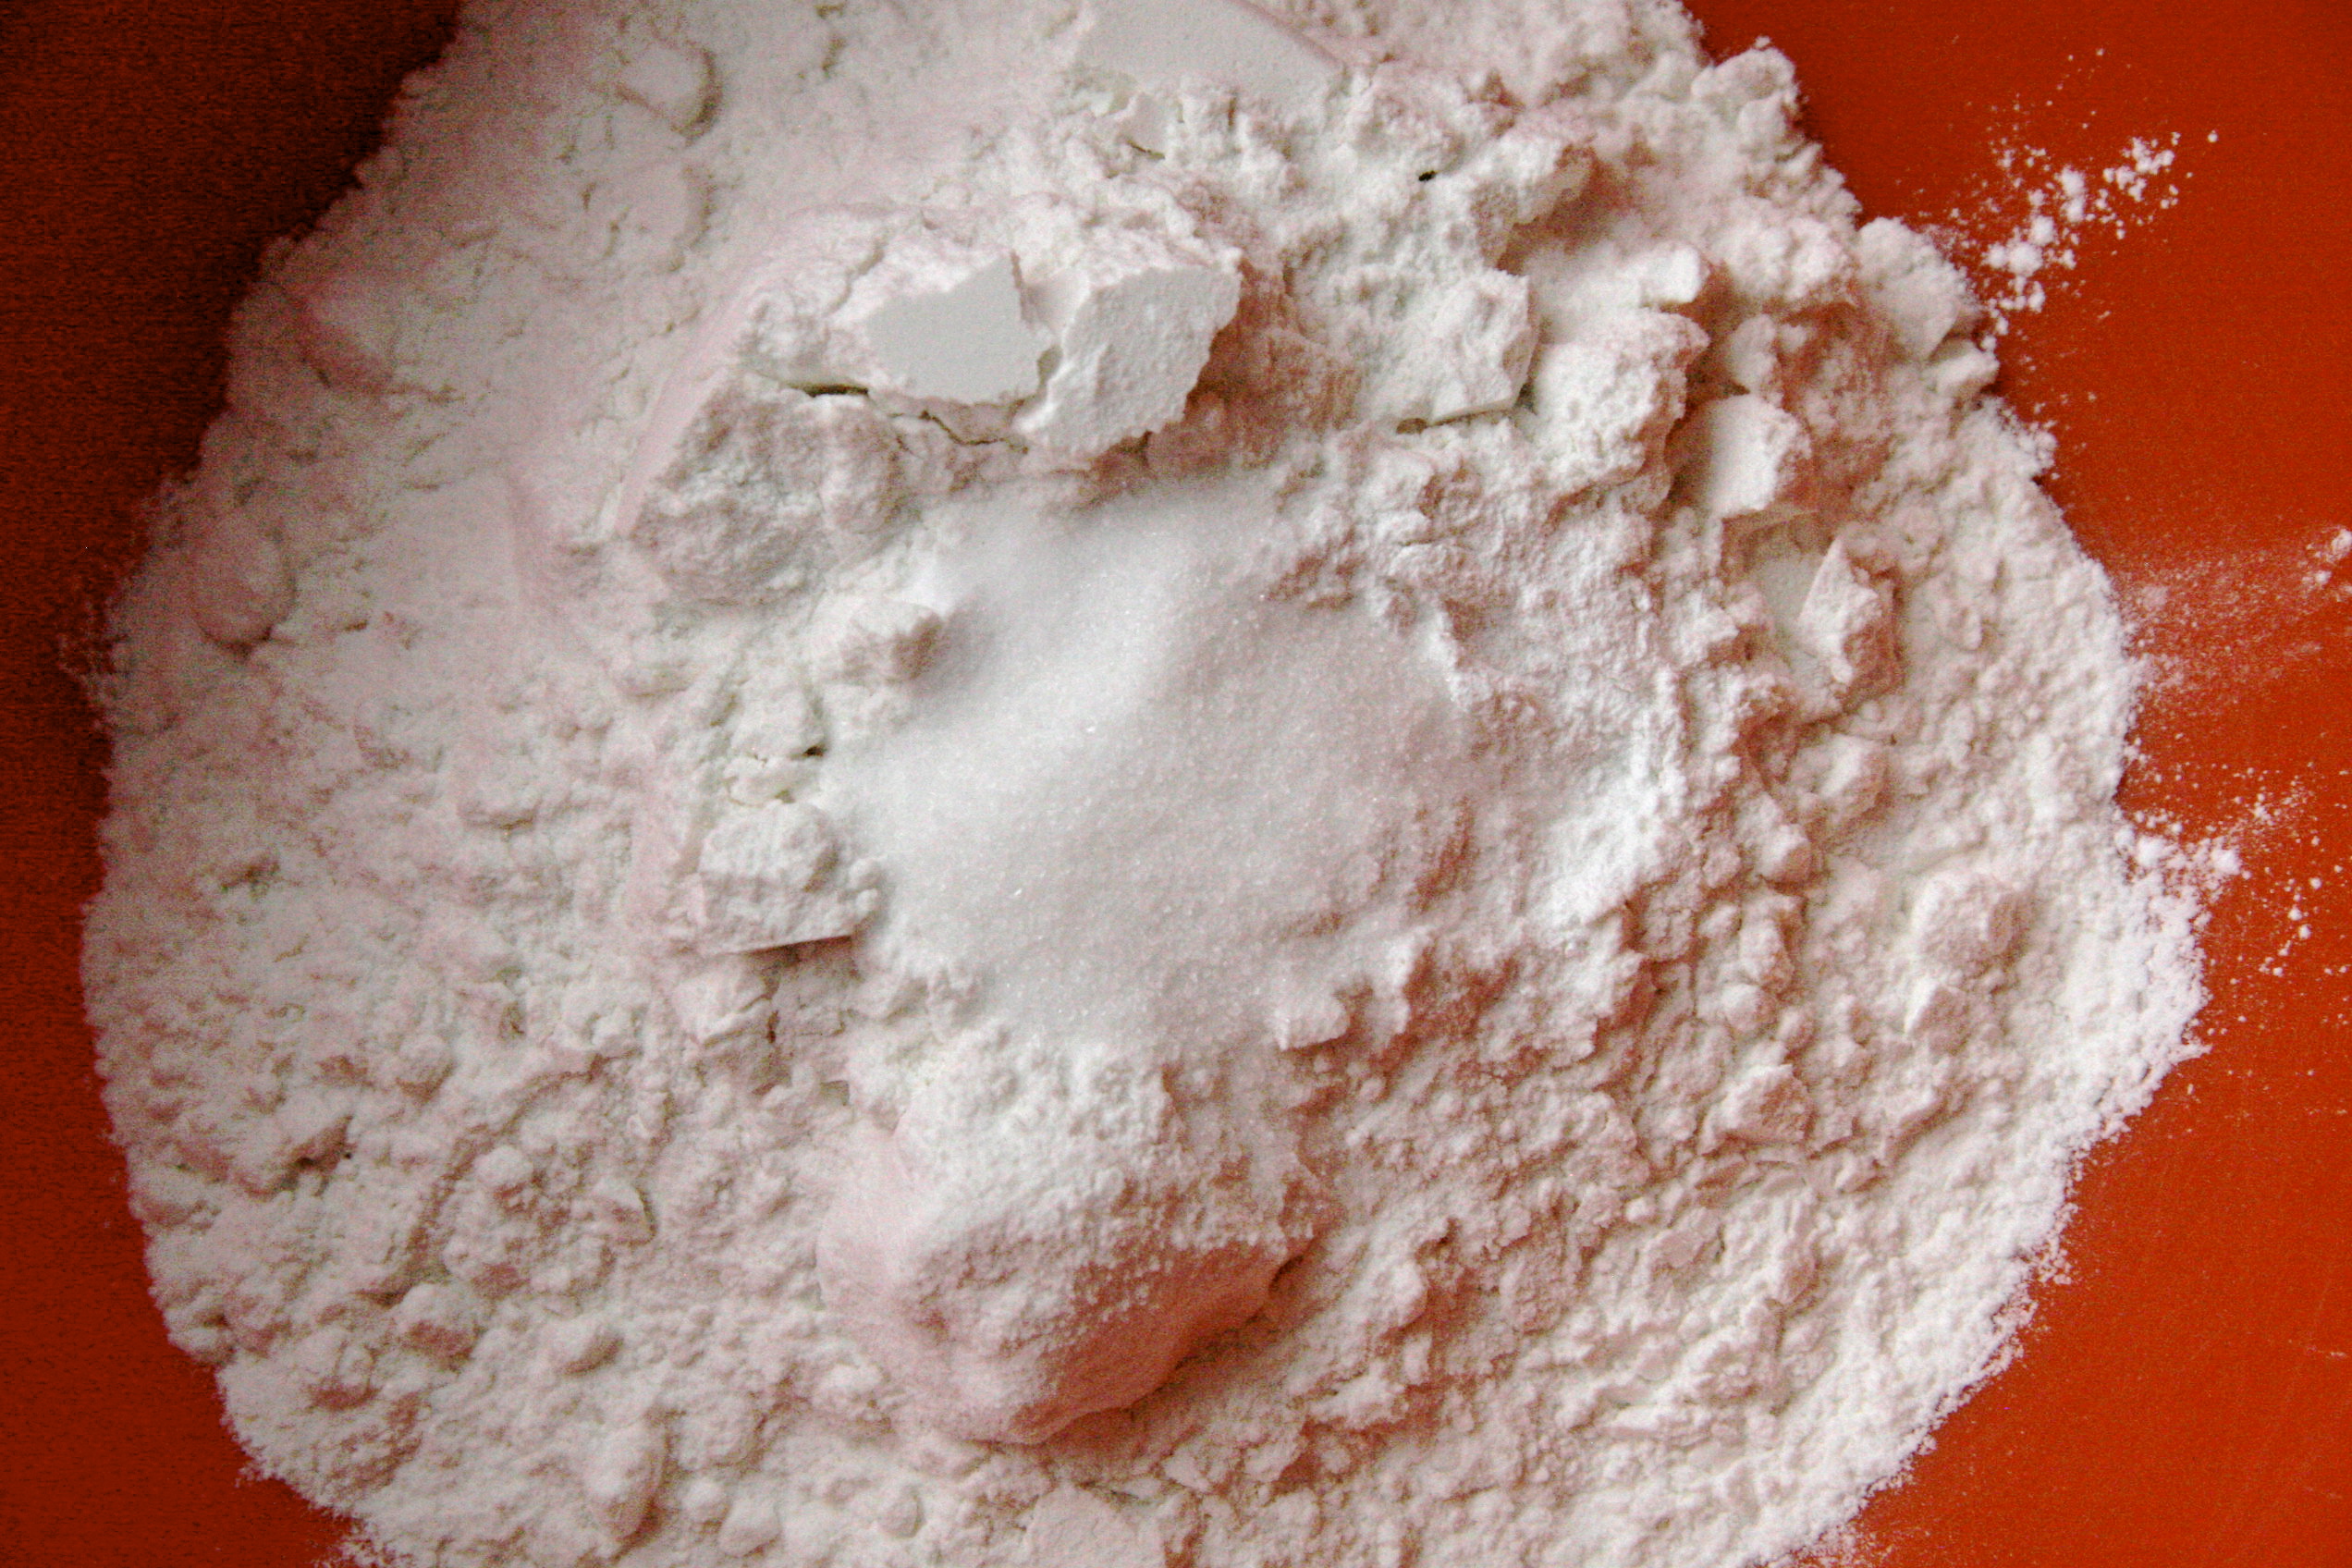
Measure all your dry ingredients and put it in a bowl: all purpose flour, baking powder, baking soda, salt and sugar. You probably already have all these essentials in your kitchen, and if you don’t, you definitely should.
Measure plain yogurt and milk and combine. Pop in the microwave for about 30 seconds, or heat it up on the stove, just to warm it a little bit. Since the plain yogurt in Argentina pretty much sucks, I’ve used three different kinds for this recipe and each has worked out pretty well: #1 Dahi plain yogurt #2 Natural flavor of La Serenisima’s Griego (OJO: this ain’t real Greek yogurt) or #3 The natural firme version of Sancor’s Yogo. Any full fat plain flavored unsweetened yogurt will do.
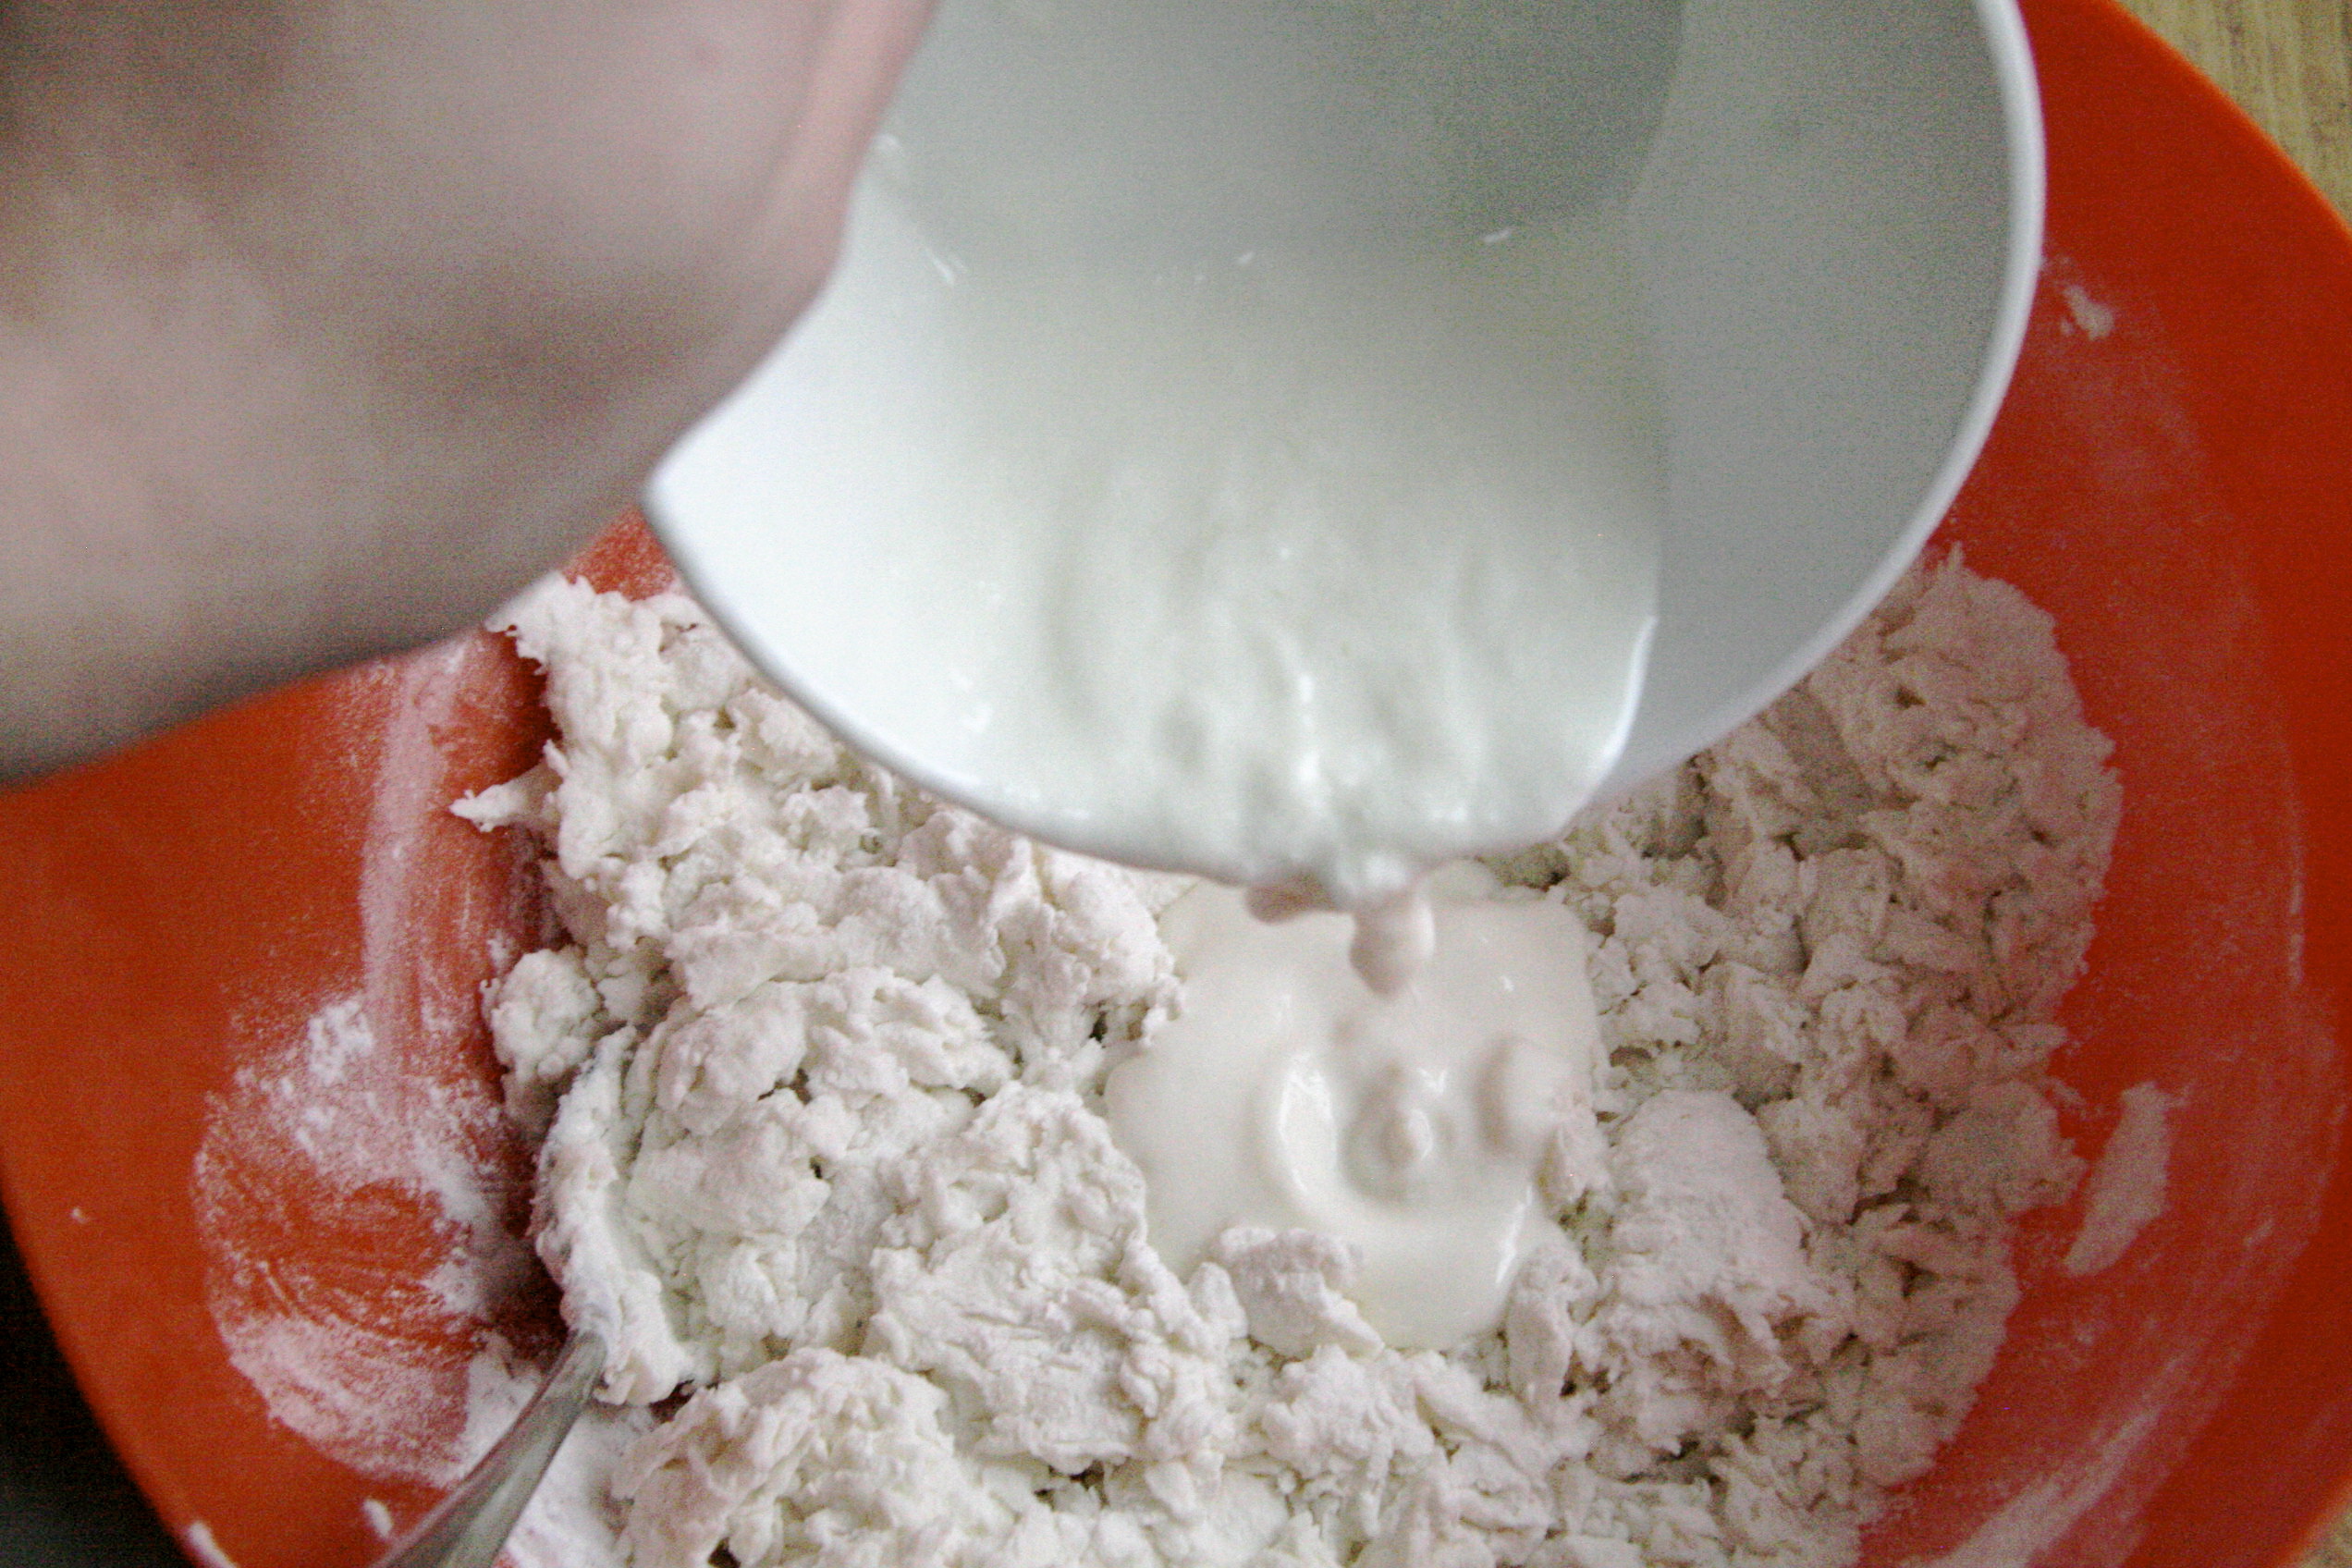
Pour half of the wet ingredients (warmed milk + yogurt) into the dry flour mixture and combine dat shit up good with a spoon. Slowly pour the rest of the yogurt-milk mixture, making sure the dough isn’t becoming too sticky. Mix it together.
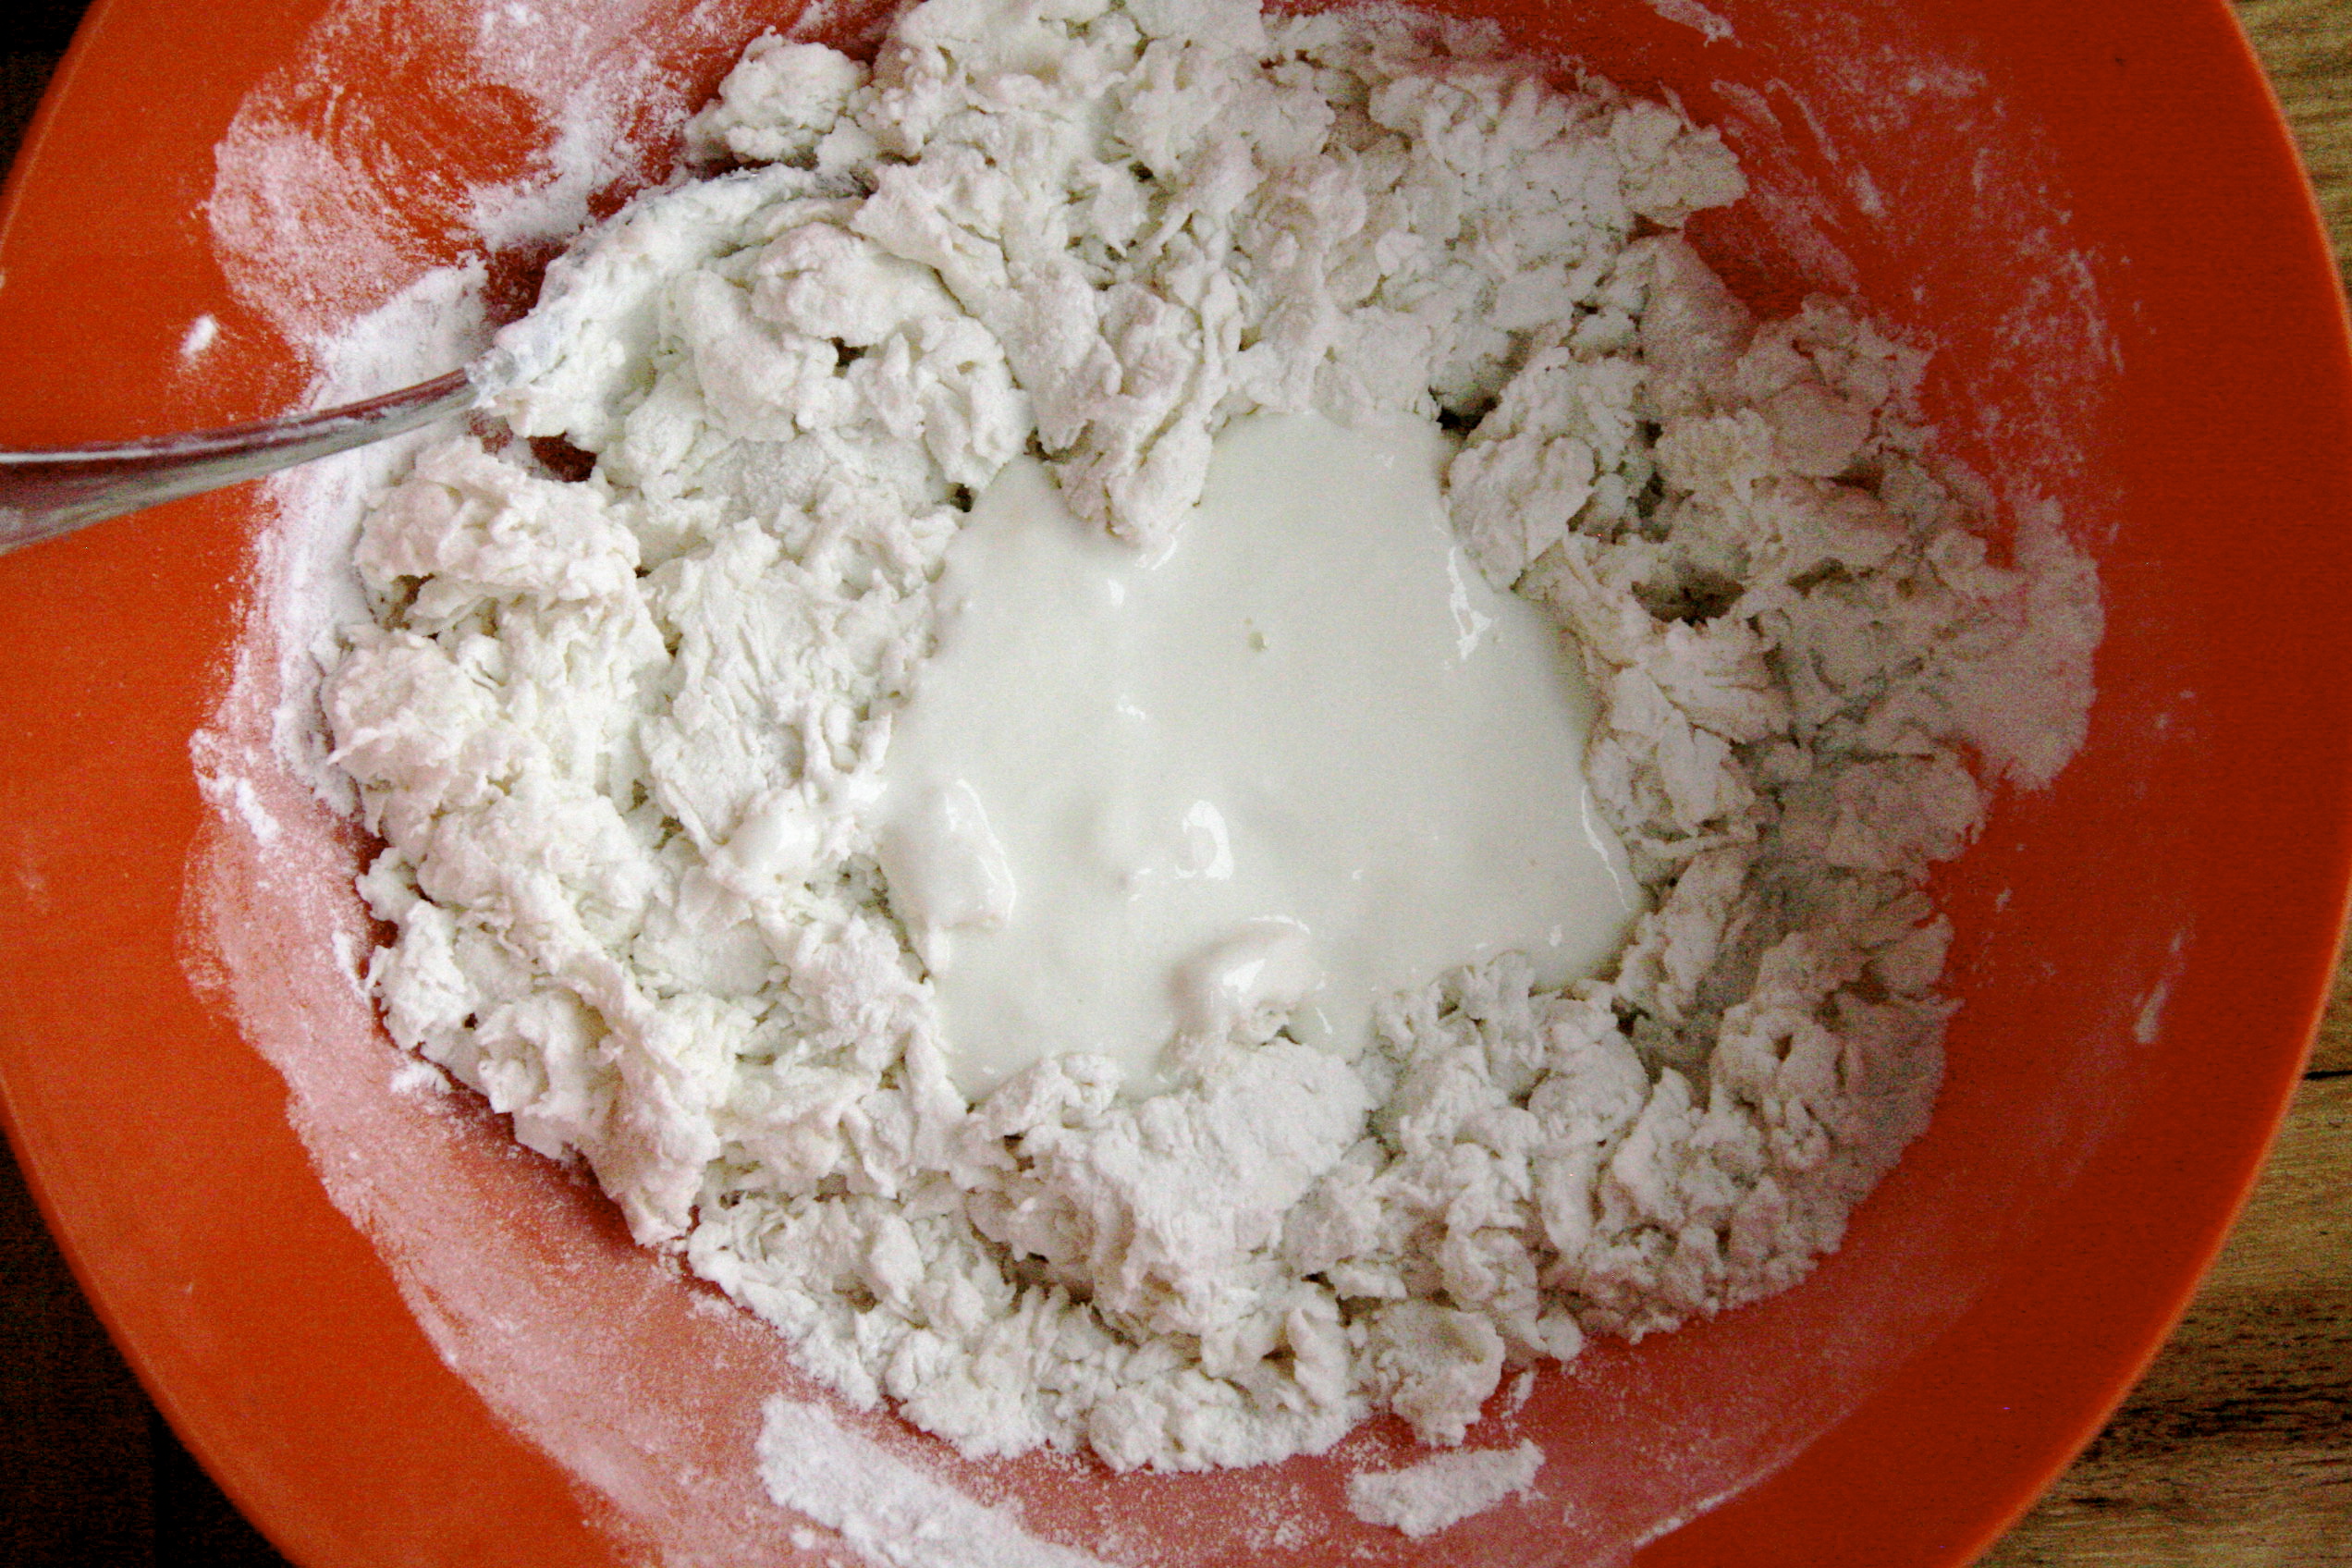
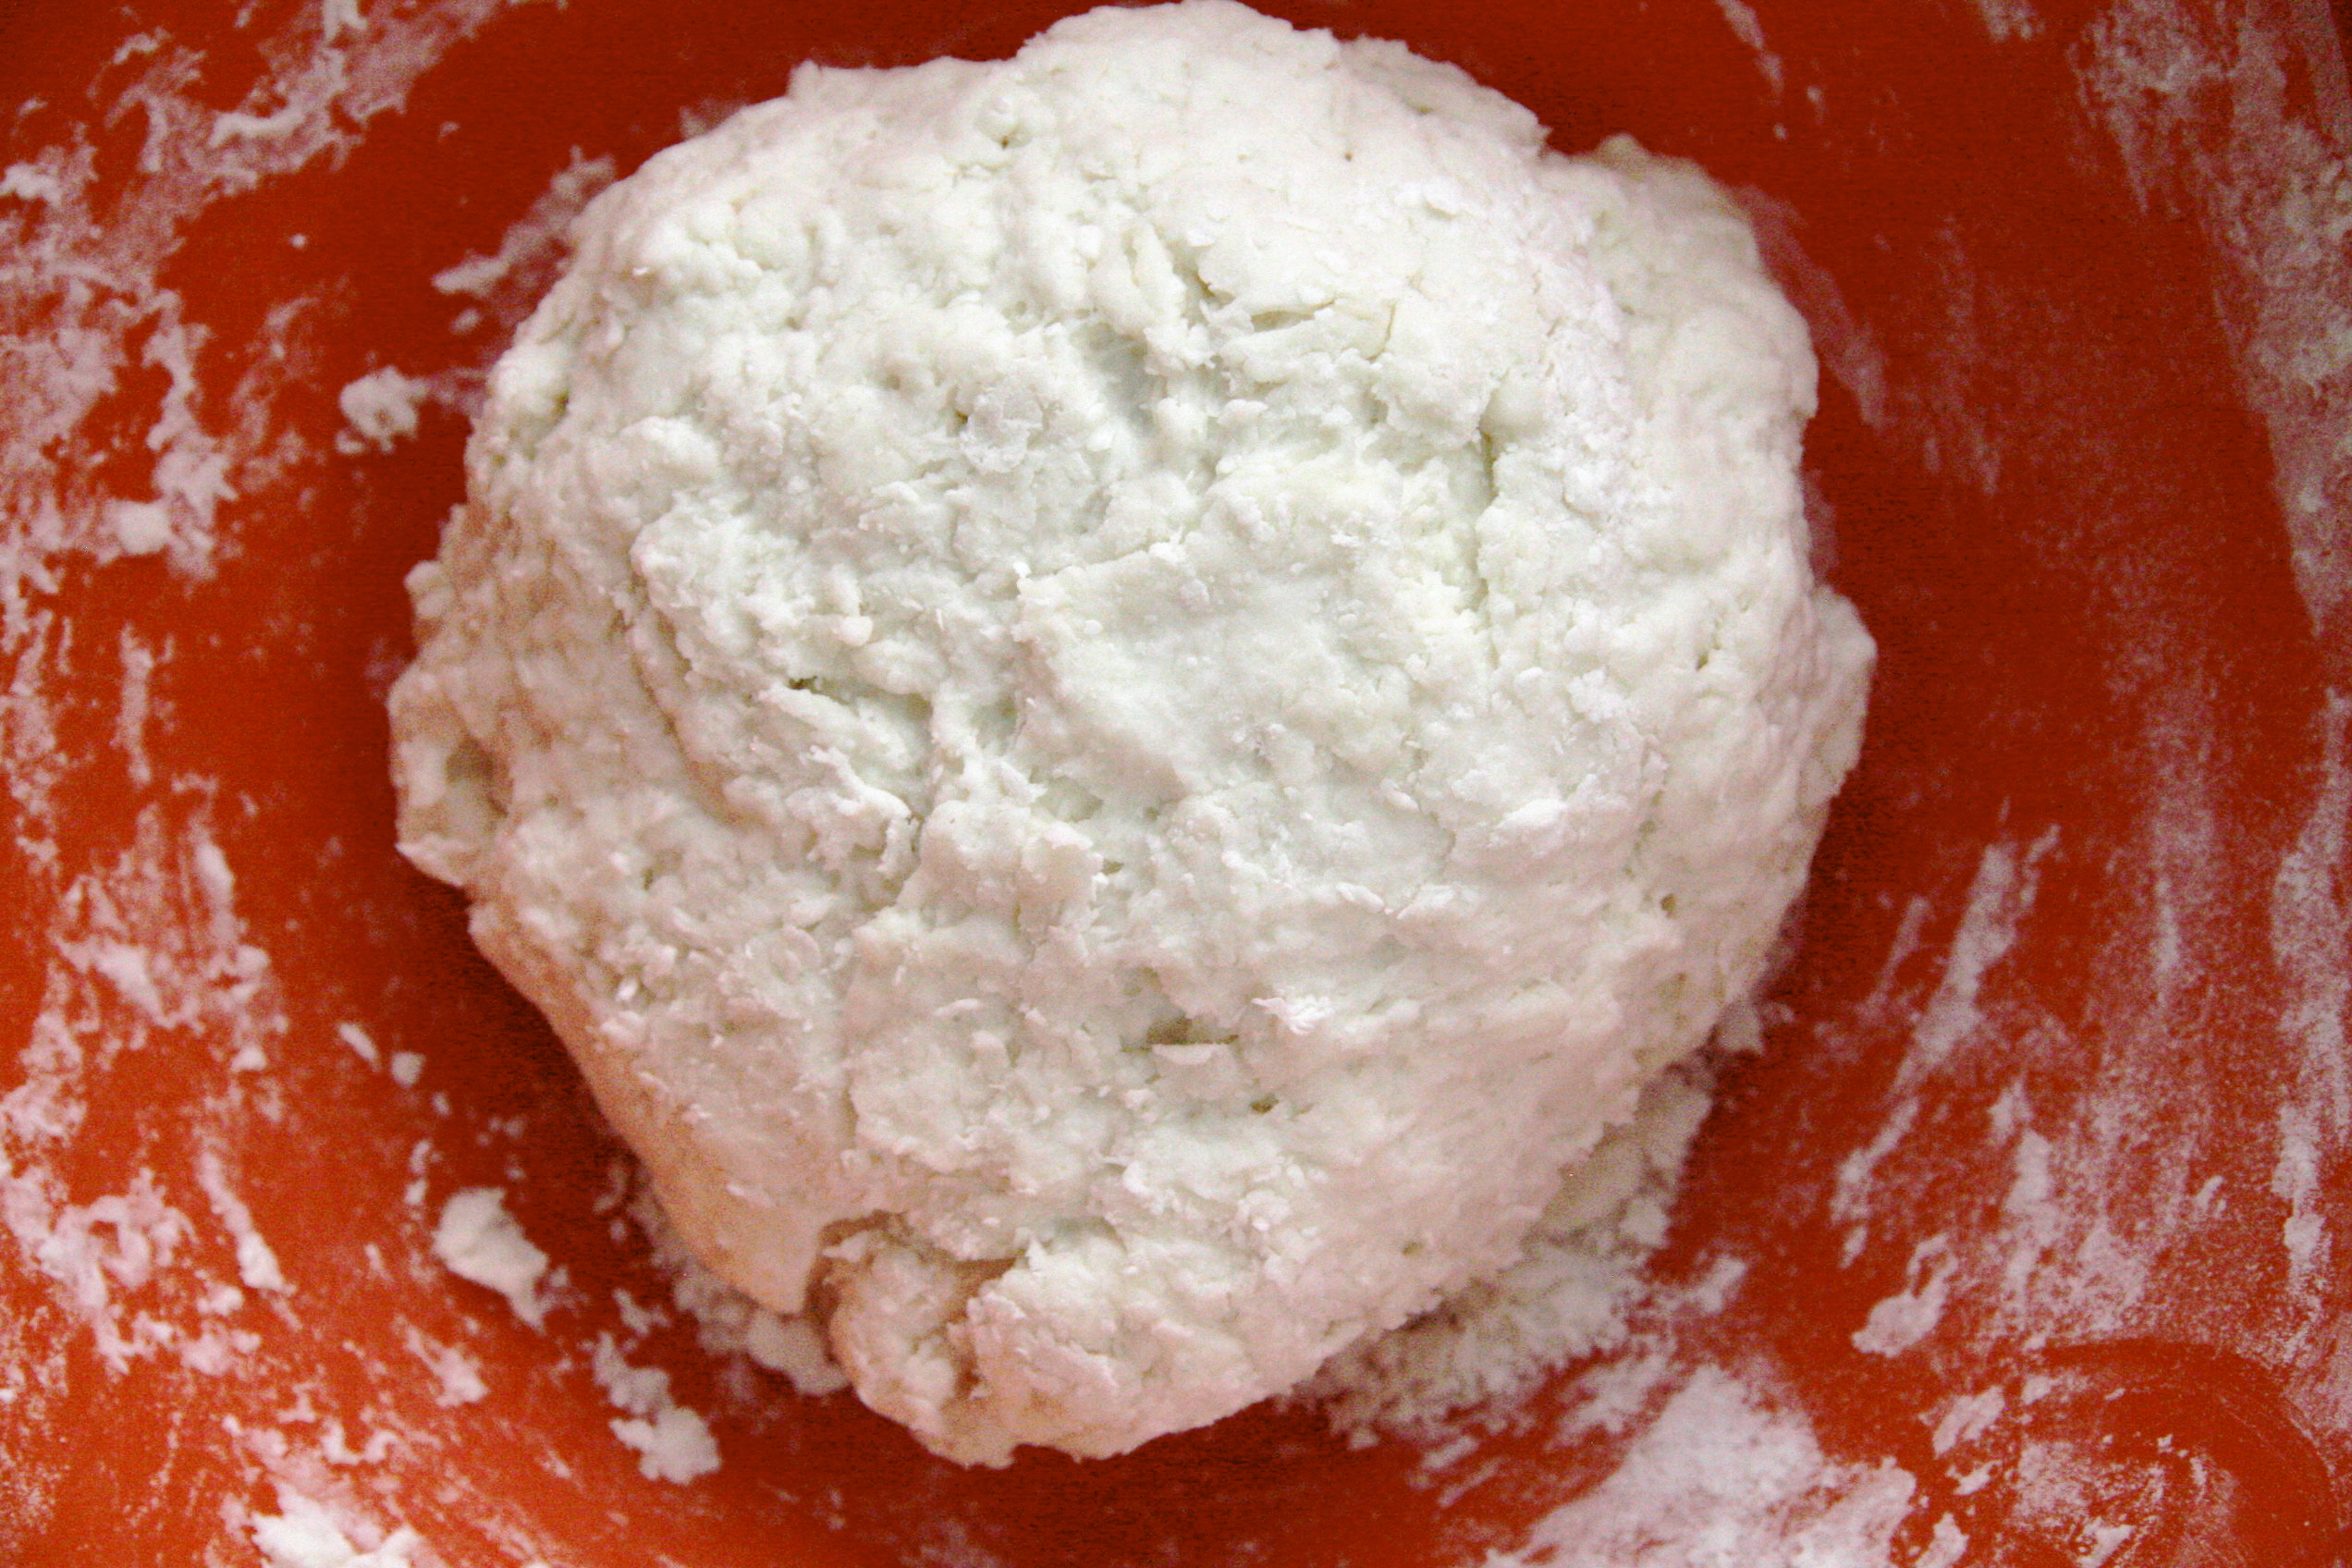
*If you see that you have added too much wetness, add a bit more flour. If you think it’s not wet enough, add more milkyog moisture. You’ll know it’s the right consistency if you stick your finger (or any other body part…) into the dough and it springs back without too much doughy gooey residue. To all you baking illiterates, don’t worry, this is the hardest part.
Once the two ingredients are well combined, cover with a damp towel and store in a nice warm spot, like with the monsters under your bed. Let it rest for about two hours. If you don’t have time or are impatient, you can have it rest for less than two hours, the consistency just won’t be as fluffy.
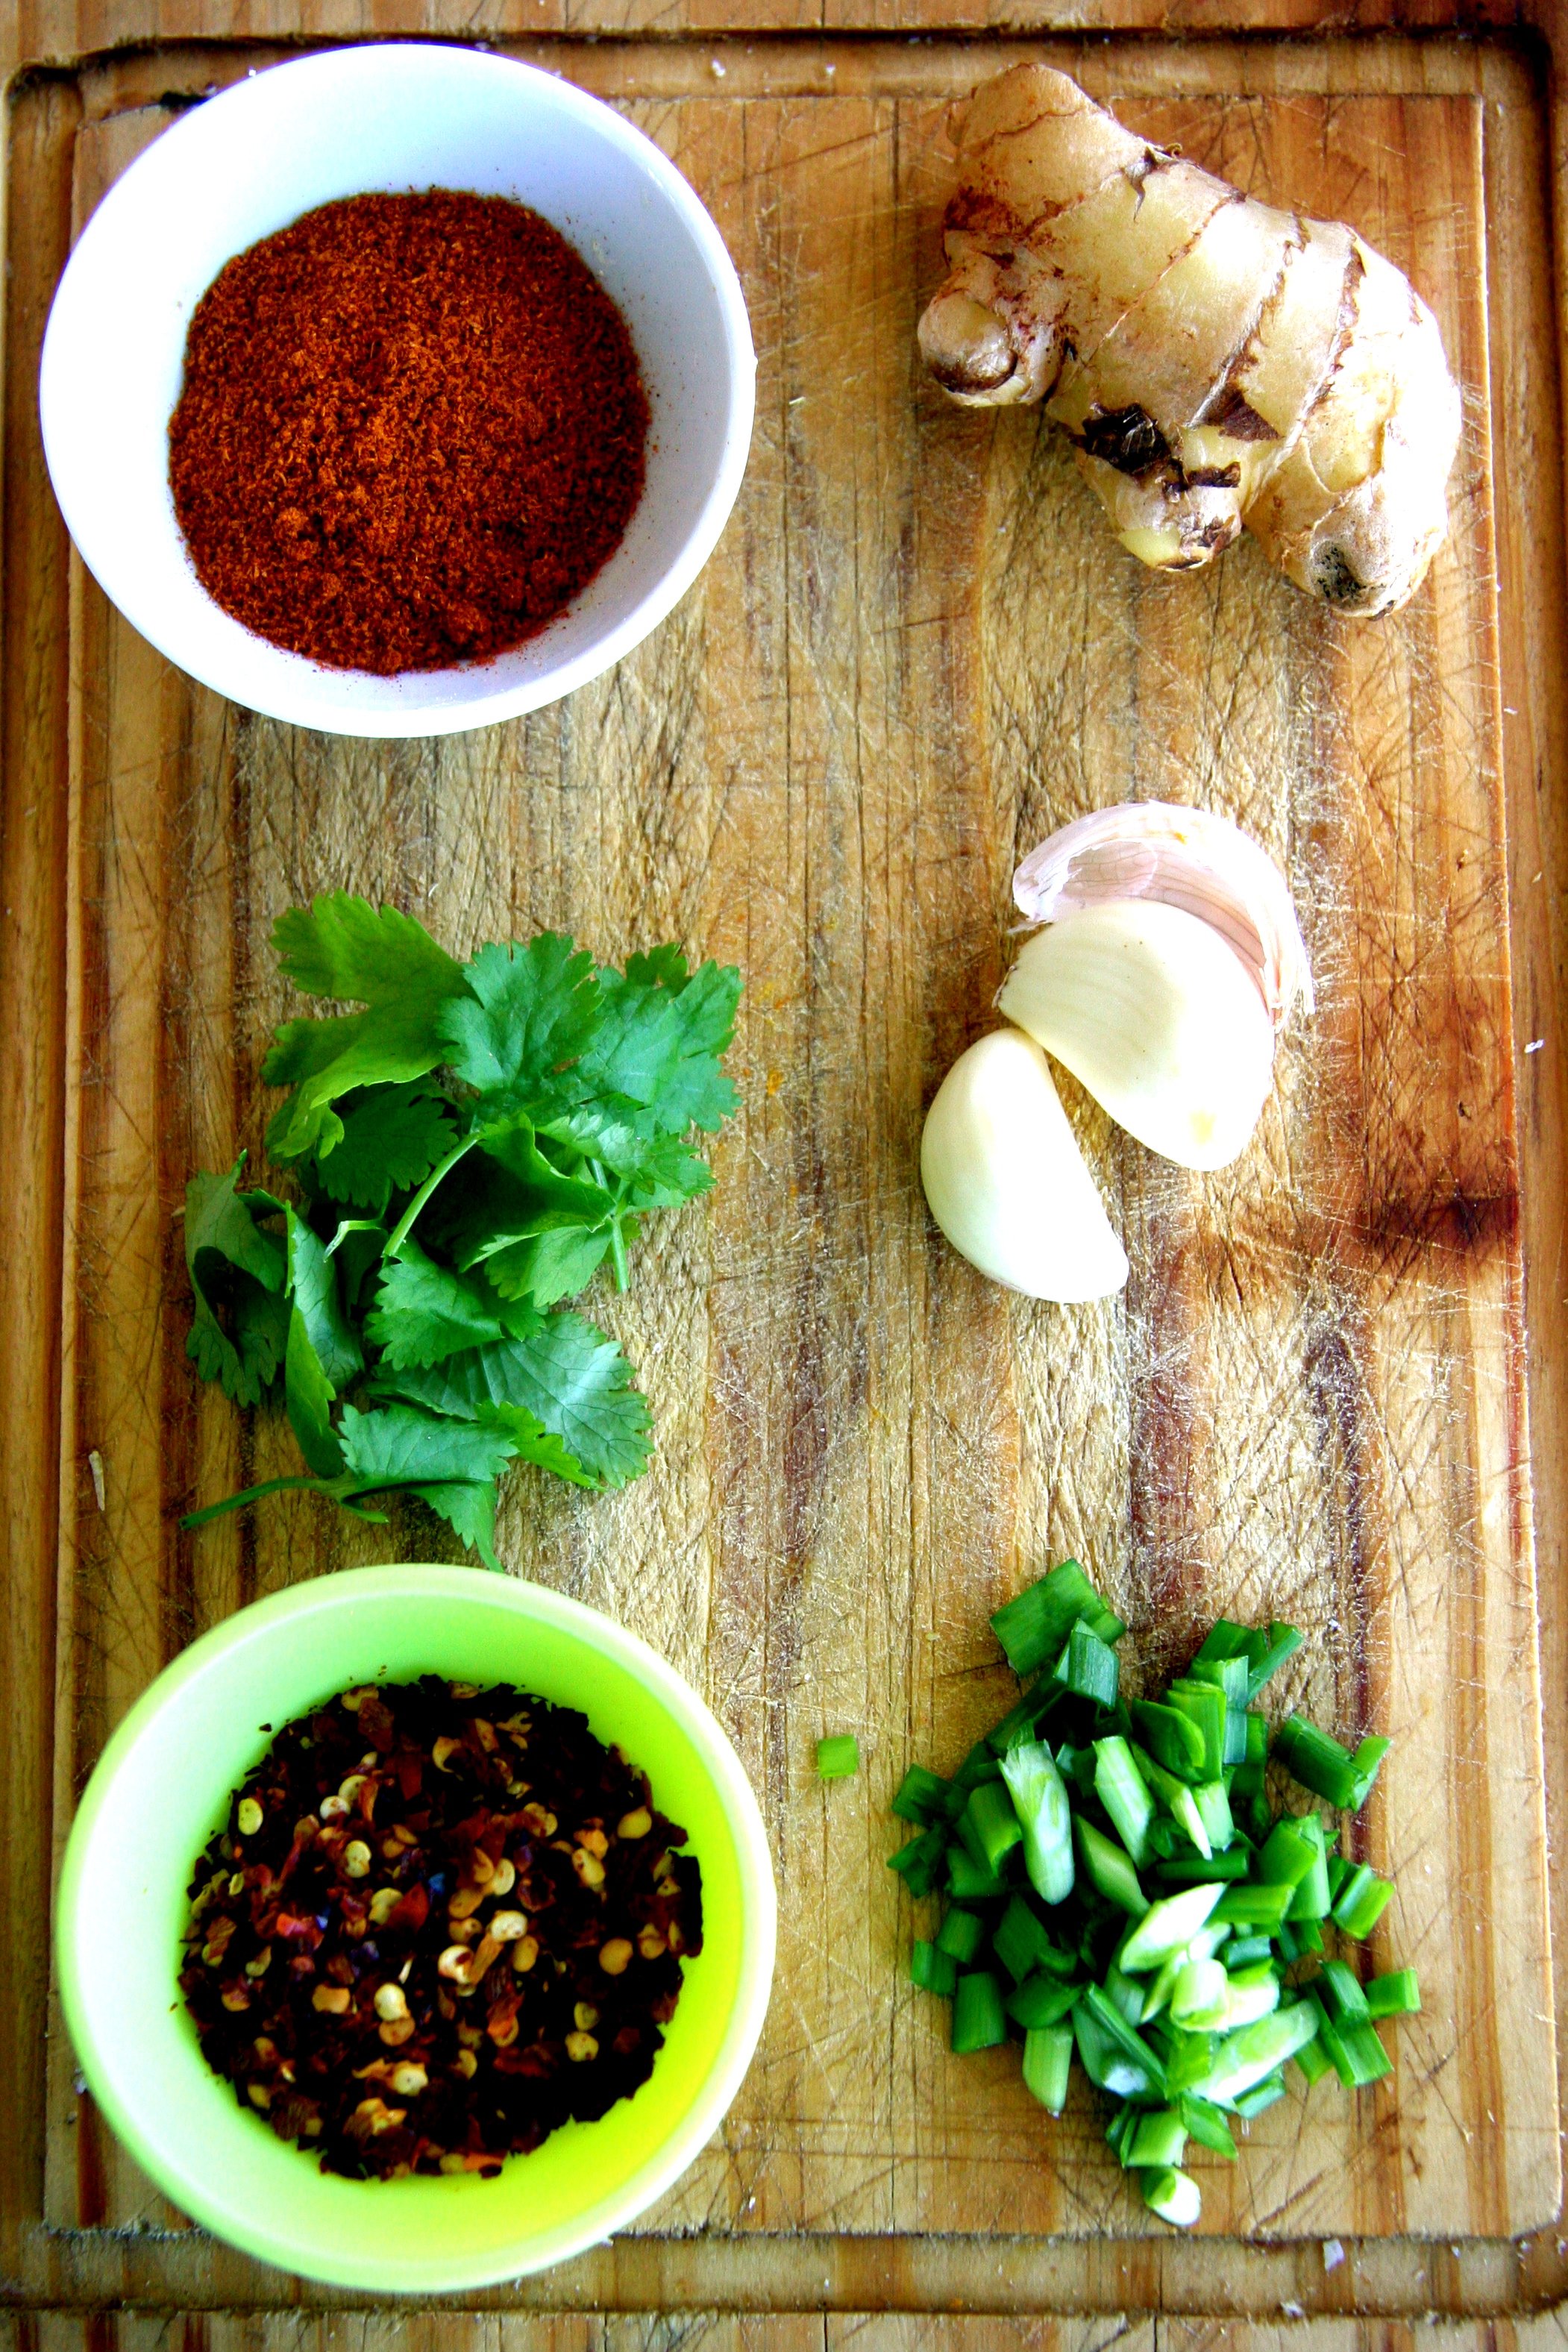
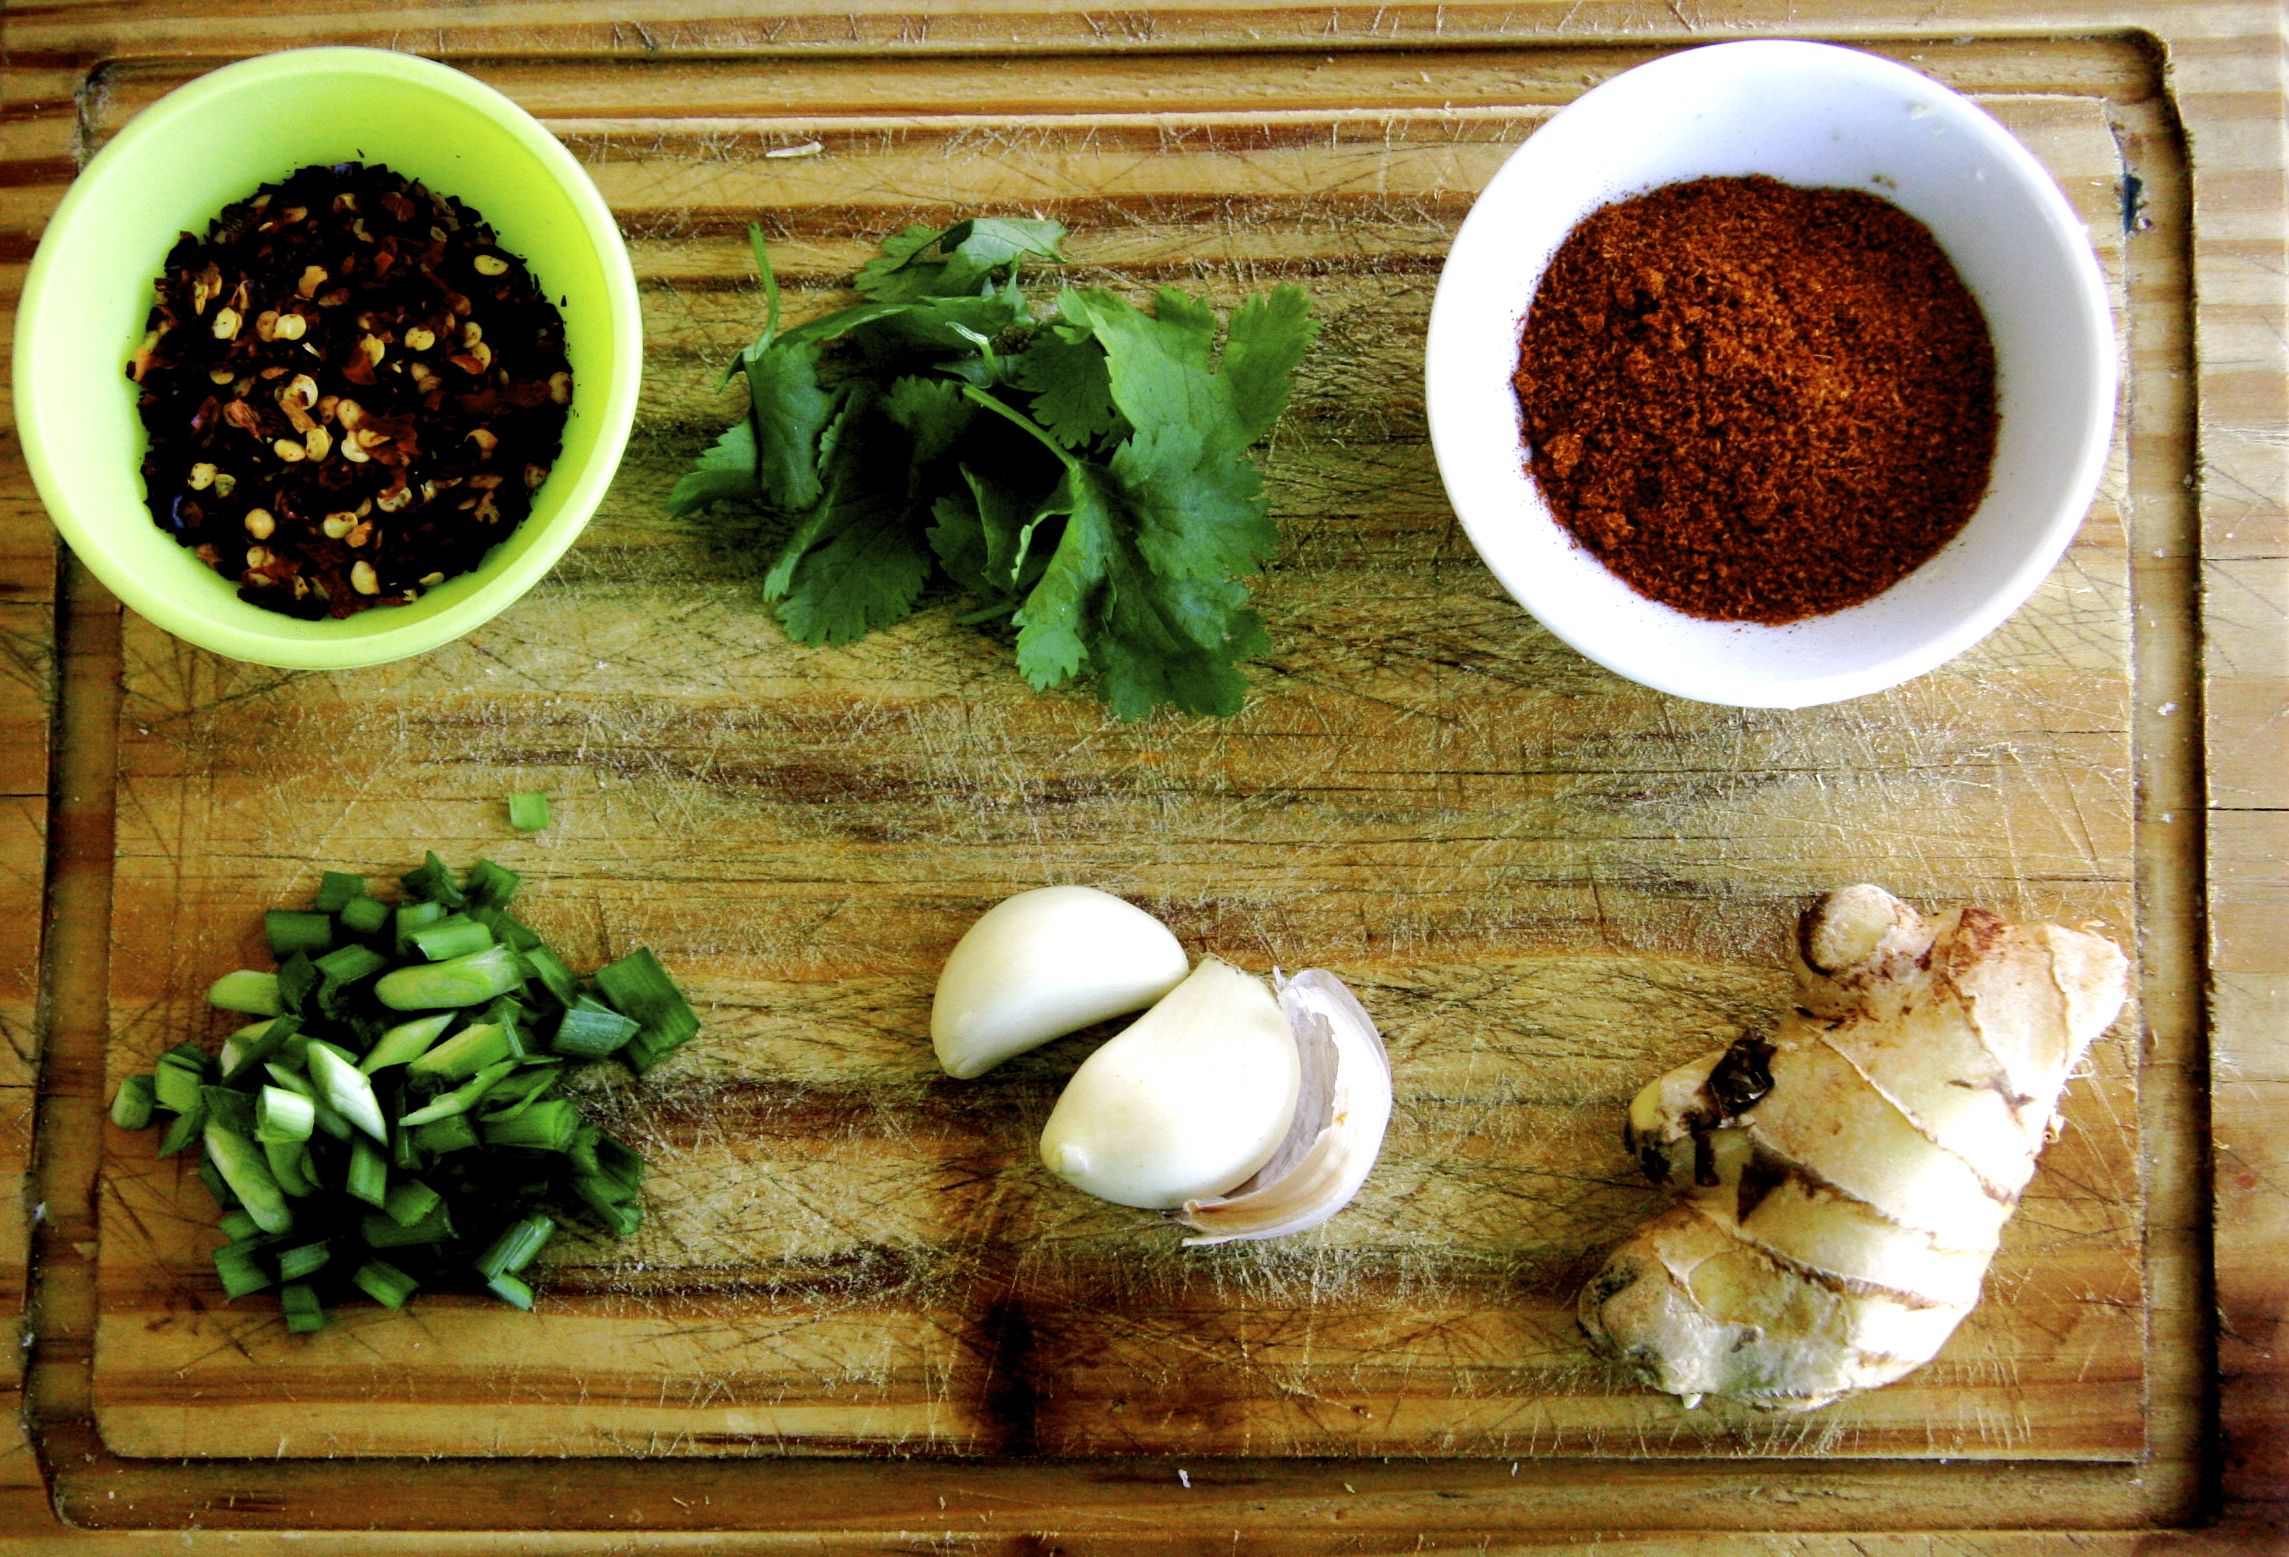
While the dough is warming up, you can begin to prep the toppings. Whatever you like on your naan, go for it! There ain’t no topping rules.
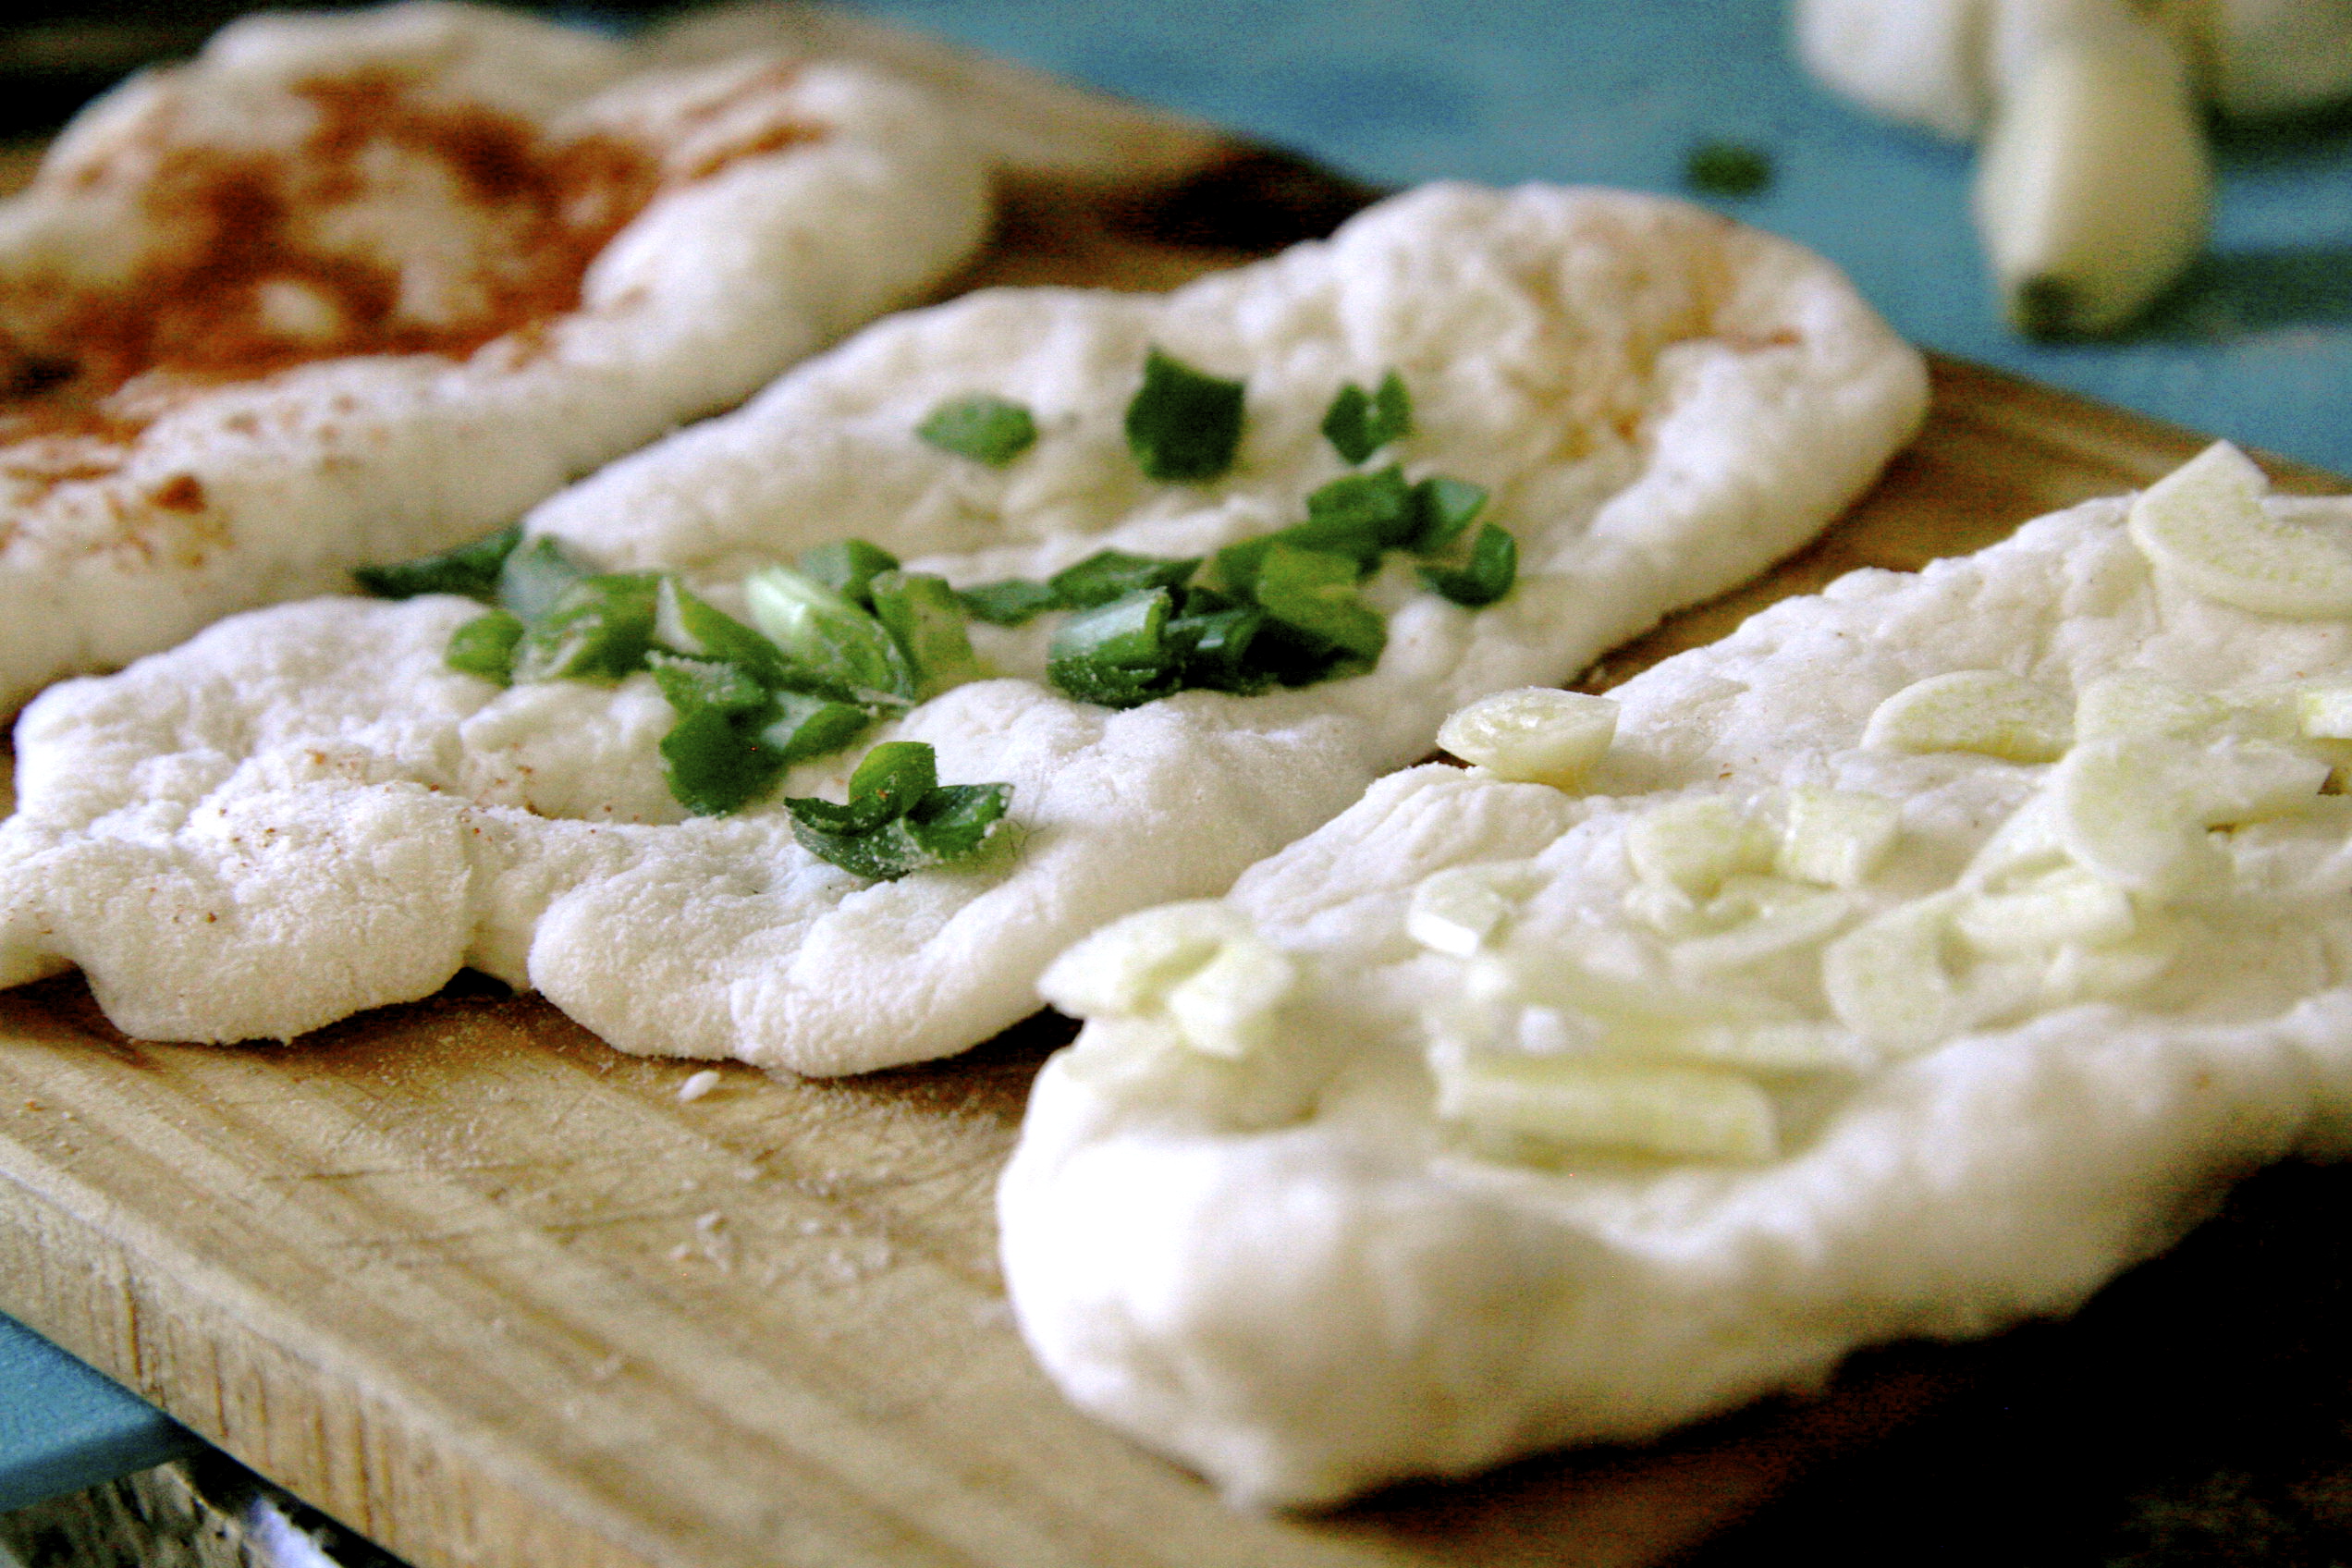
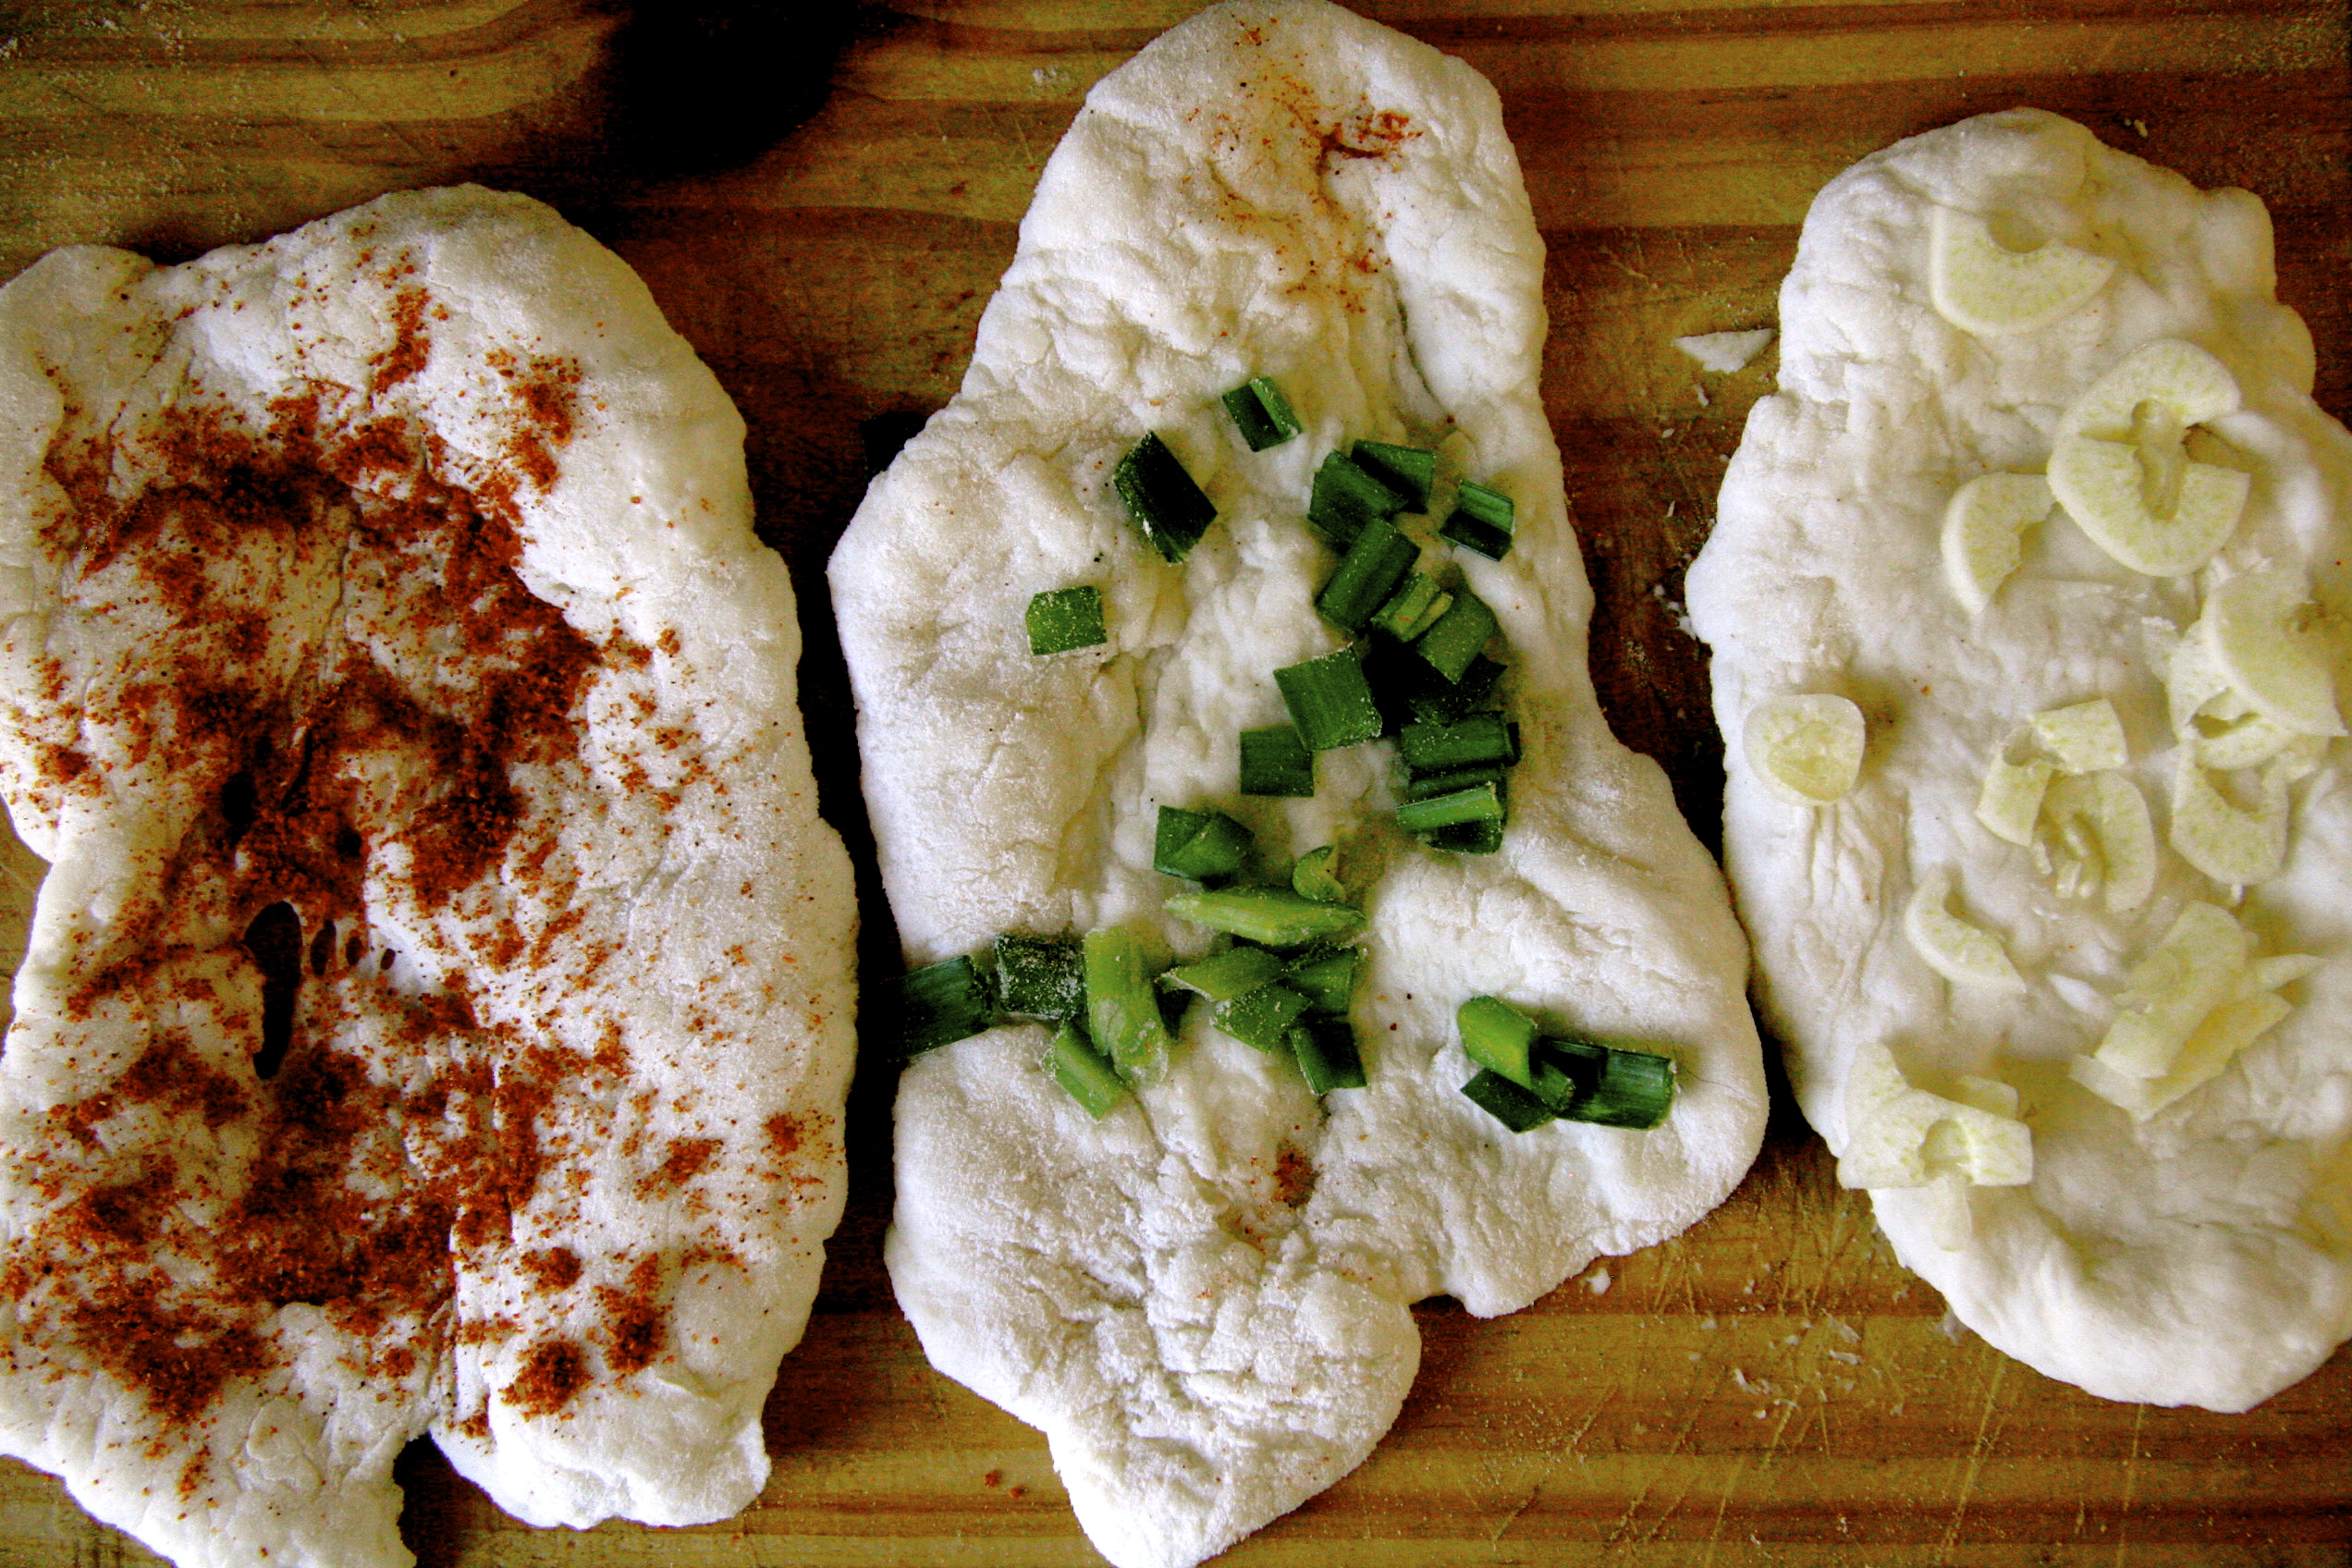
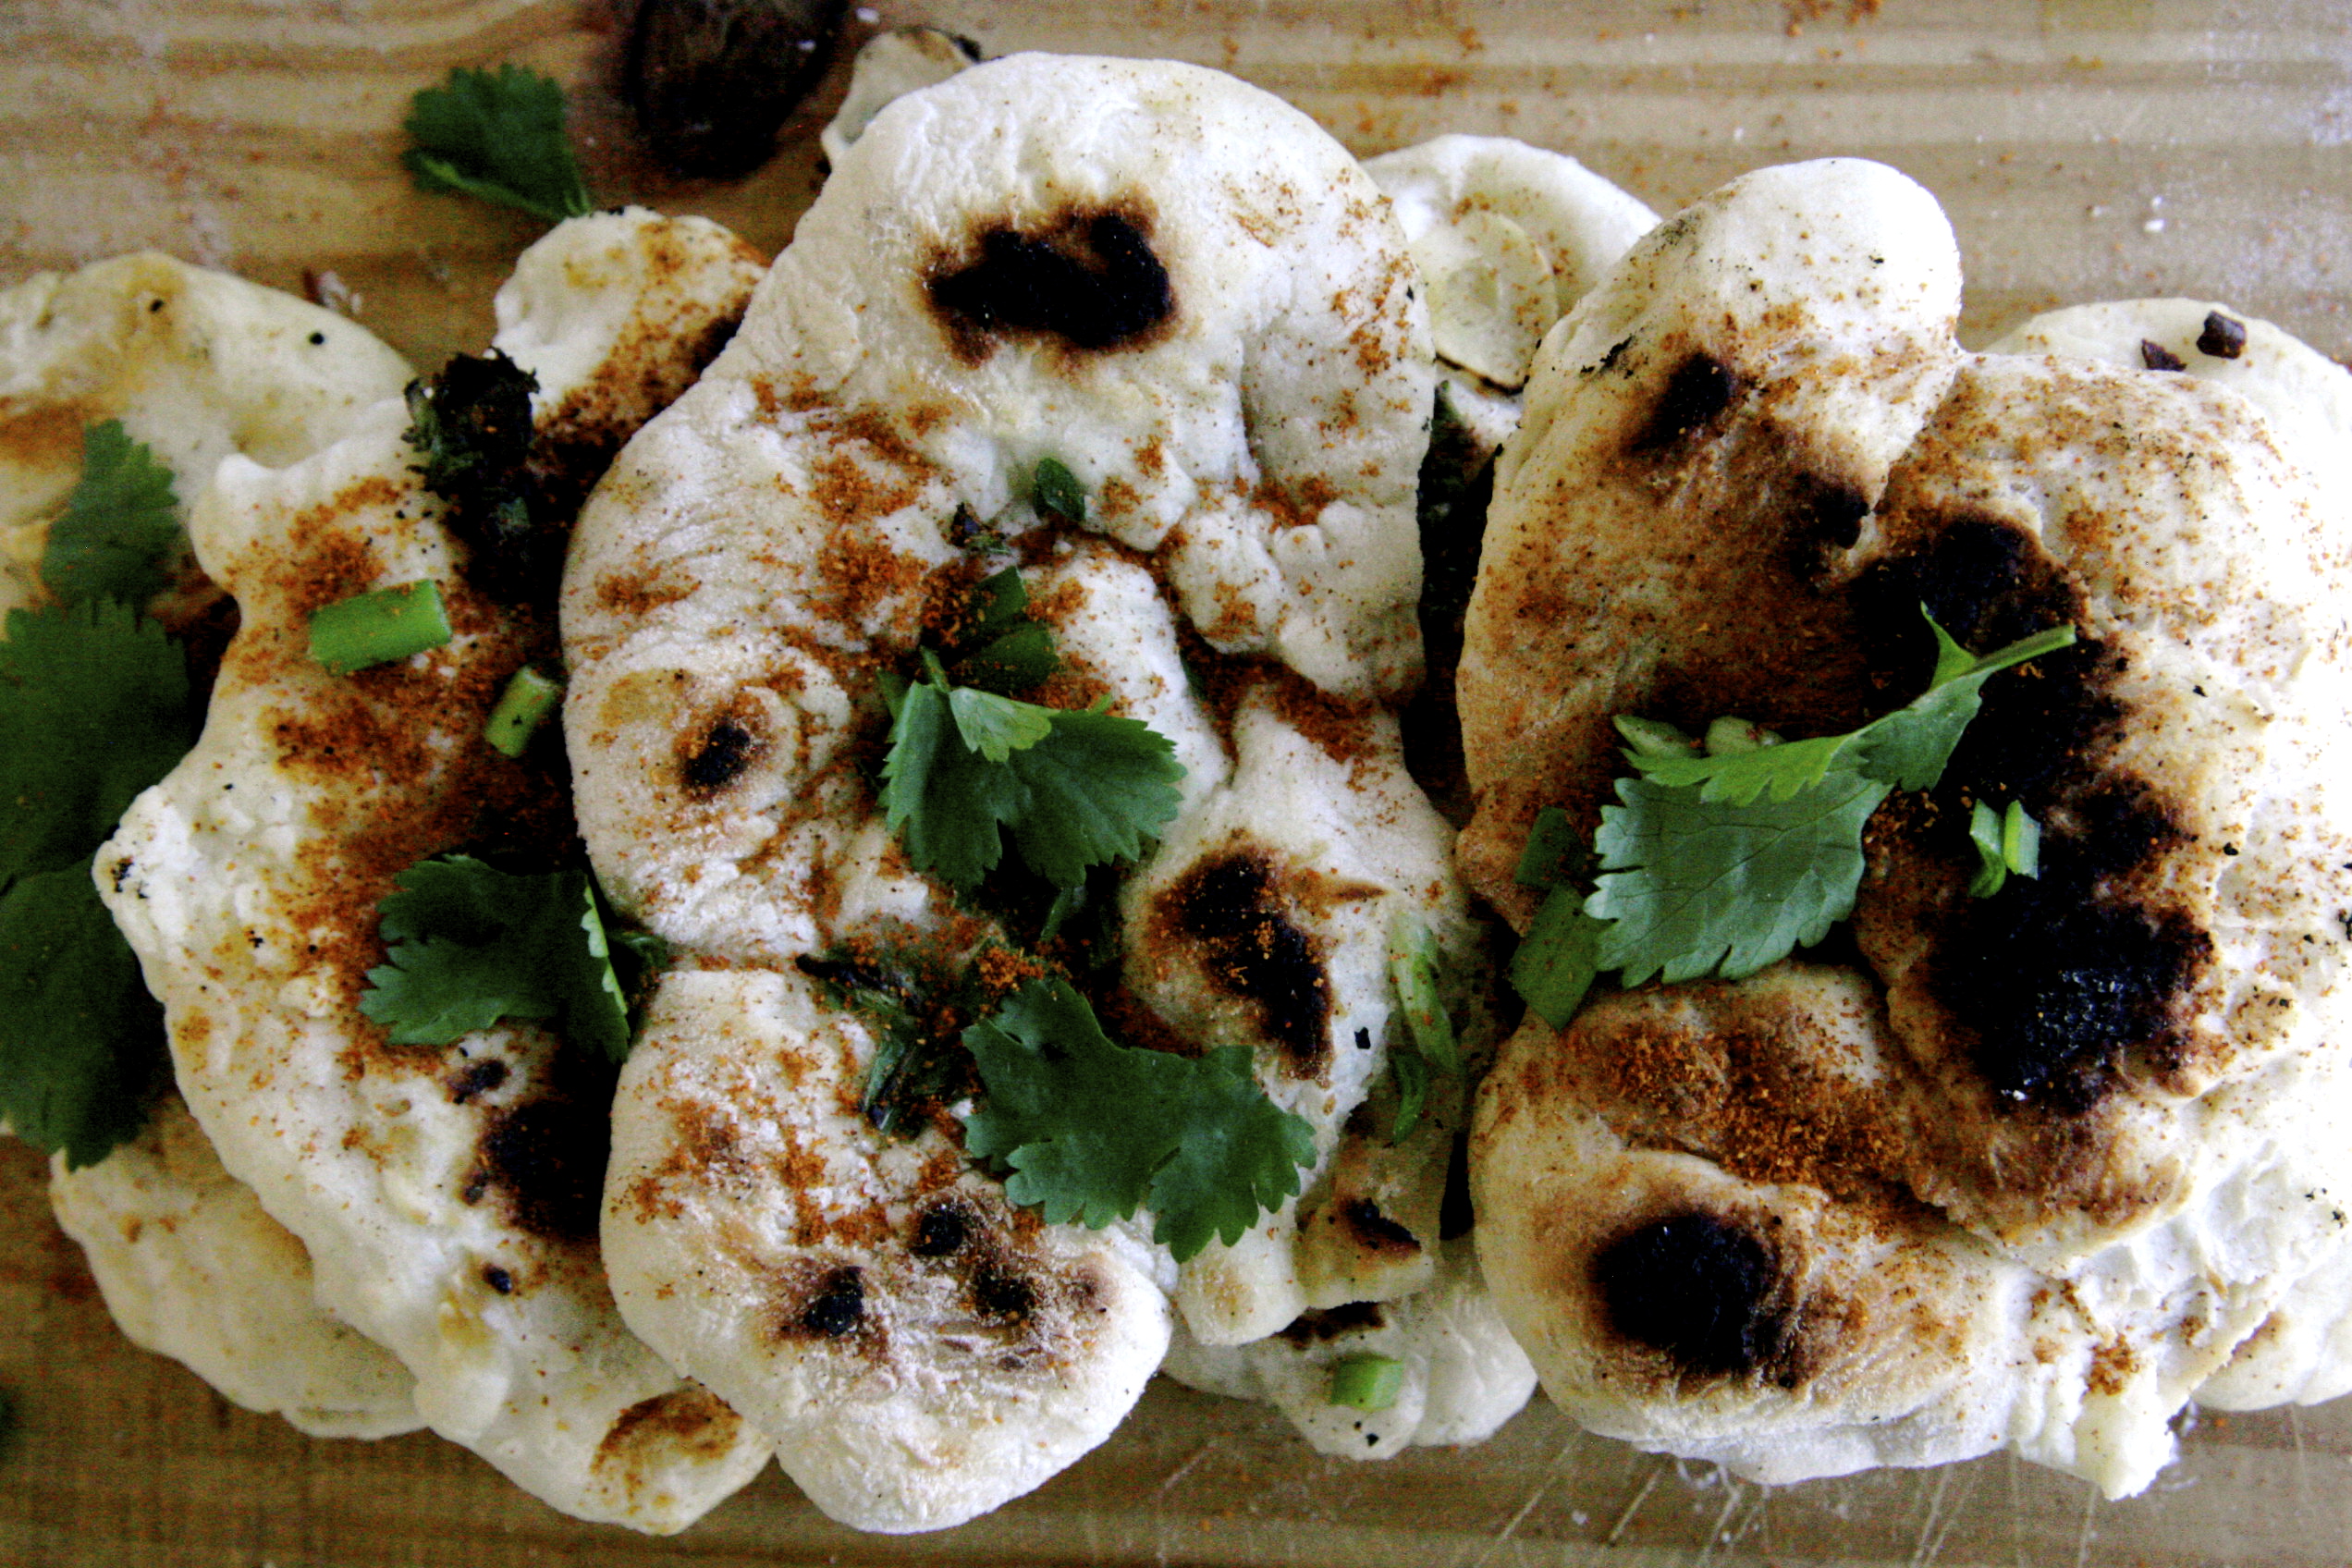
I made a variety of different kinds, using red pepper flakes, cilantro, tandoori spice mix, green onions, GARLIC, and ginger. I’m a big proponent of garlic naan, but it was fun switching it up and playing around with different flavors combinations. Yes, sadly these days this is my idea of fun. Wompwomp. You can also make naan pizzas, naan flatbread, shawarmas, or serve it alongside a curry — the options are endless!
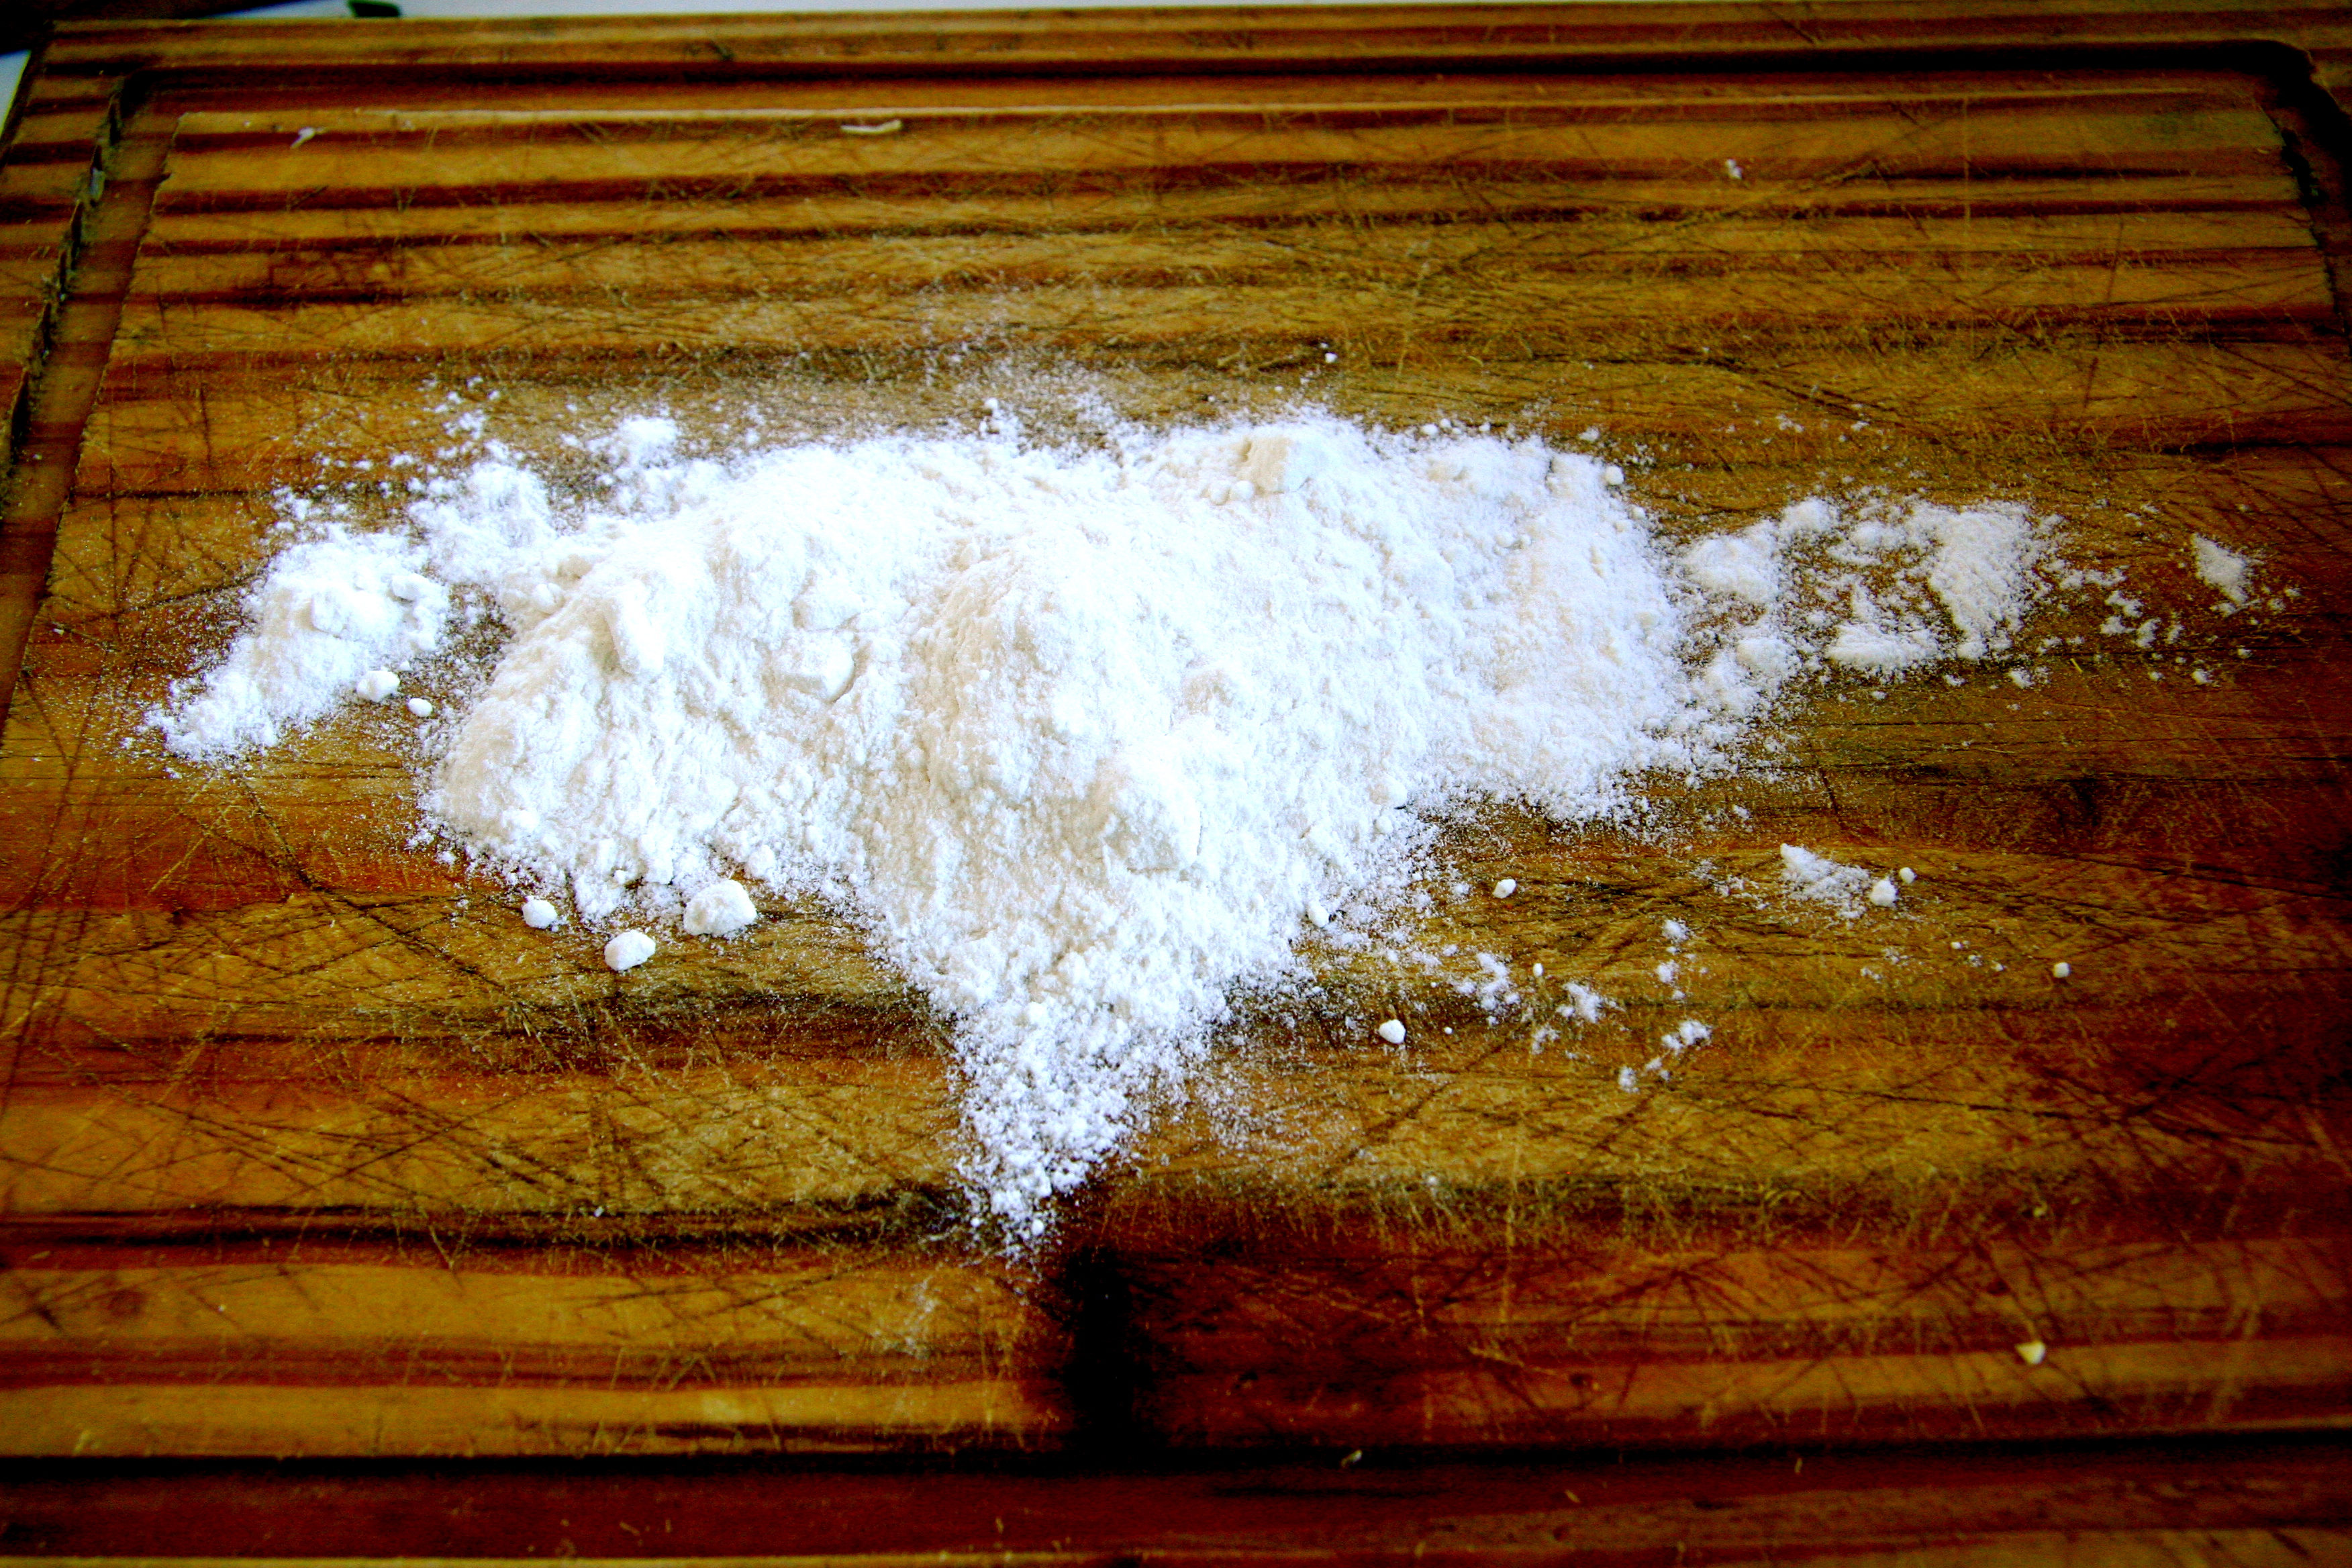
Two hours are up! Check on your dough – has it risen at all? It hasn’t? Good, it’s not supposed to. Bring it over to a floured surface.
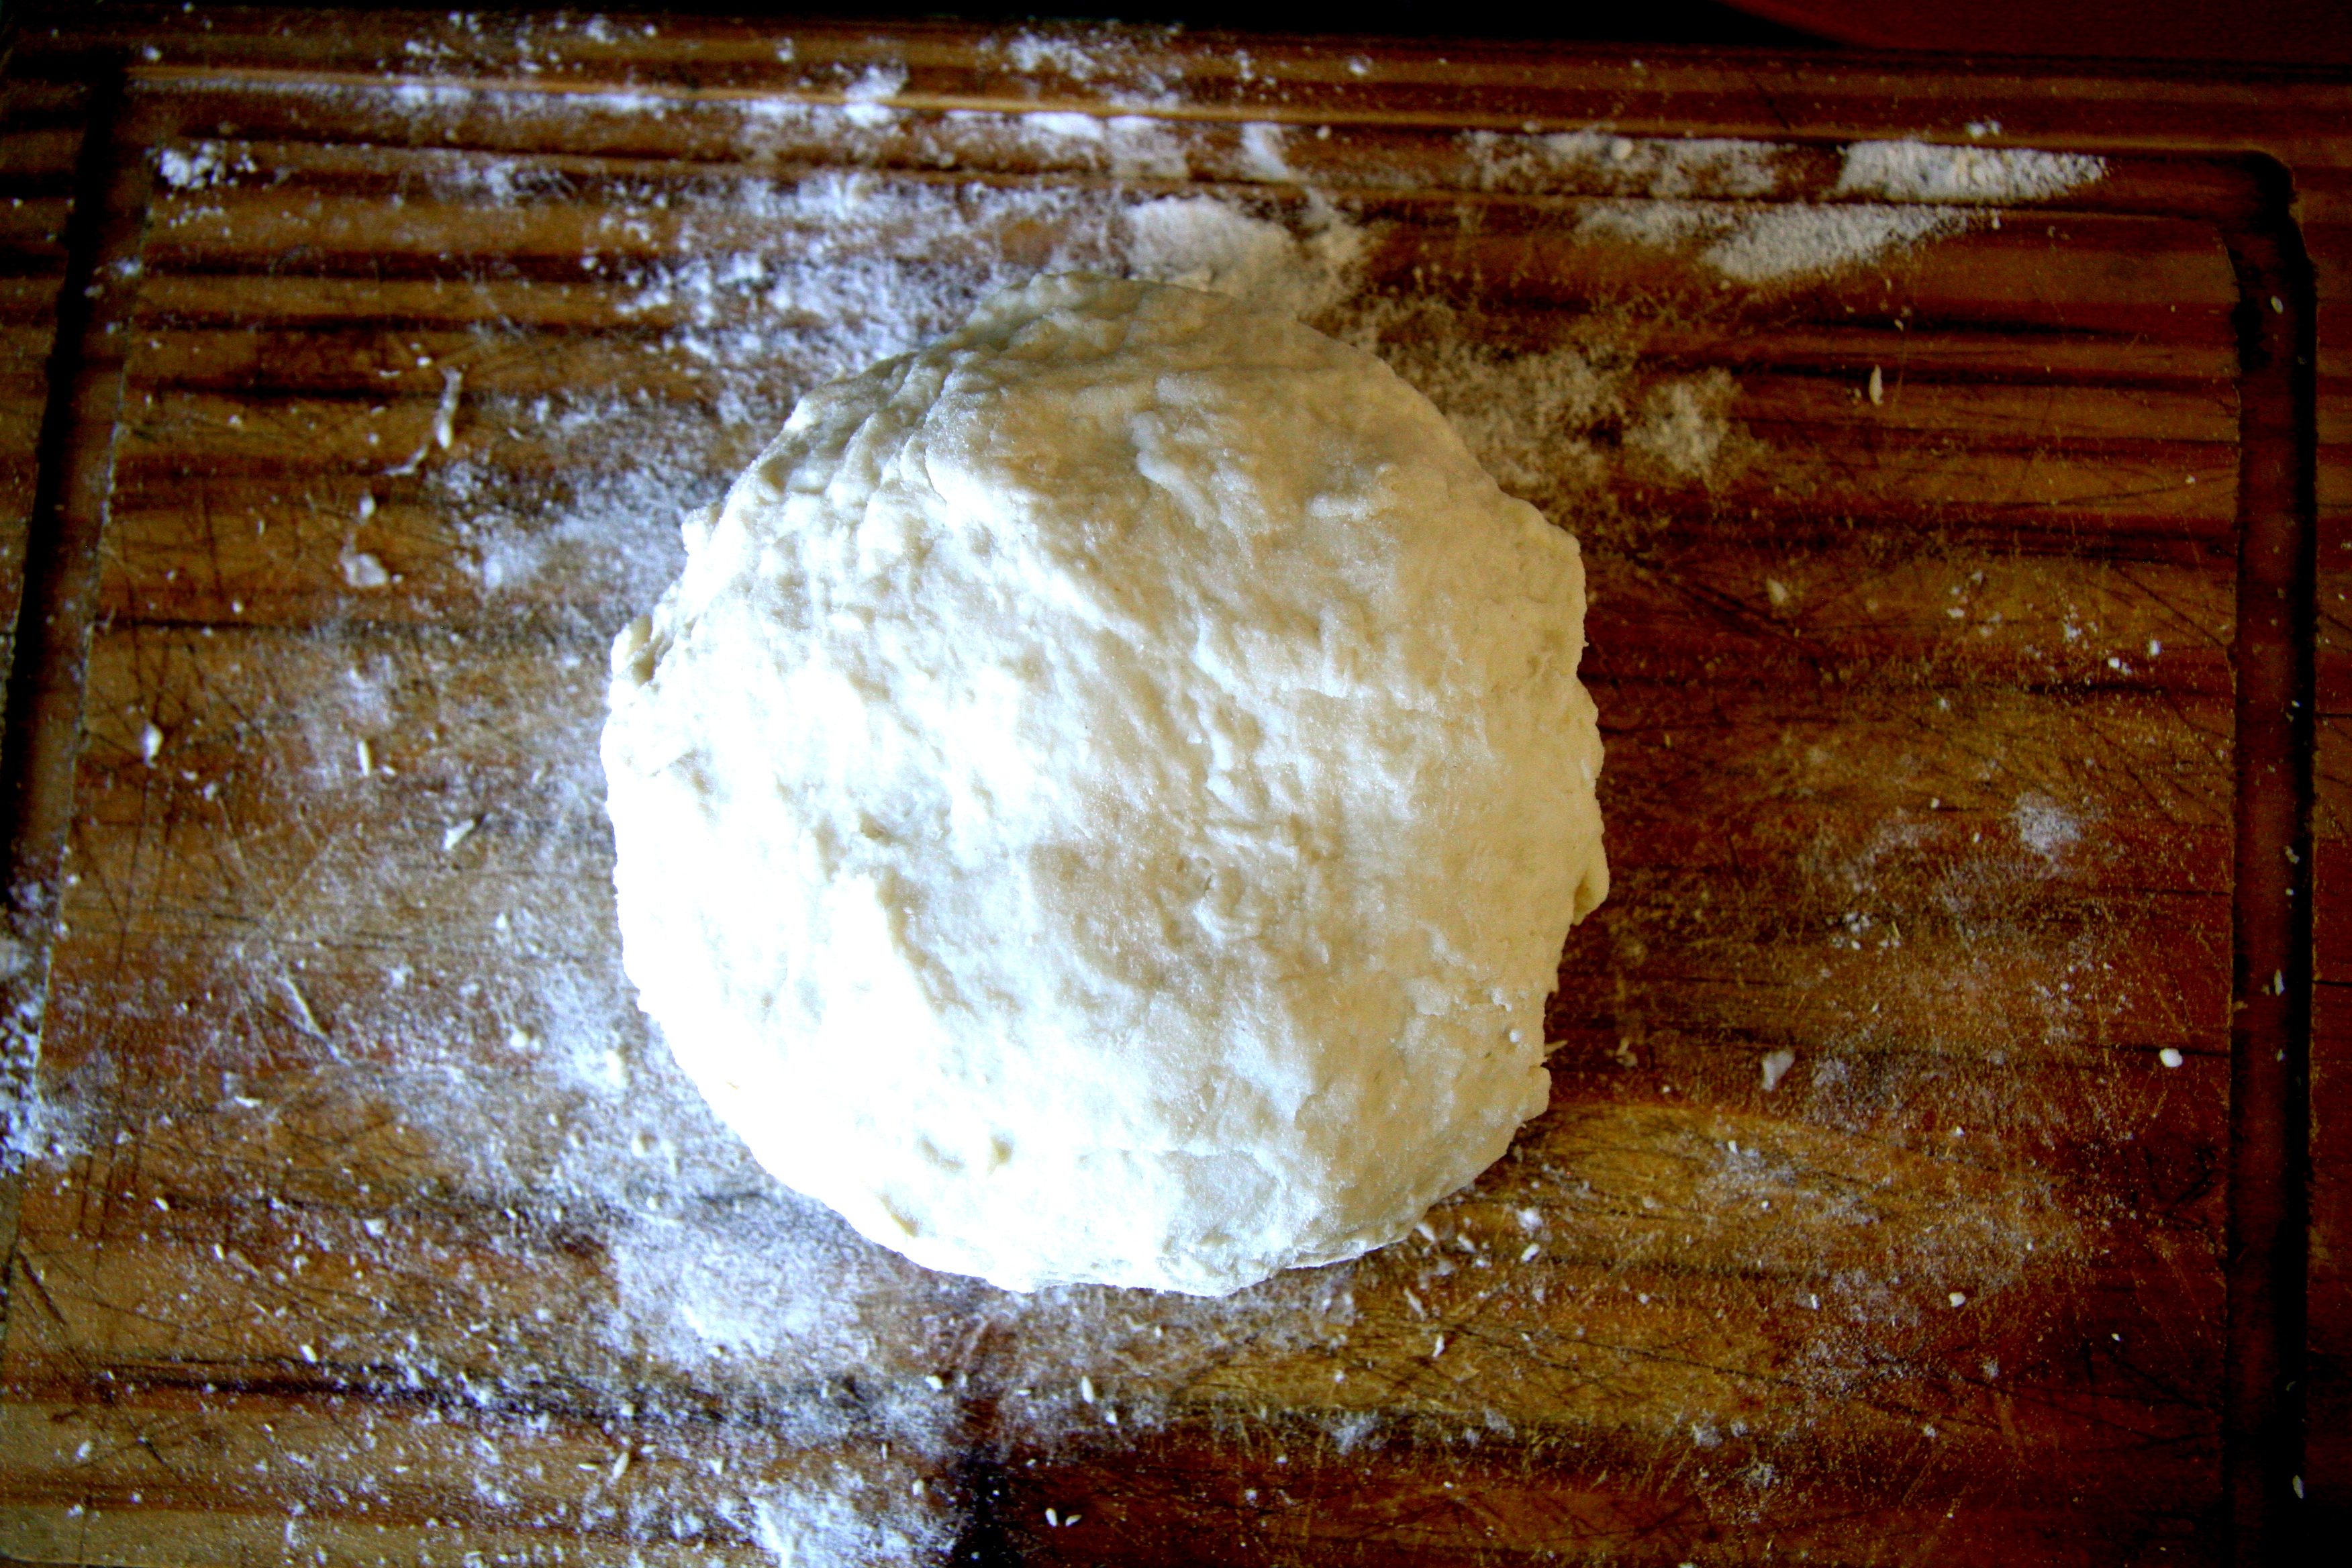
Knead and punch for a few minutes. Get out that raaaaage.
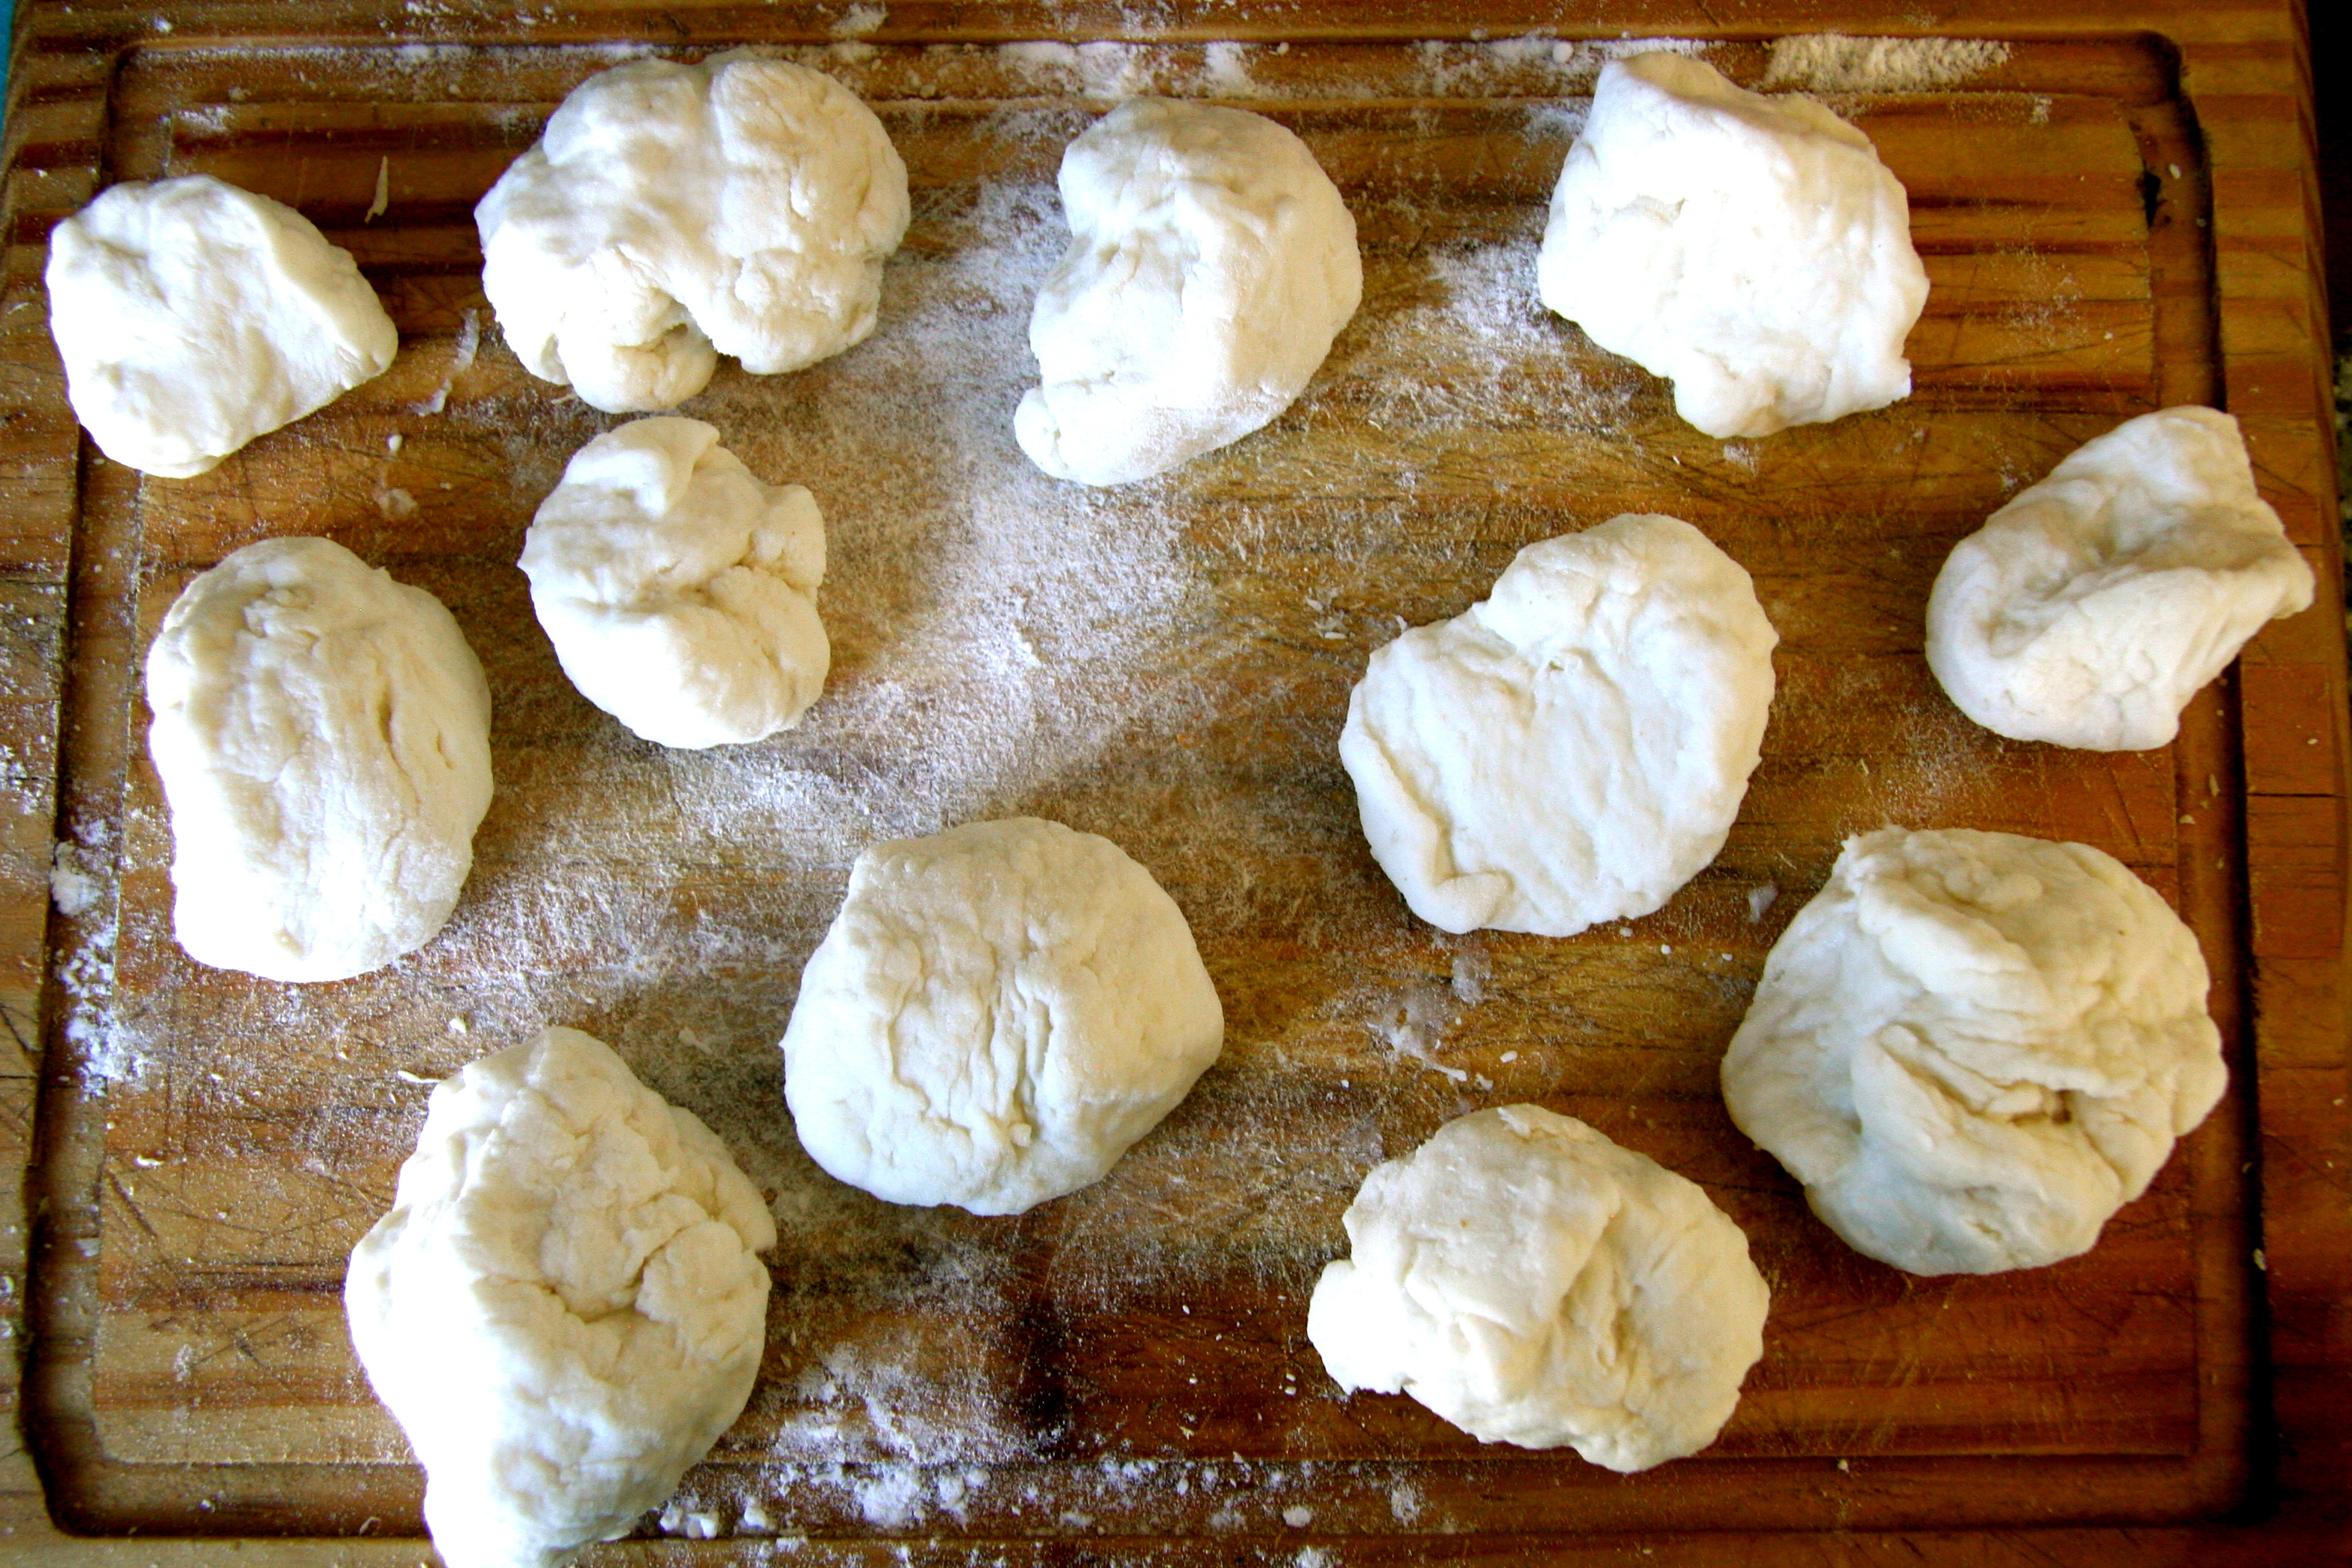
Separate into equal pieces. I’m sure if you are a professional or neat and tidy perfectionist, you’re looking at my BALLZ in horror. I’m sure your balls are perfect size and shape, but if you are like me and at this point are totally over the whole bread ordeal and just want to get the shabammm done with so you can eat it, ugly doughs of dookie are also acceptable.
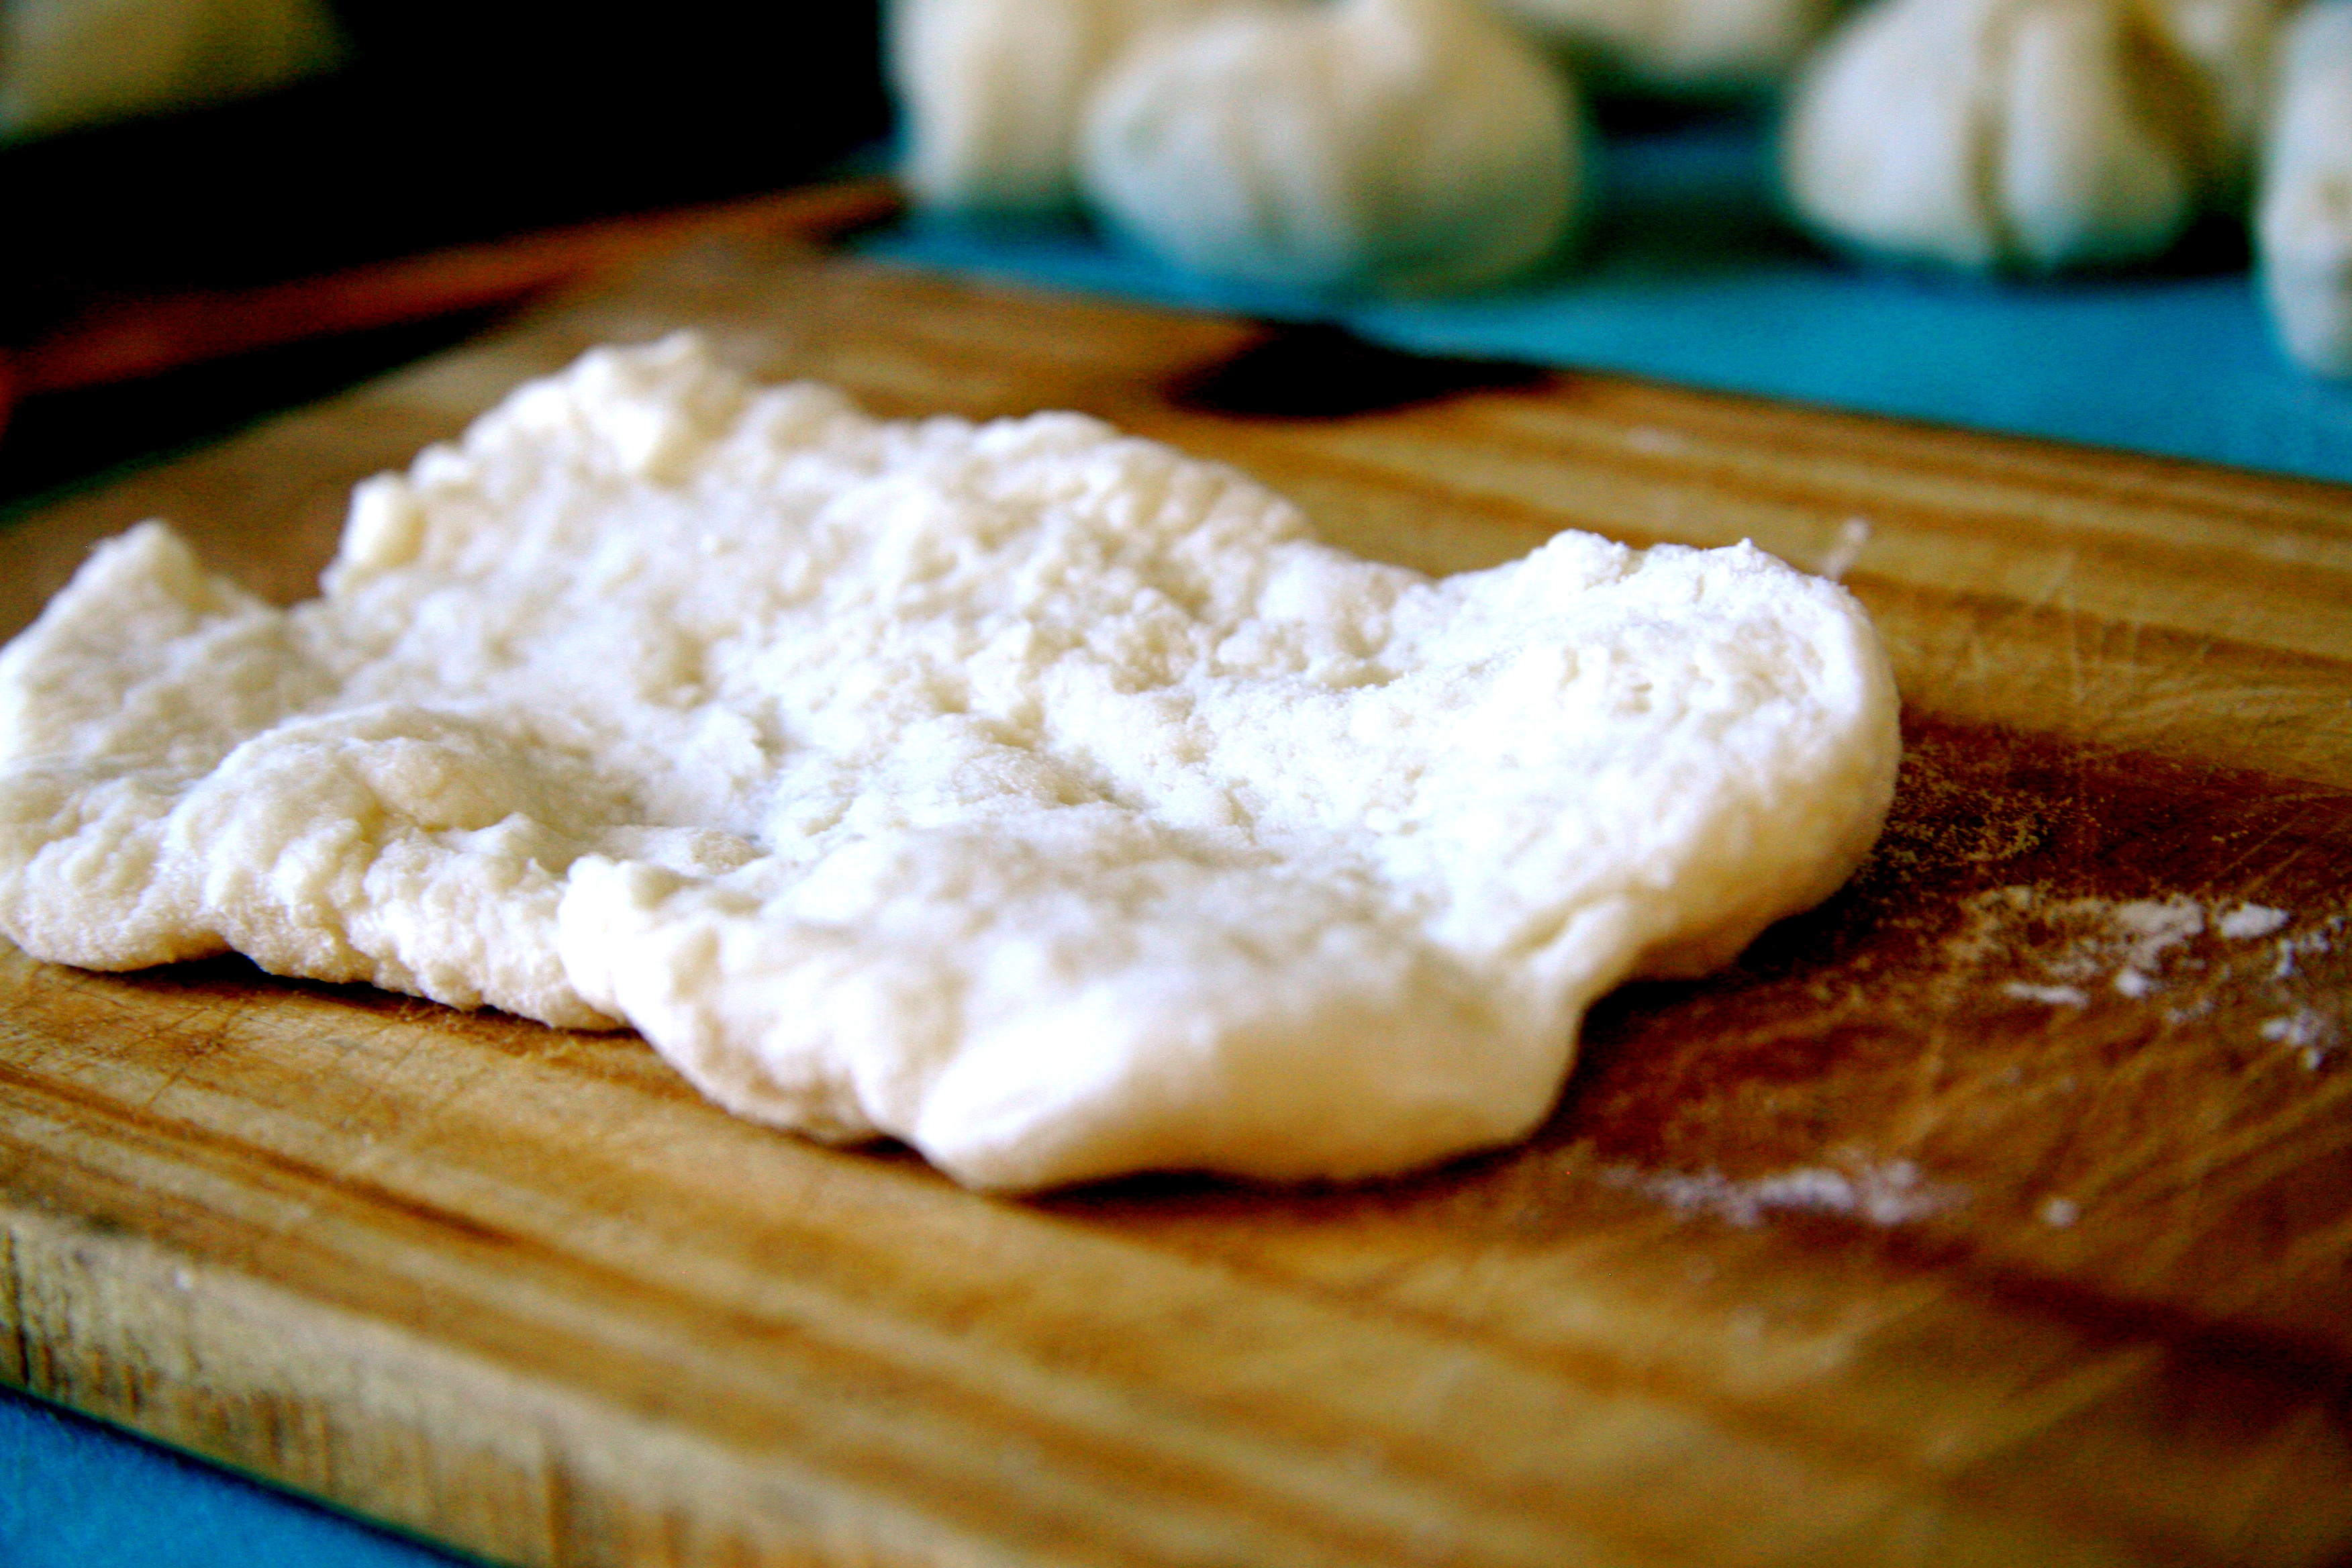
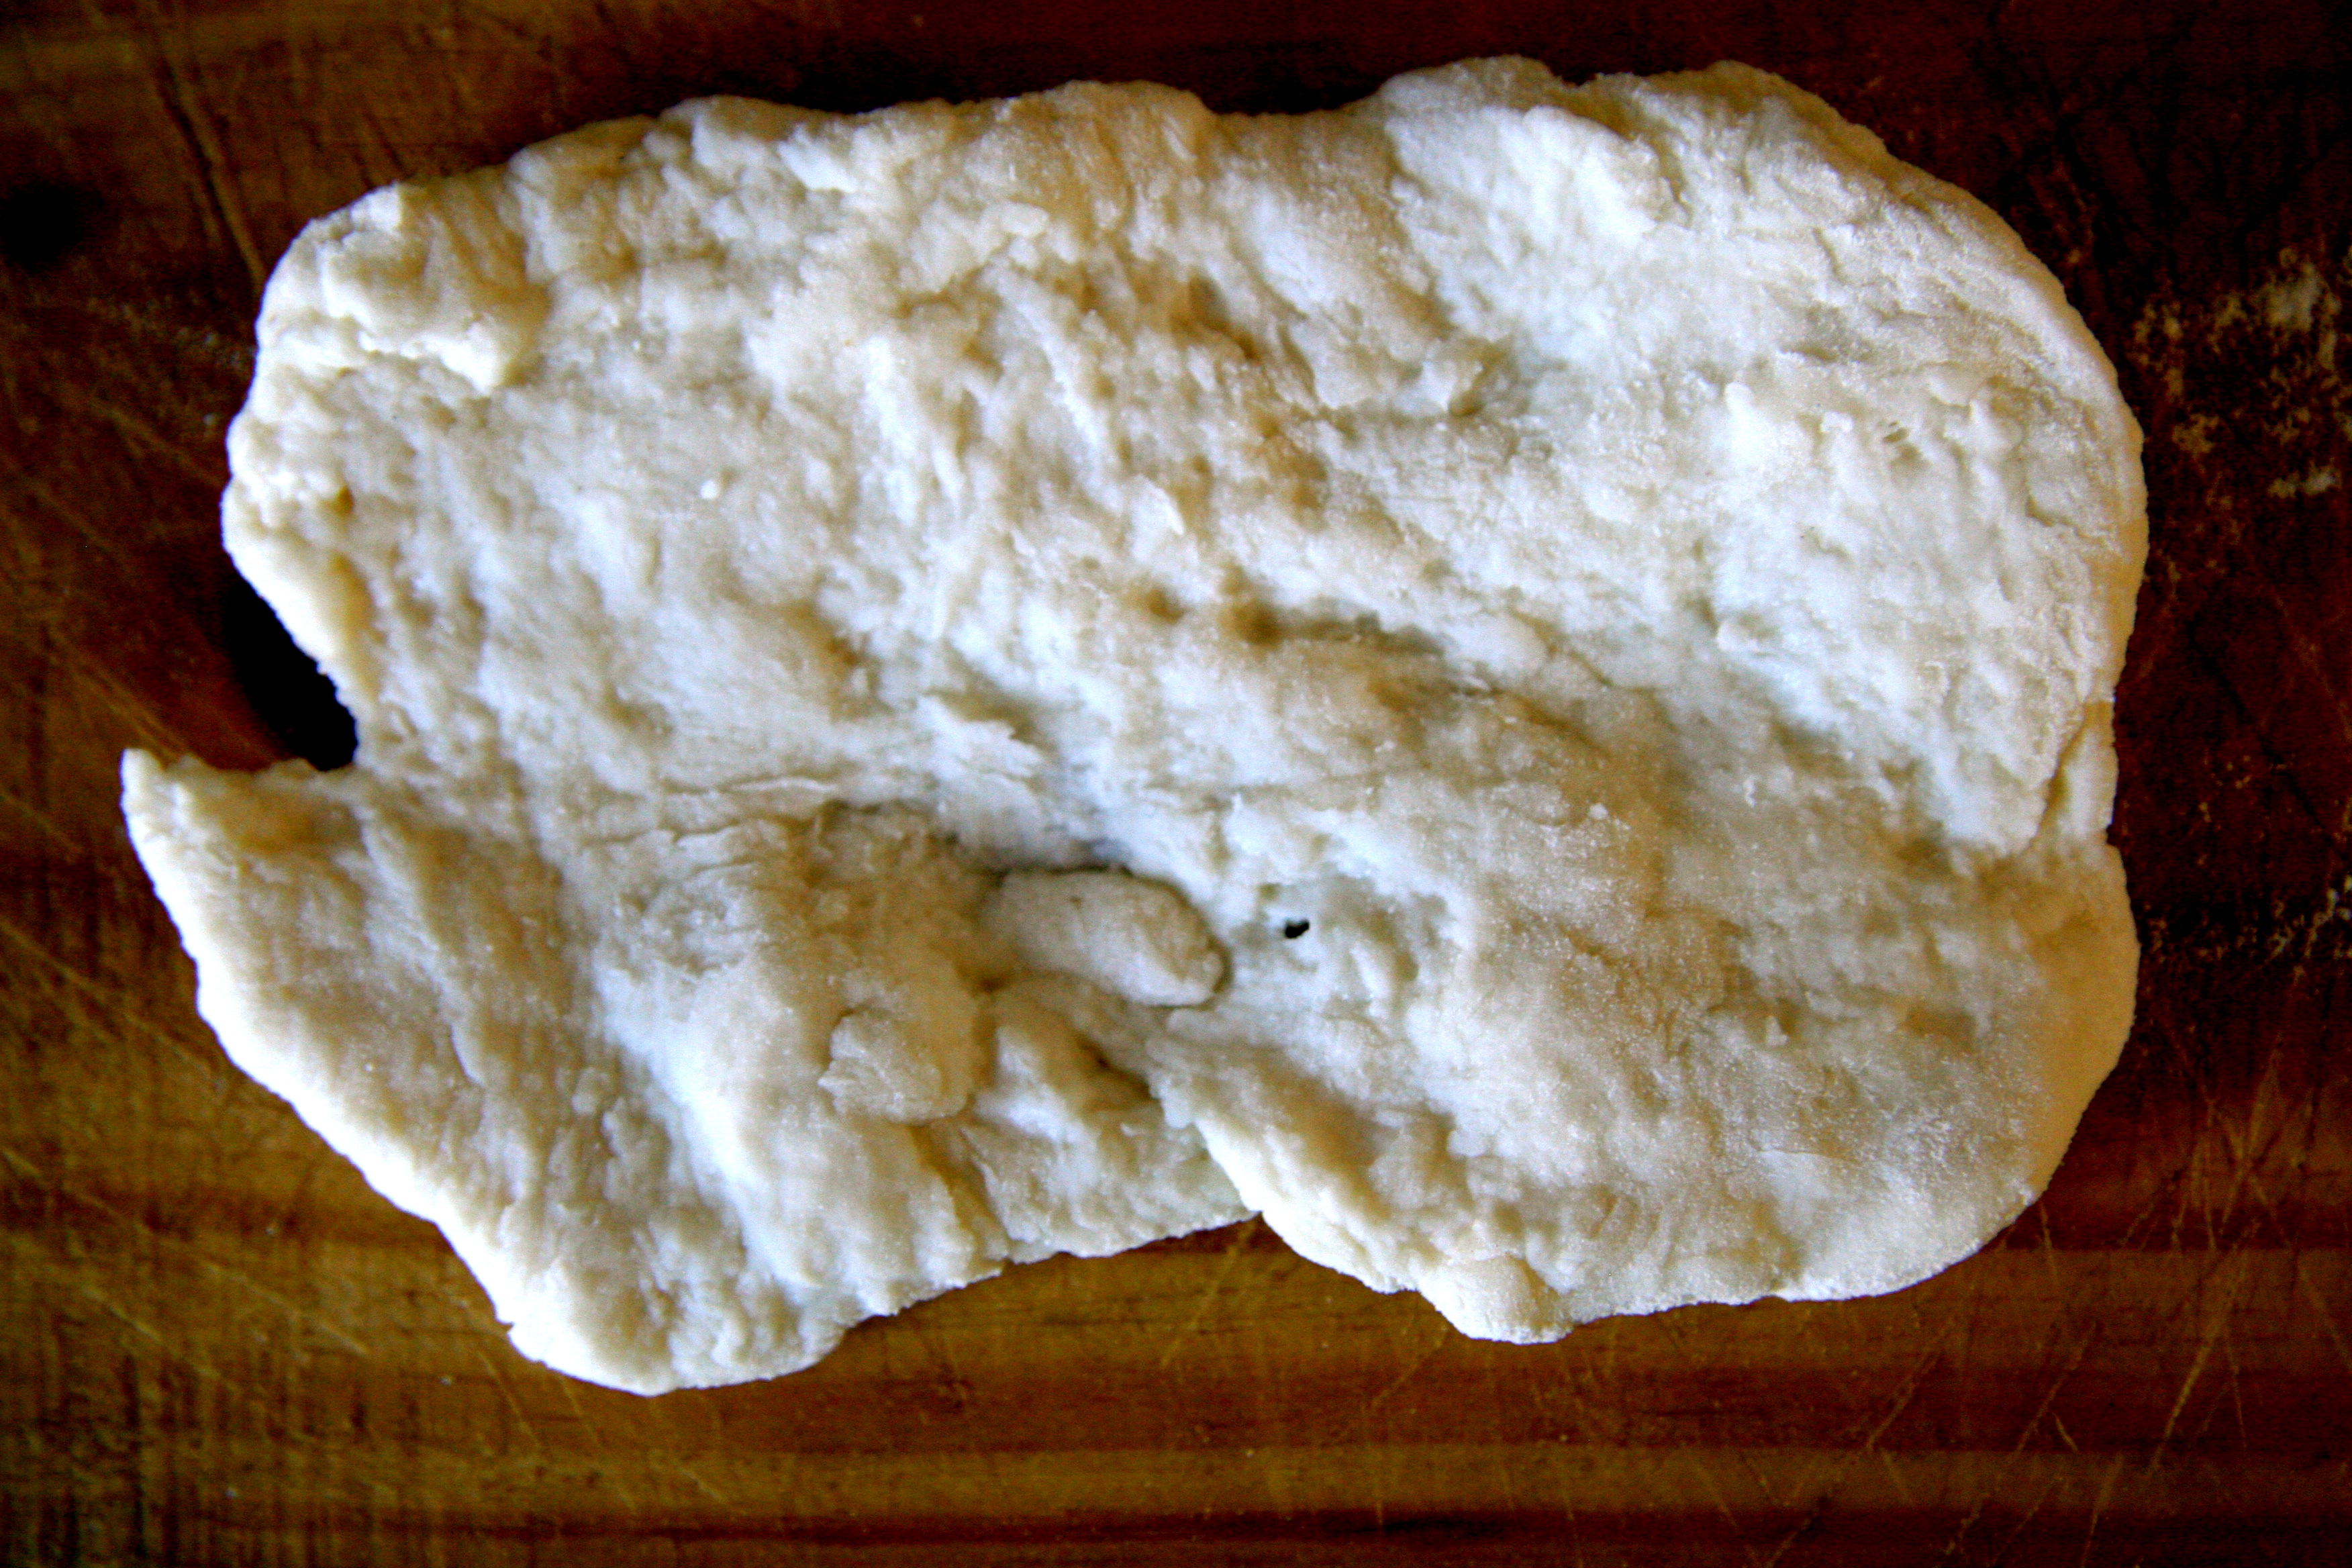
Have you ever been called a ball buster? It’s a total complement. And now you can physically act out a proper ball busting and flatten those naan balls.
Yeah, yeah, I bet you probably roll them out all flat and smooth and perfectly oval shape, but I like to keep some lumps in mine. Rustic, son.
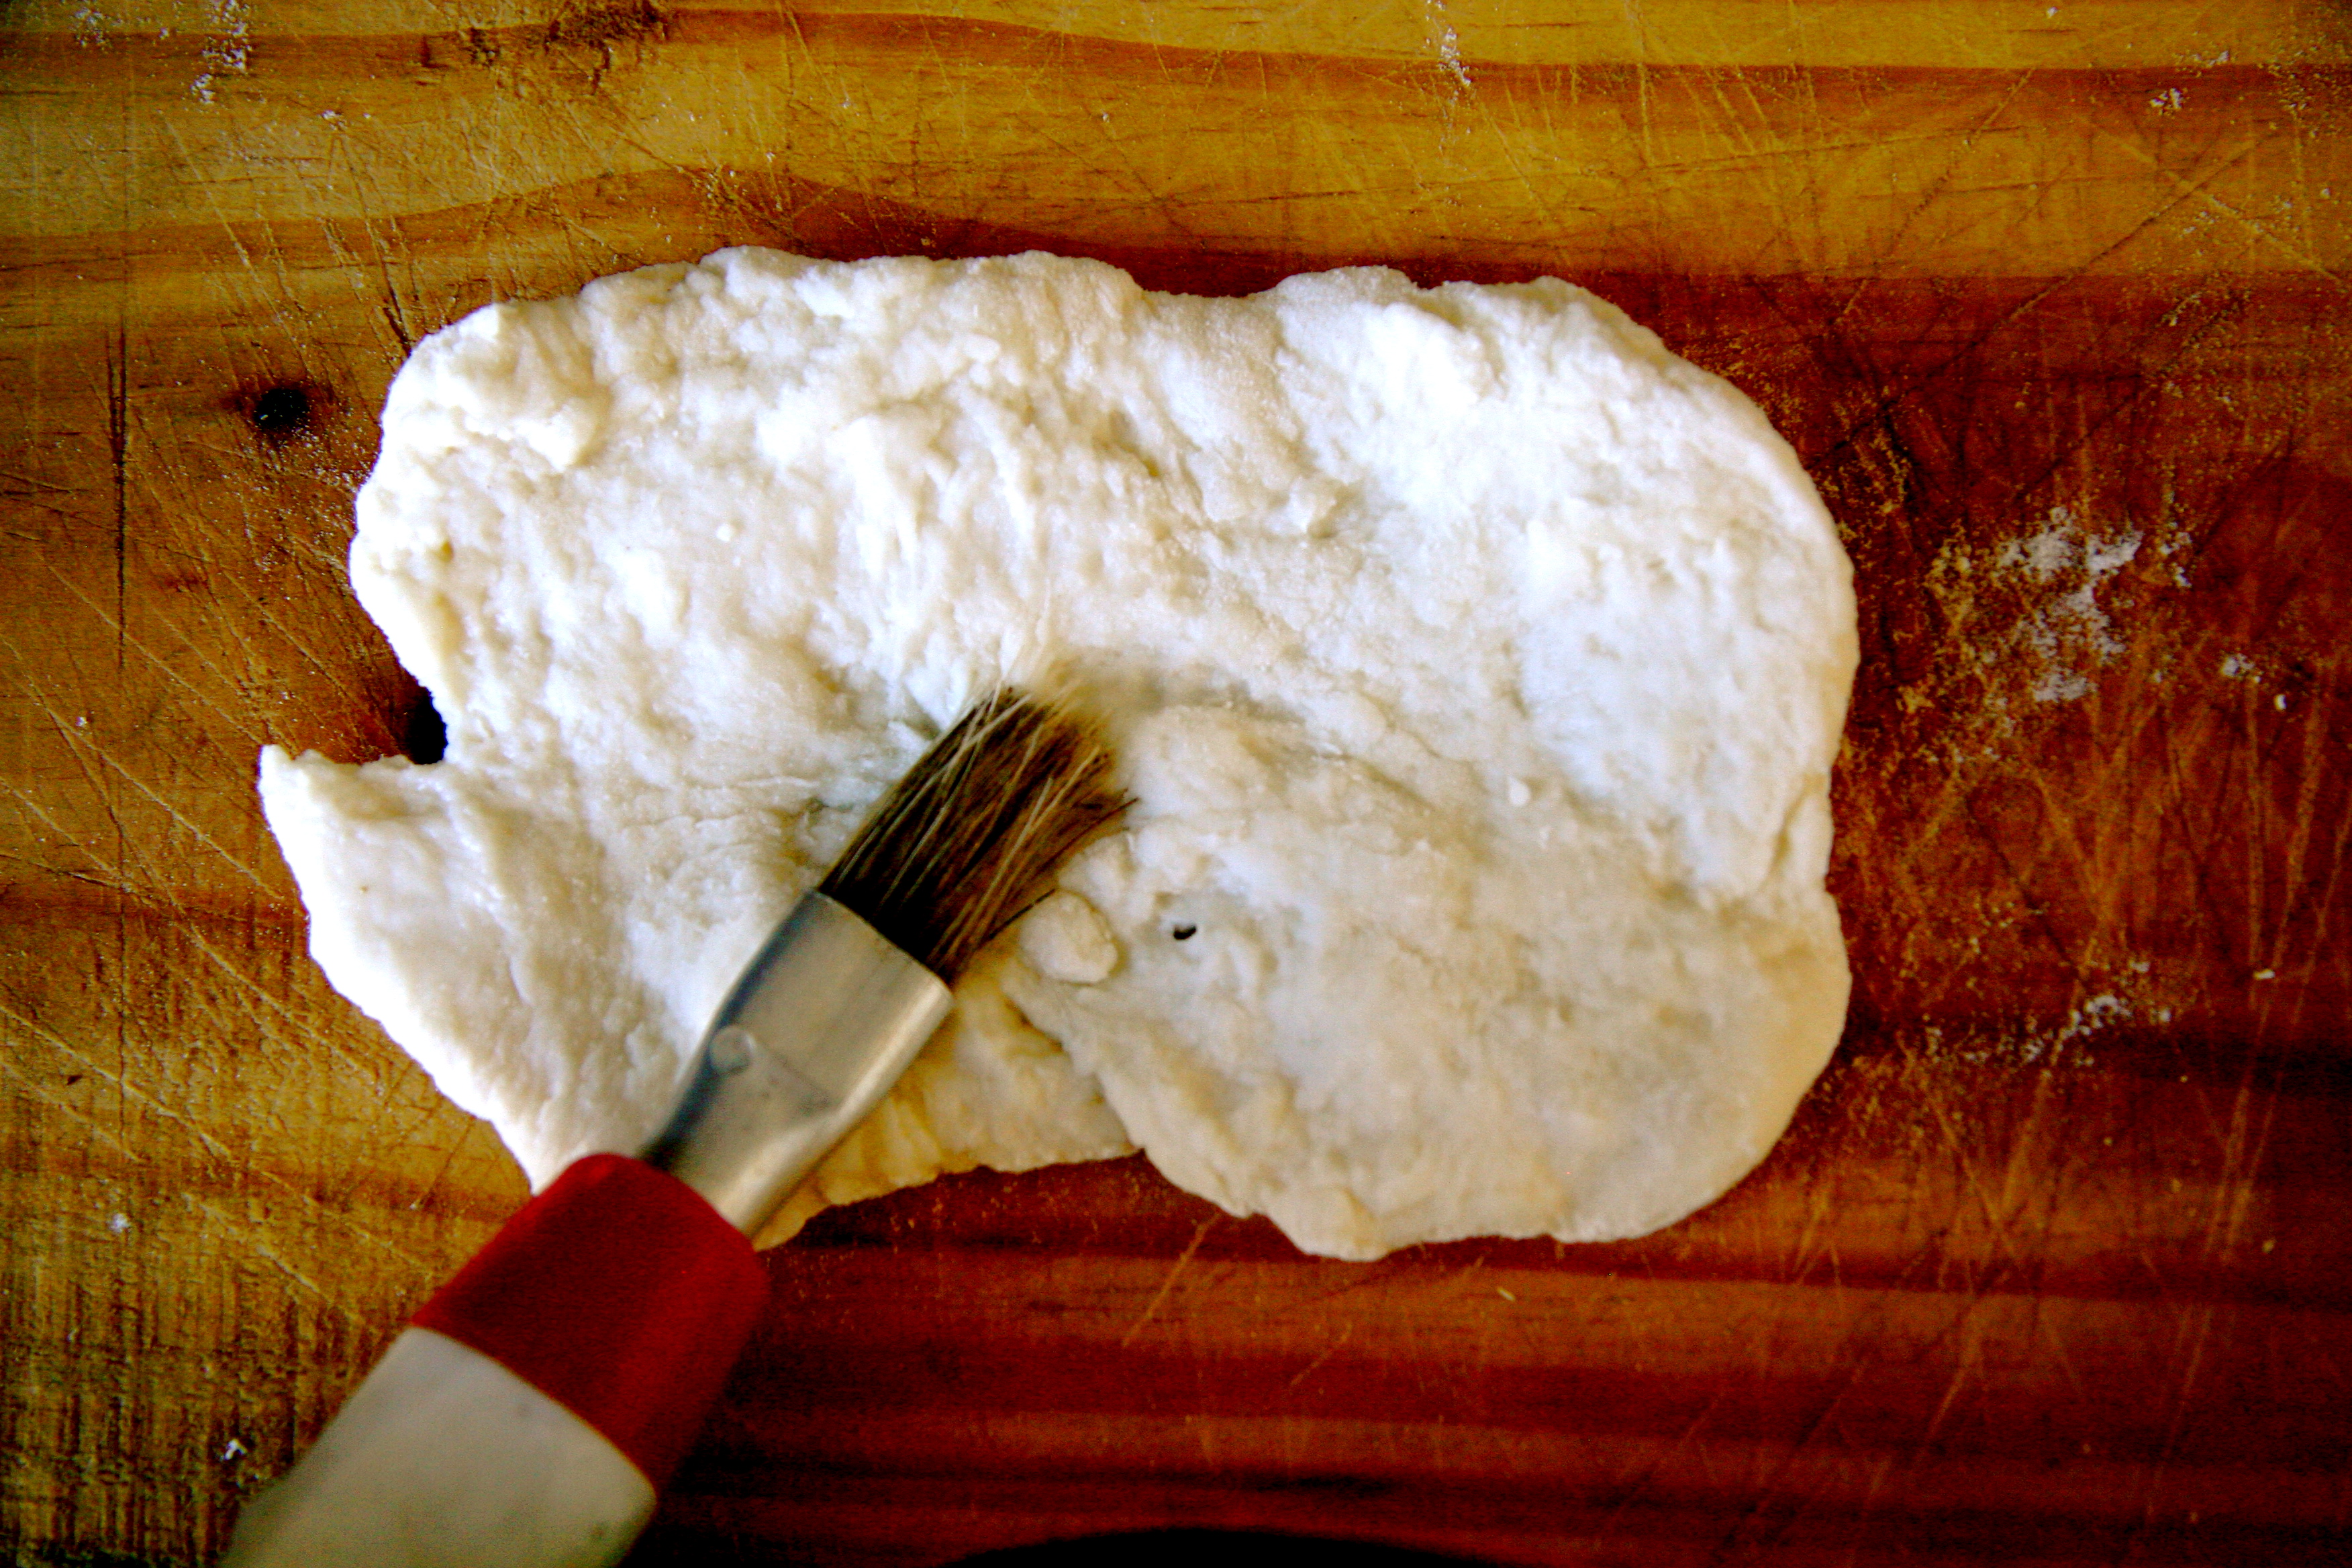
You don’t need to turn on your oven for this one. Grab a cast iron or grill pan (or any pan) and get it nice and toasty on the stove top. Now, brush the bottom side of the bread with water to get it nice and damp.
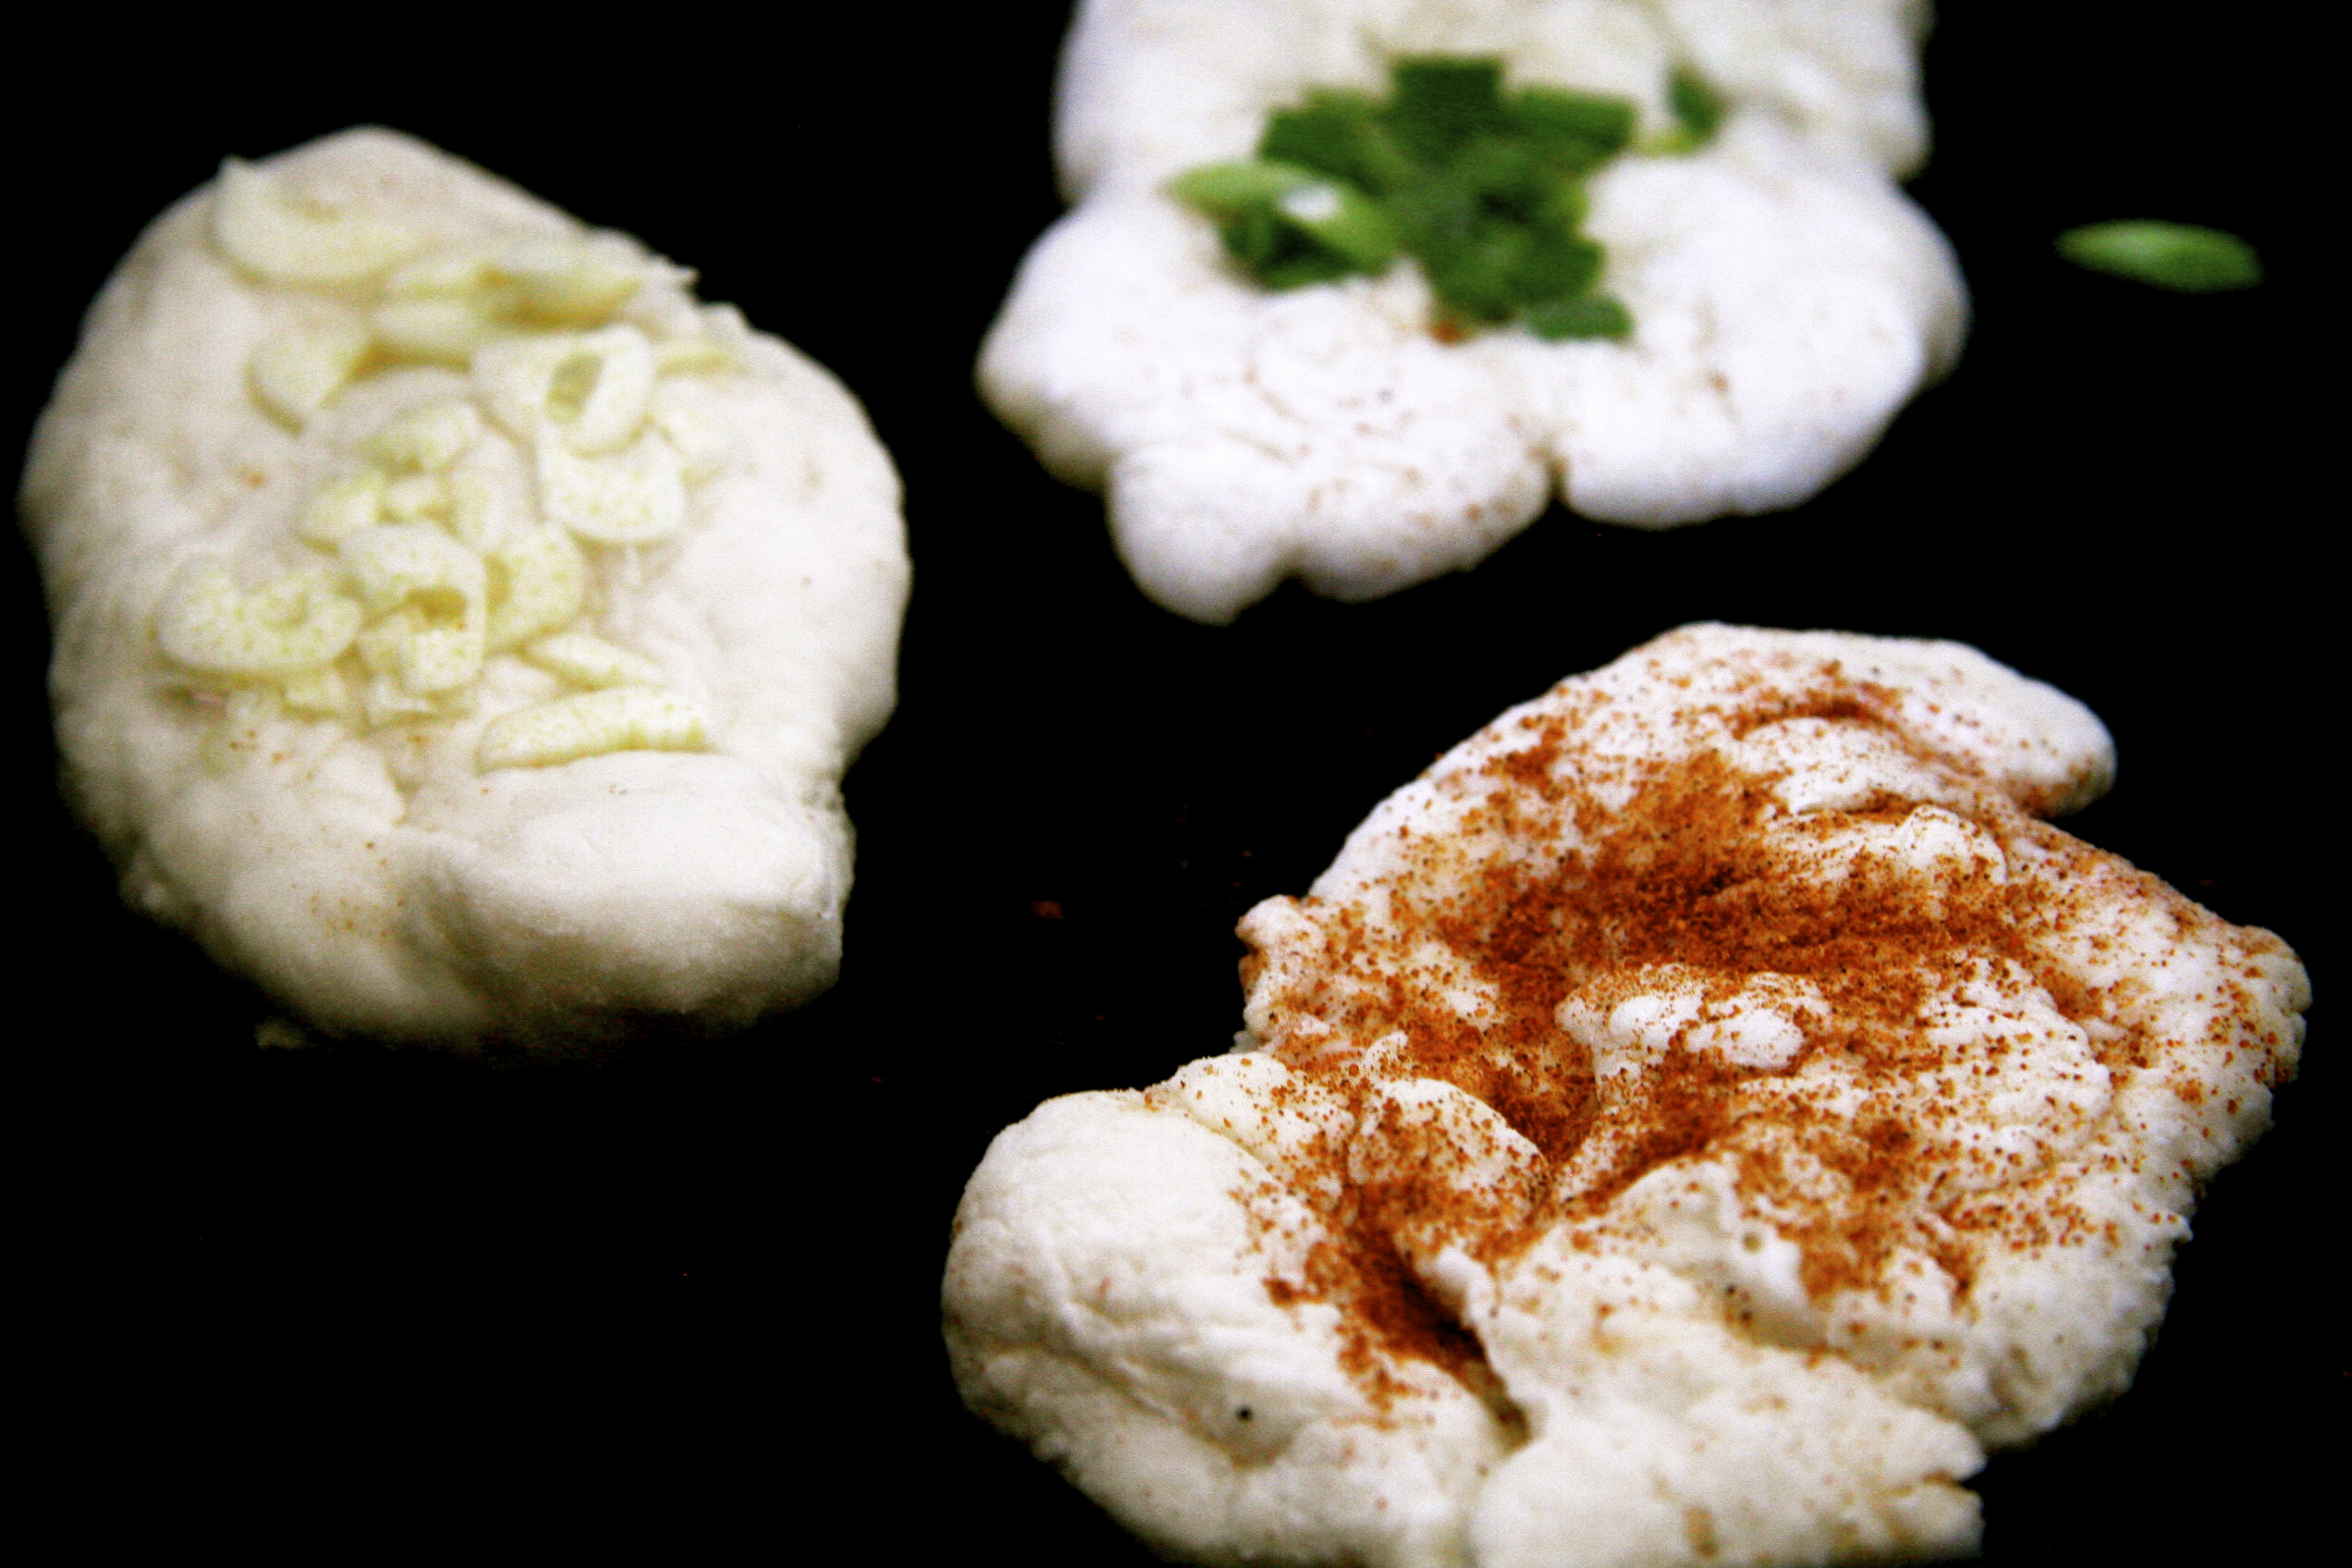
Flip it over and add toppings. Play around with different combos: there is no right or wrong way to top it. I made this combo of garlic, green onion and tandoor spice mix. Or you can make plain naan and add toppings later.
Now let’s get baked. Make sure your pan is HOT! I used a cast iron (no oil or butter is necessary). Slap the naan on the pan, placing the side you brushed with water on the bottom. Don’t worry, it’s supposed to stick to the bottom at first.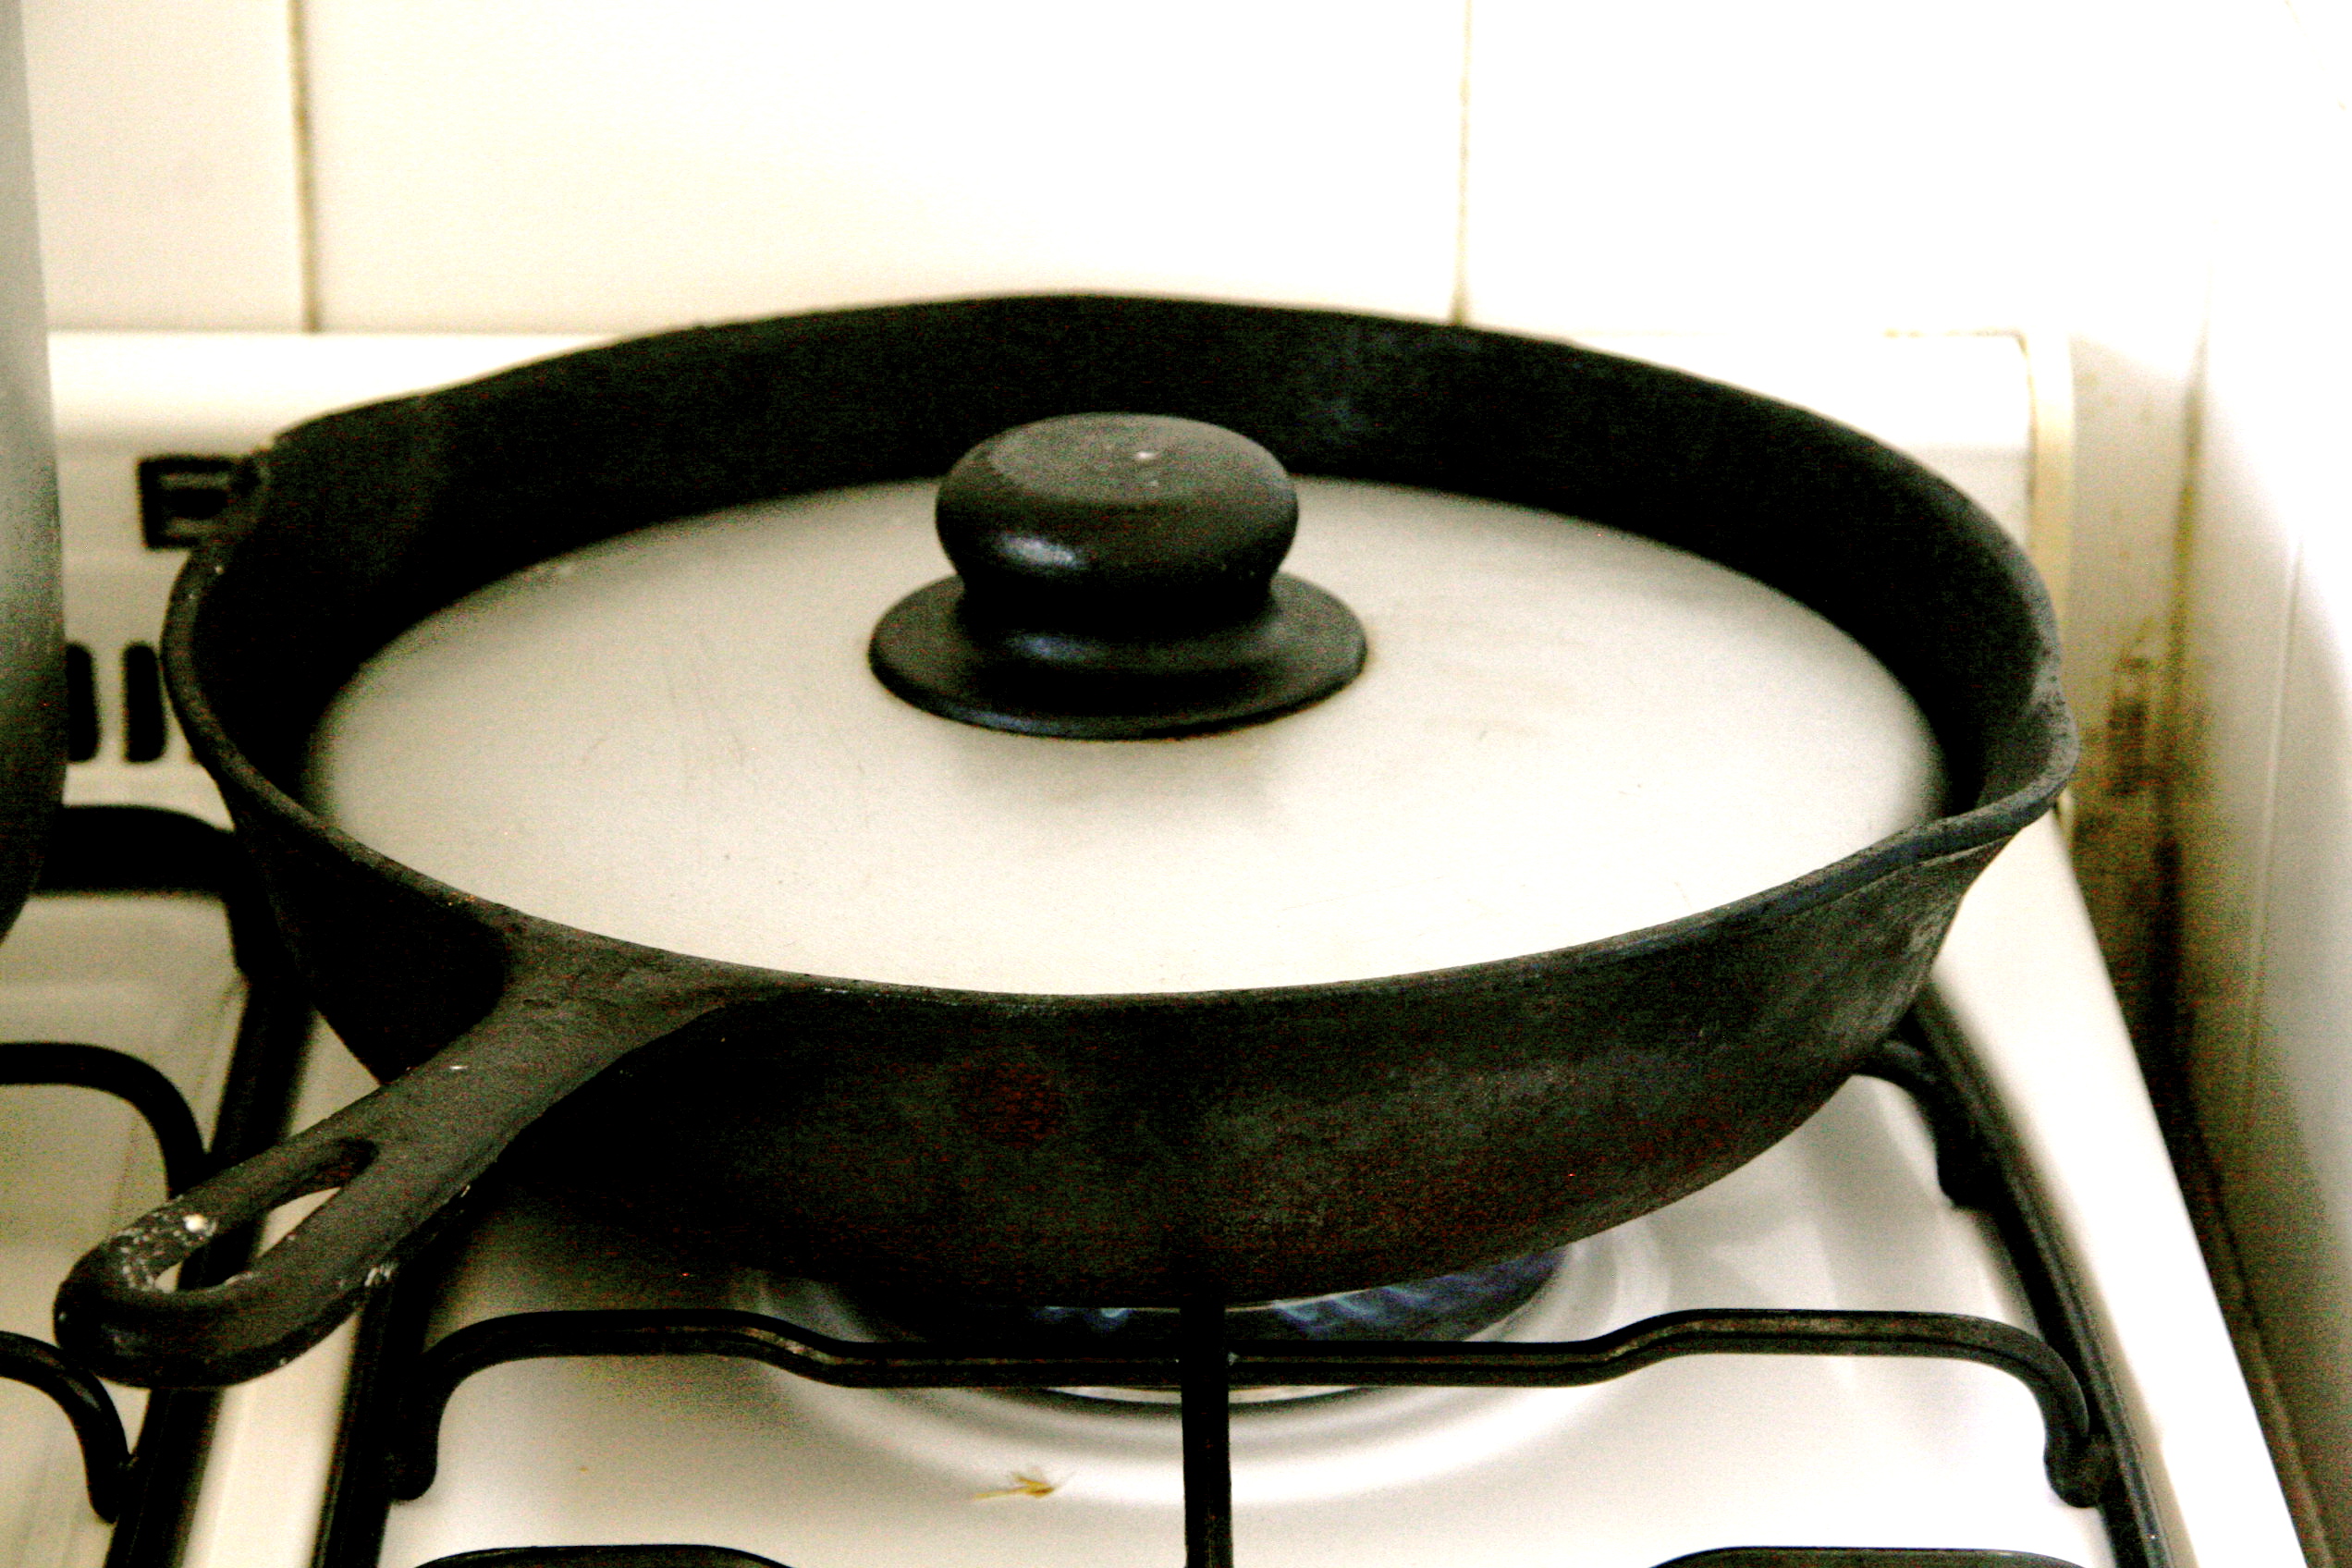
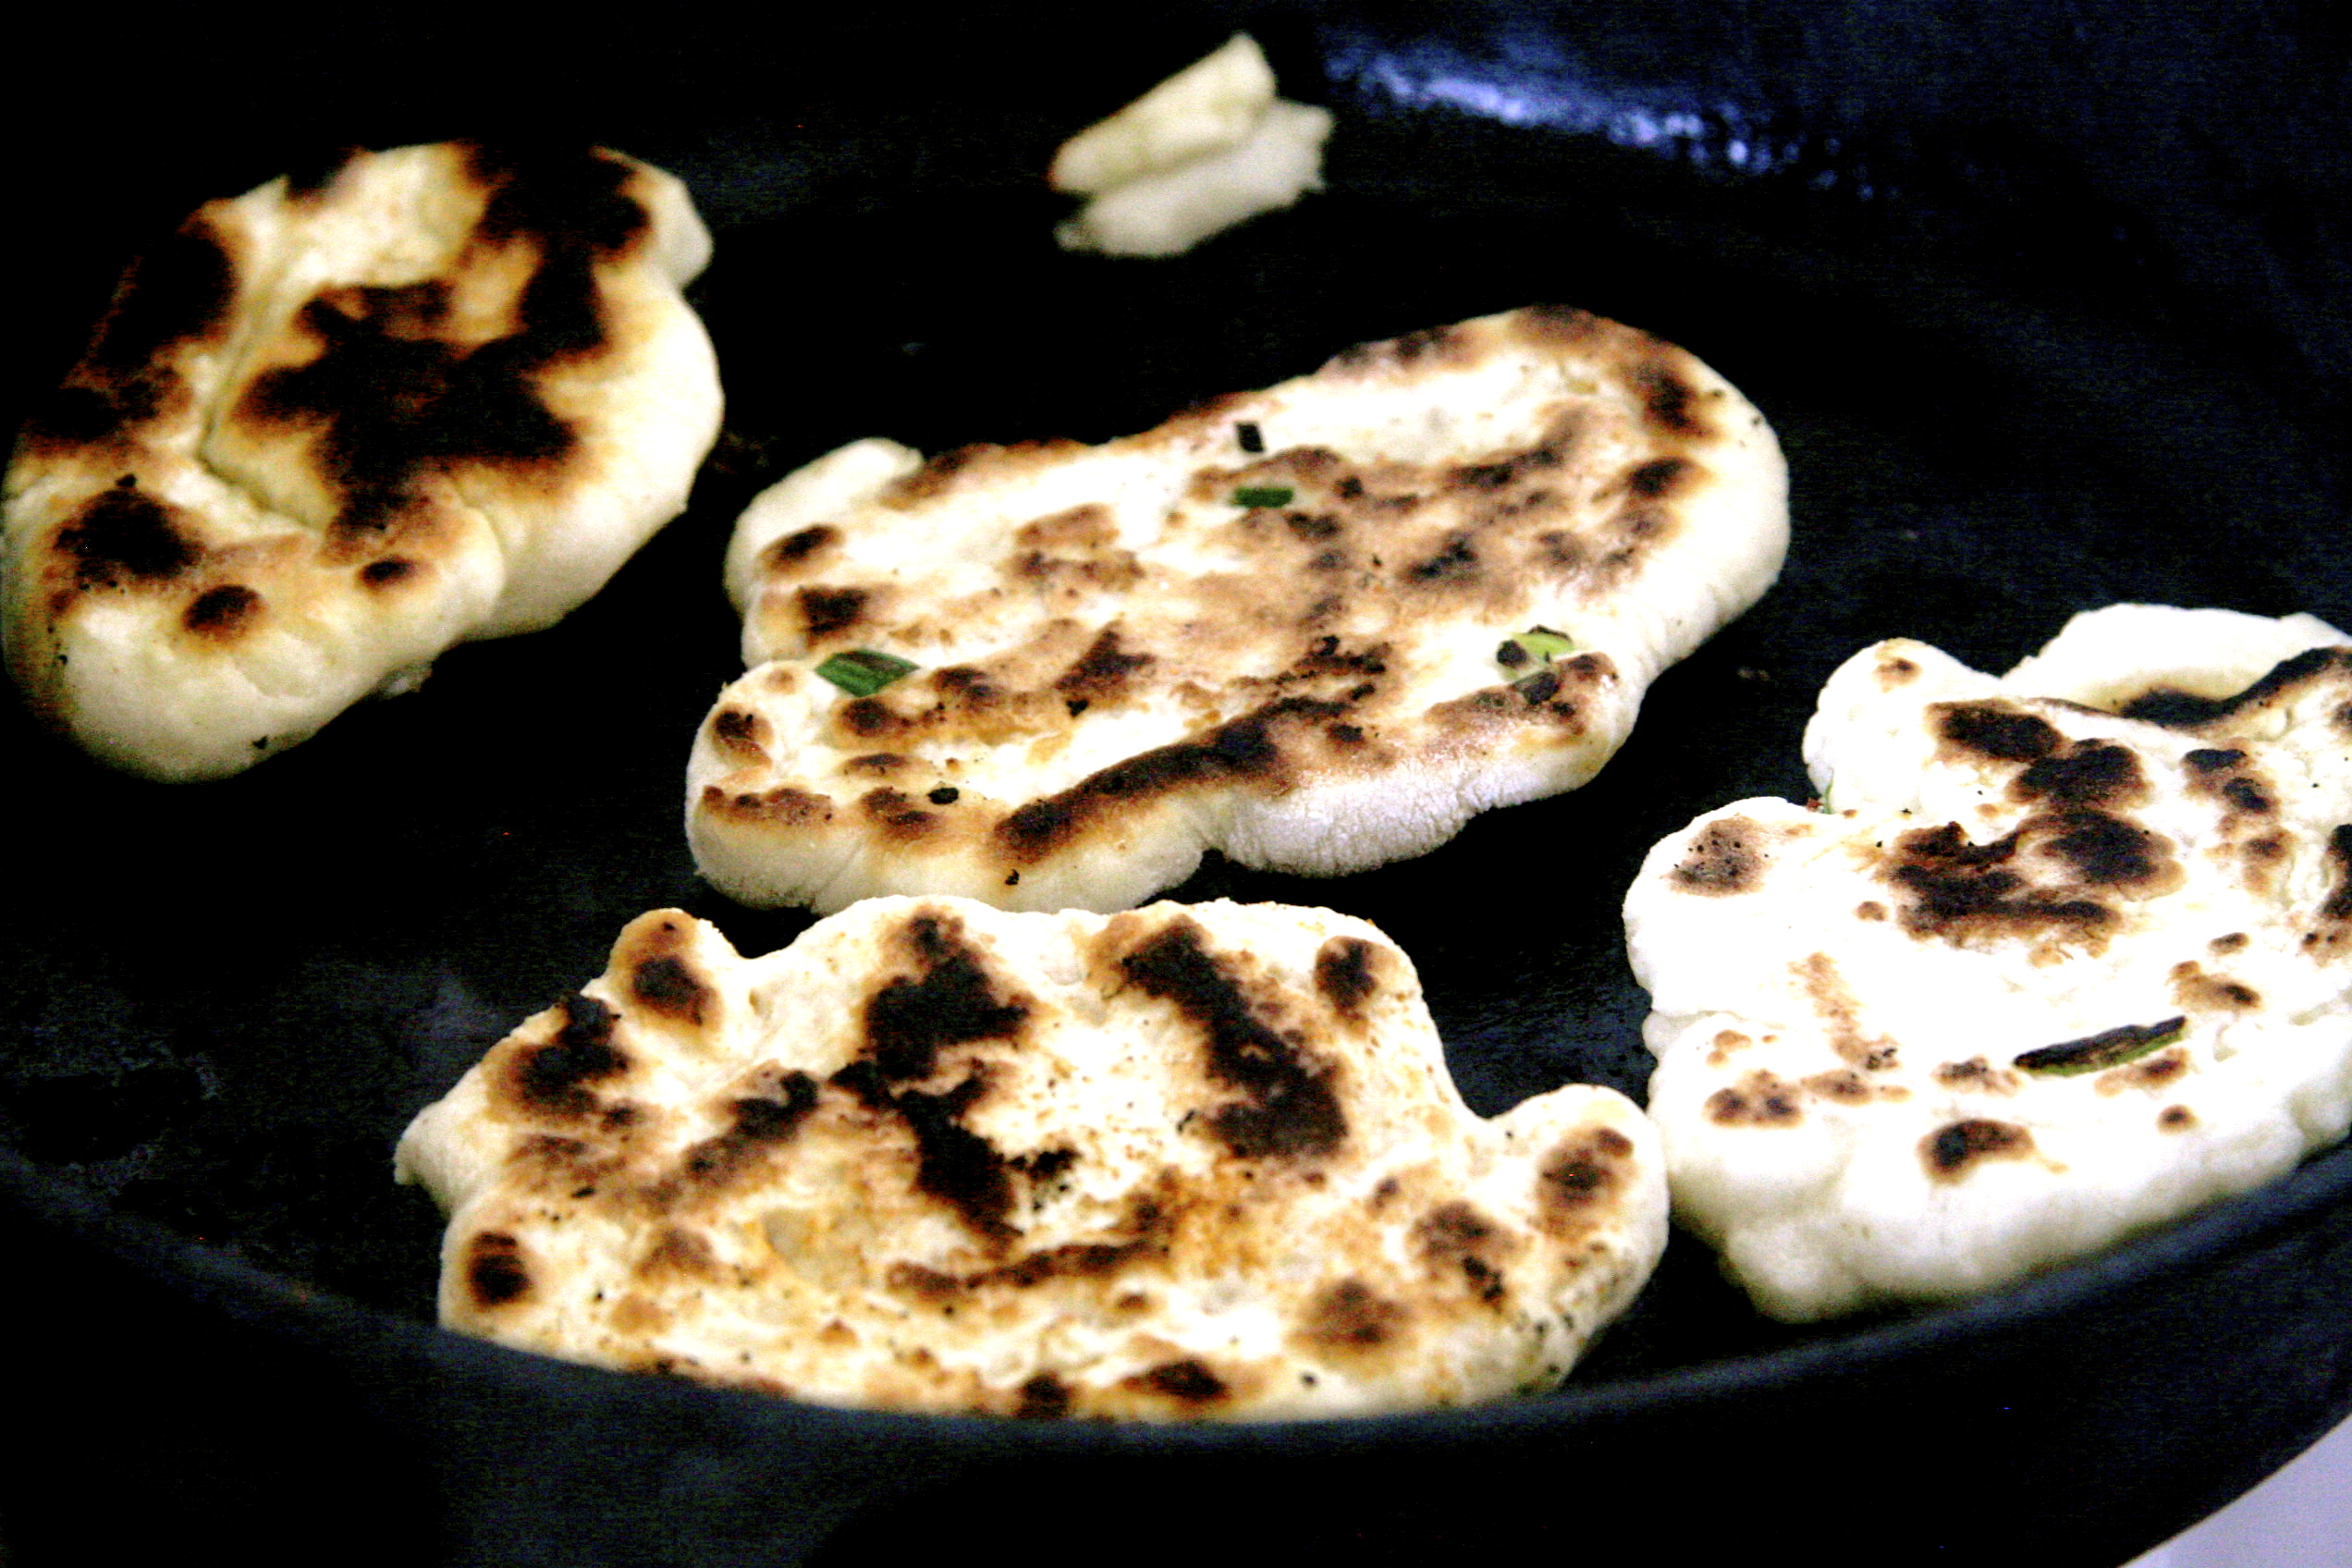
Pop a top on the pan and let it cook for about 45 seconds to one minute. Check to make sure the bottom is a little burned, you want to have that char, giving it an extra tandoori tickle.
The naan should easily flip over and shouldn’t stick, flip it over to the other side but this time make sure it doesn’t burn too much so only cook it for 30 seconds. Burnt garlic doesn’t taste so great.
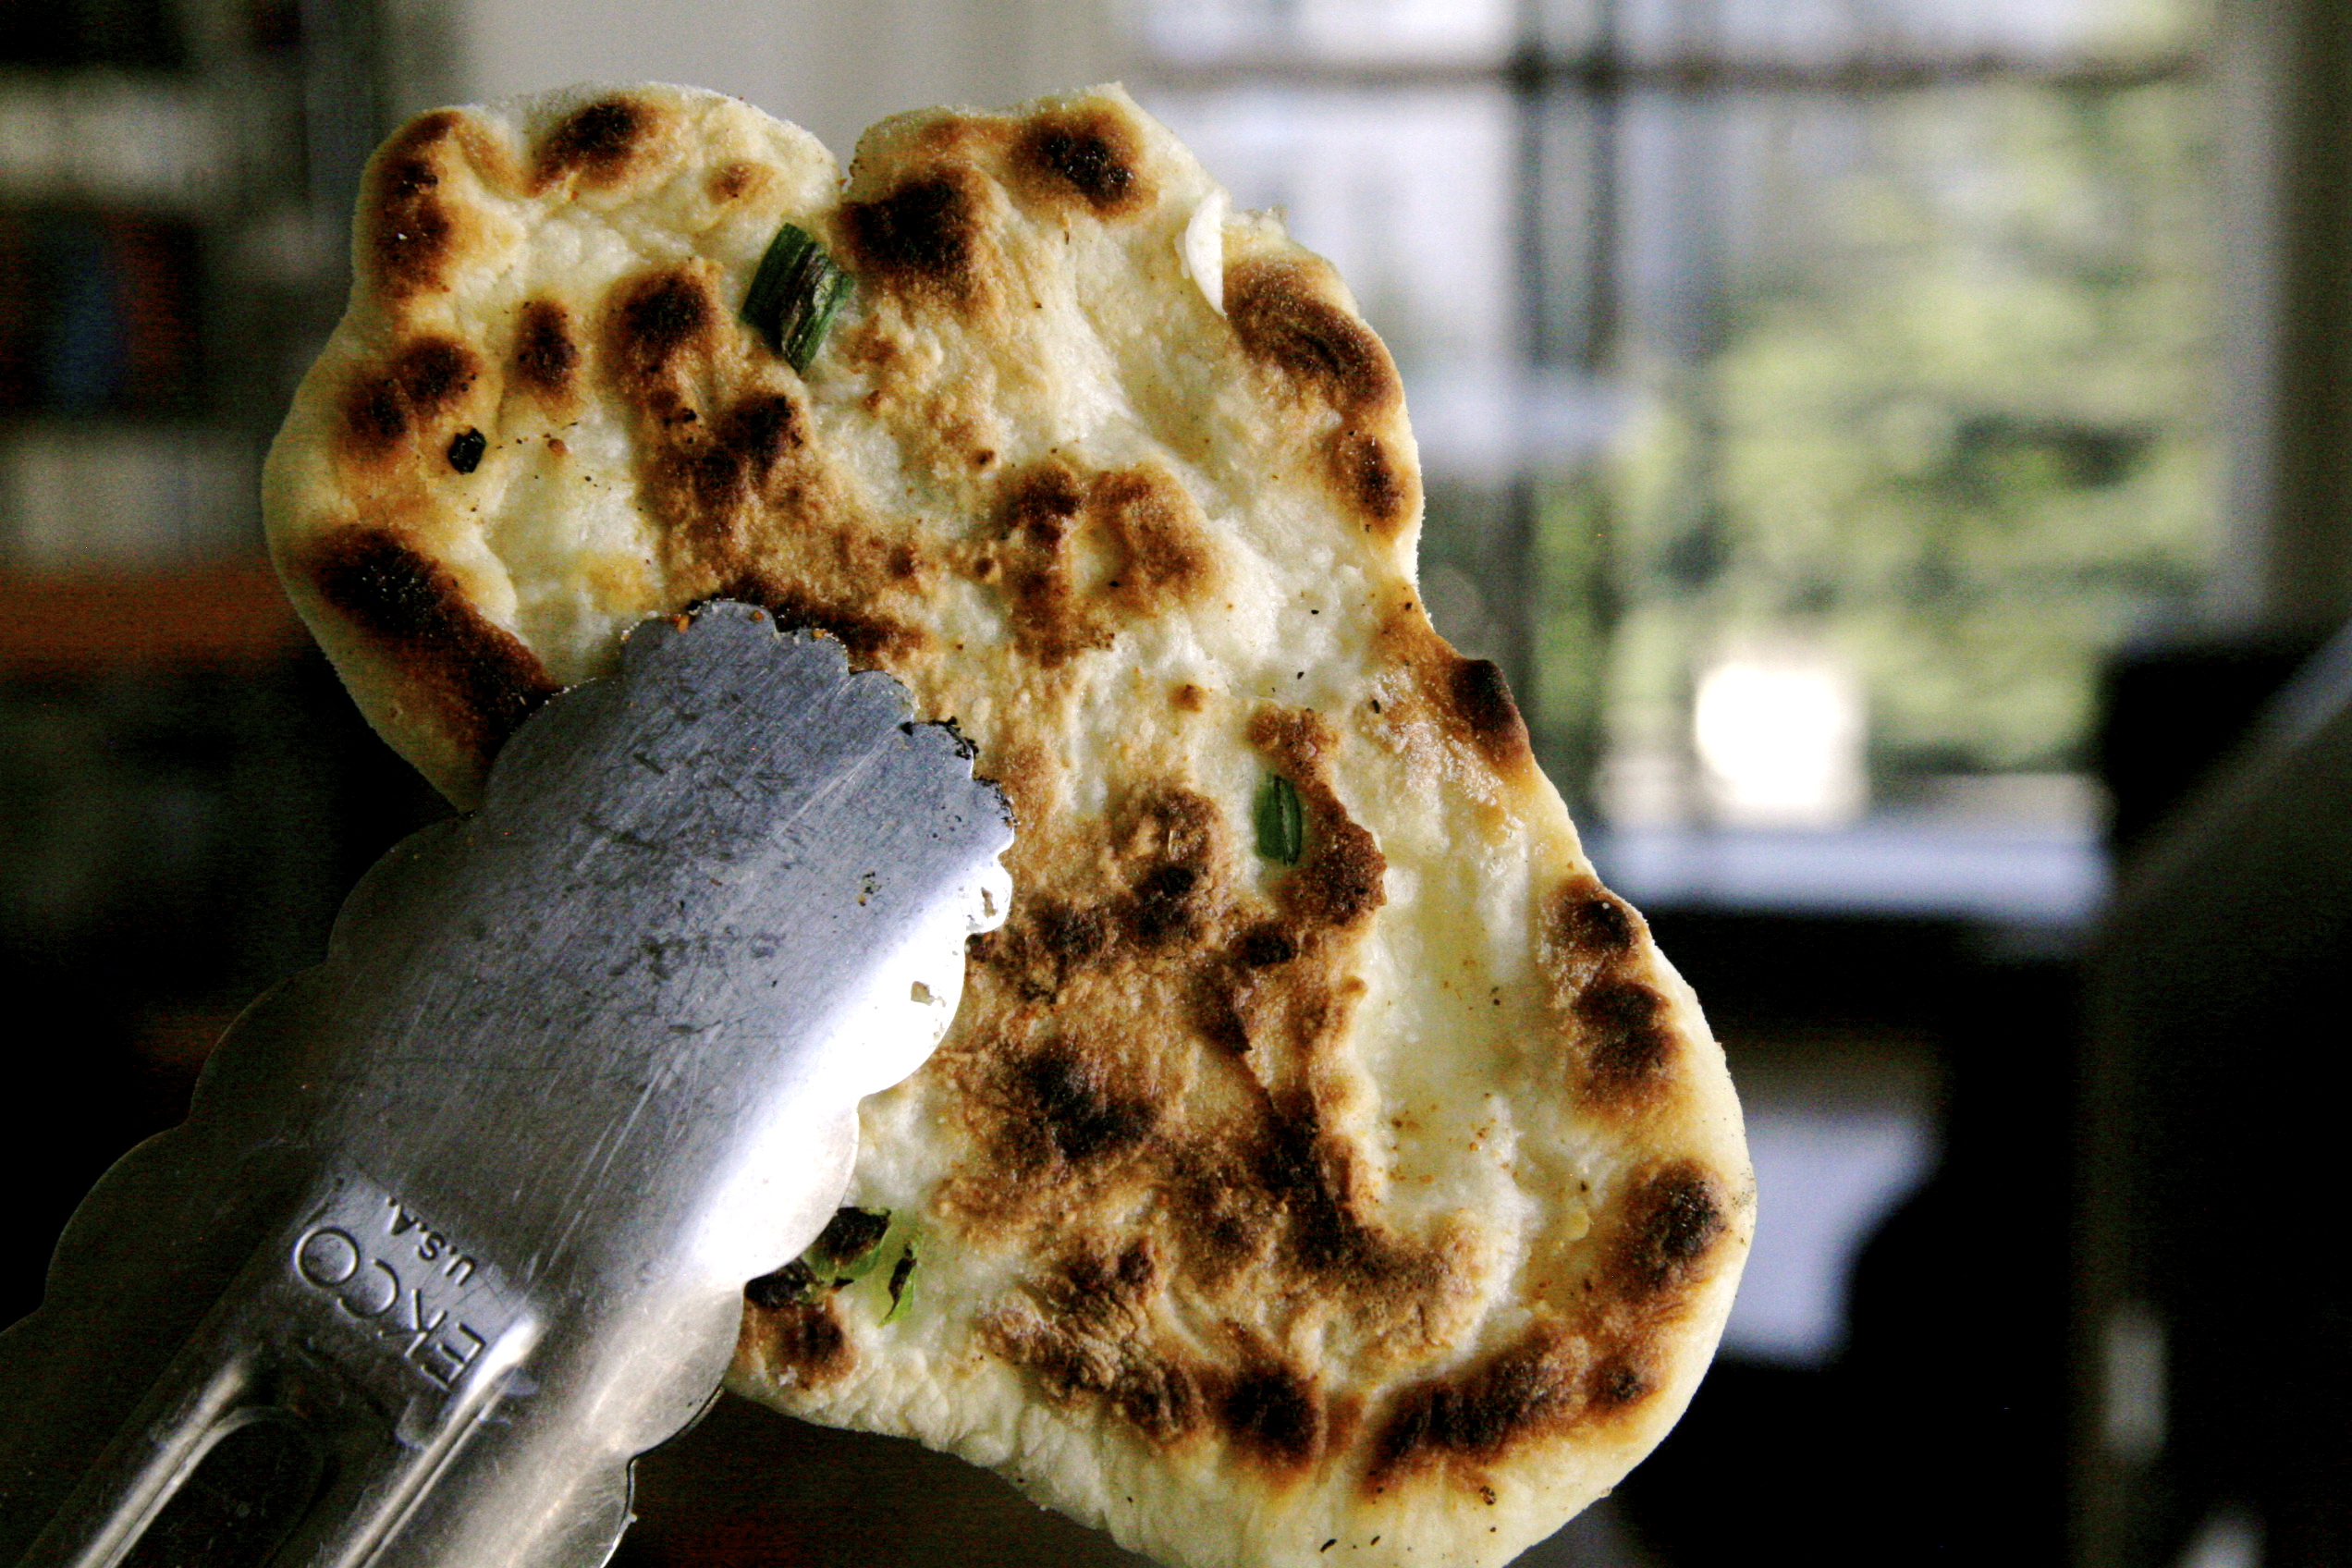
If you want to get a bit more brown color in certain areas, grab some tongs and hold the naan over the open flame – be very careful not to burn your hair or the house. (Mom, don’t worry, I know you are nervous when you hear the word “OPEN FLAME” so you should know I am very careful and only wear very loose floppy sweaters with big flowy sleeves.)
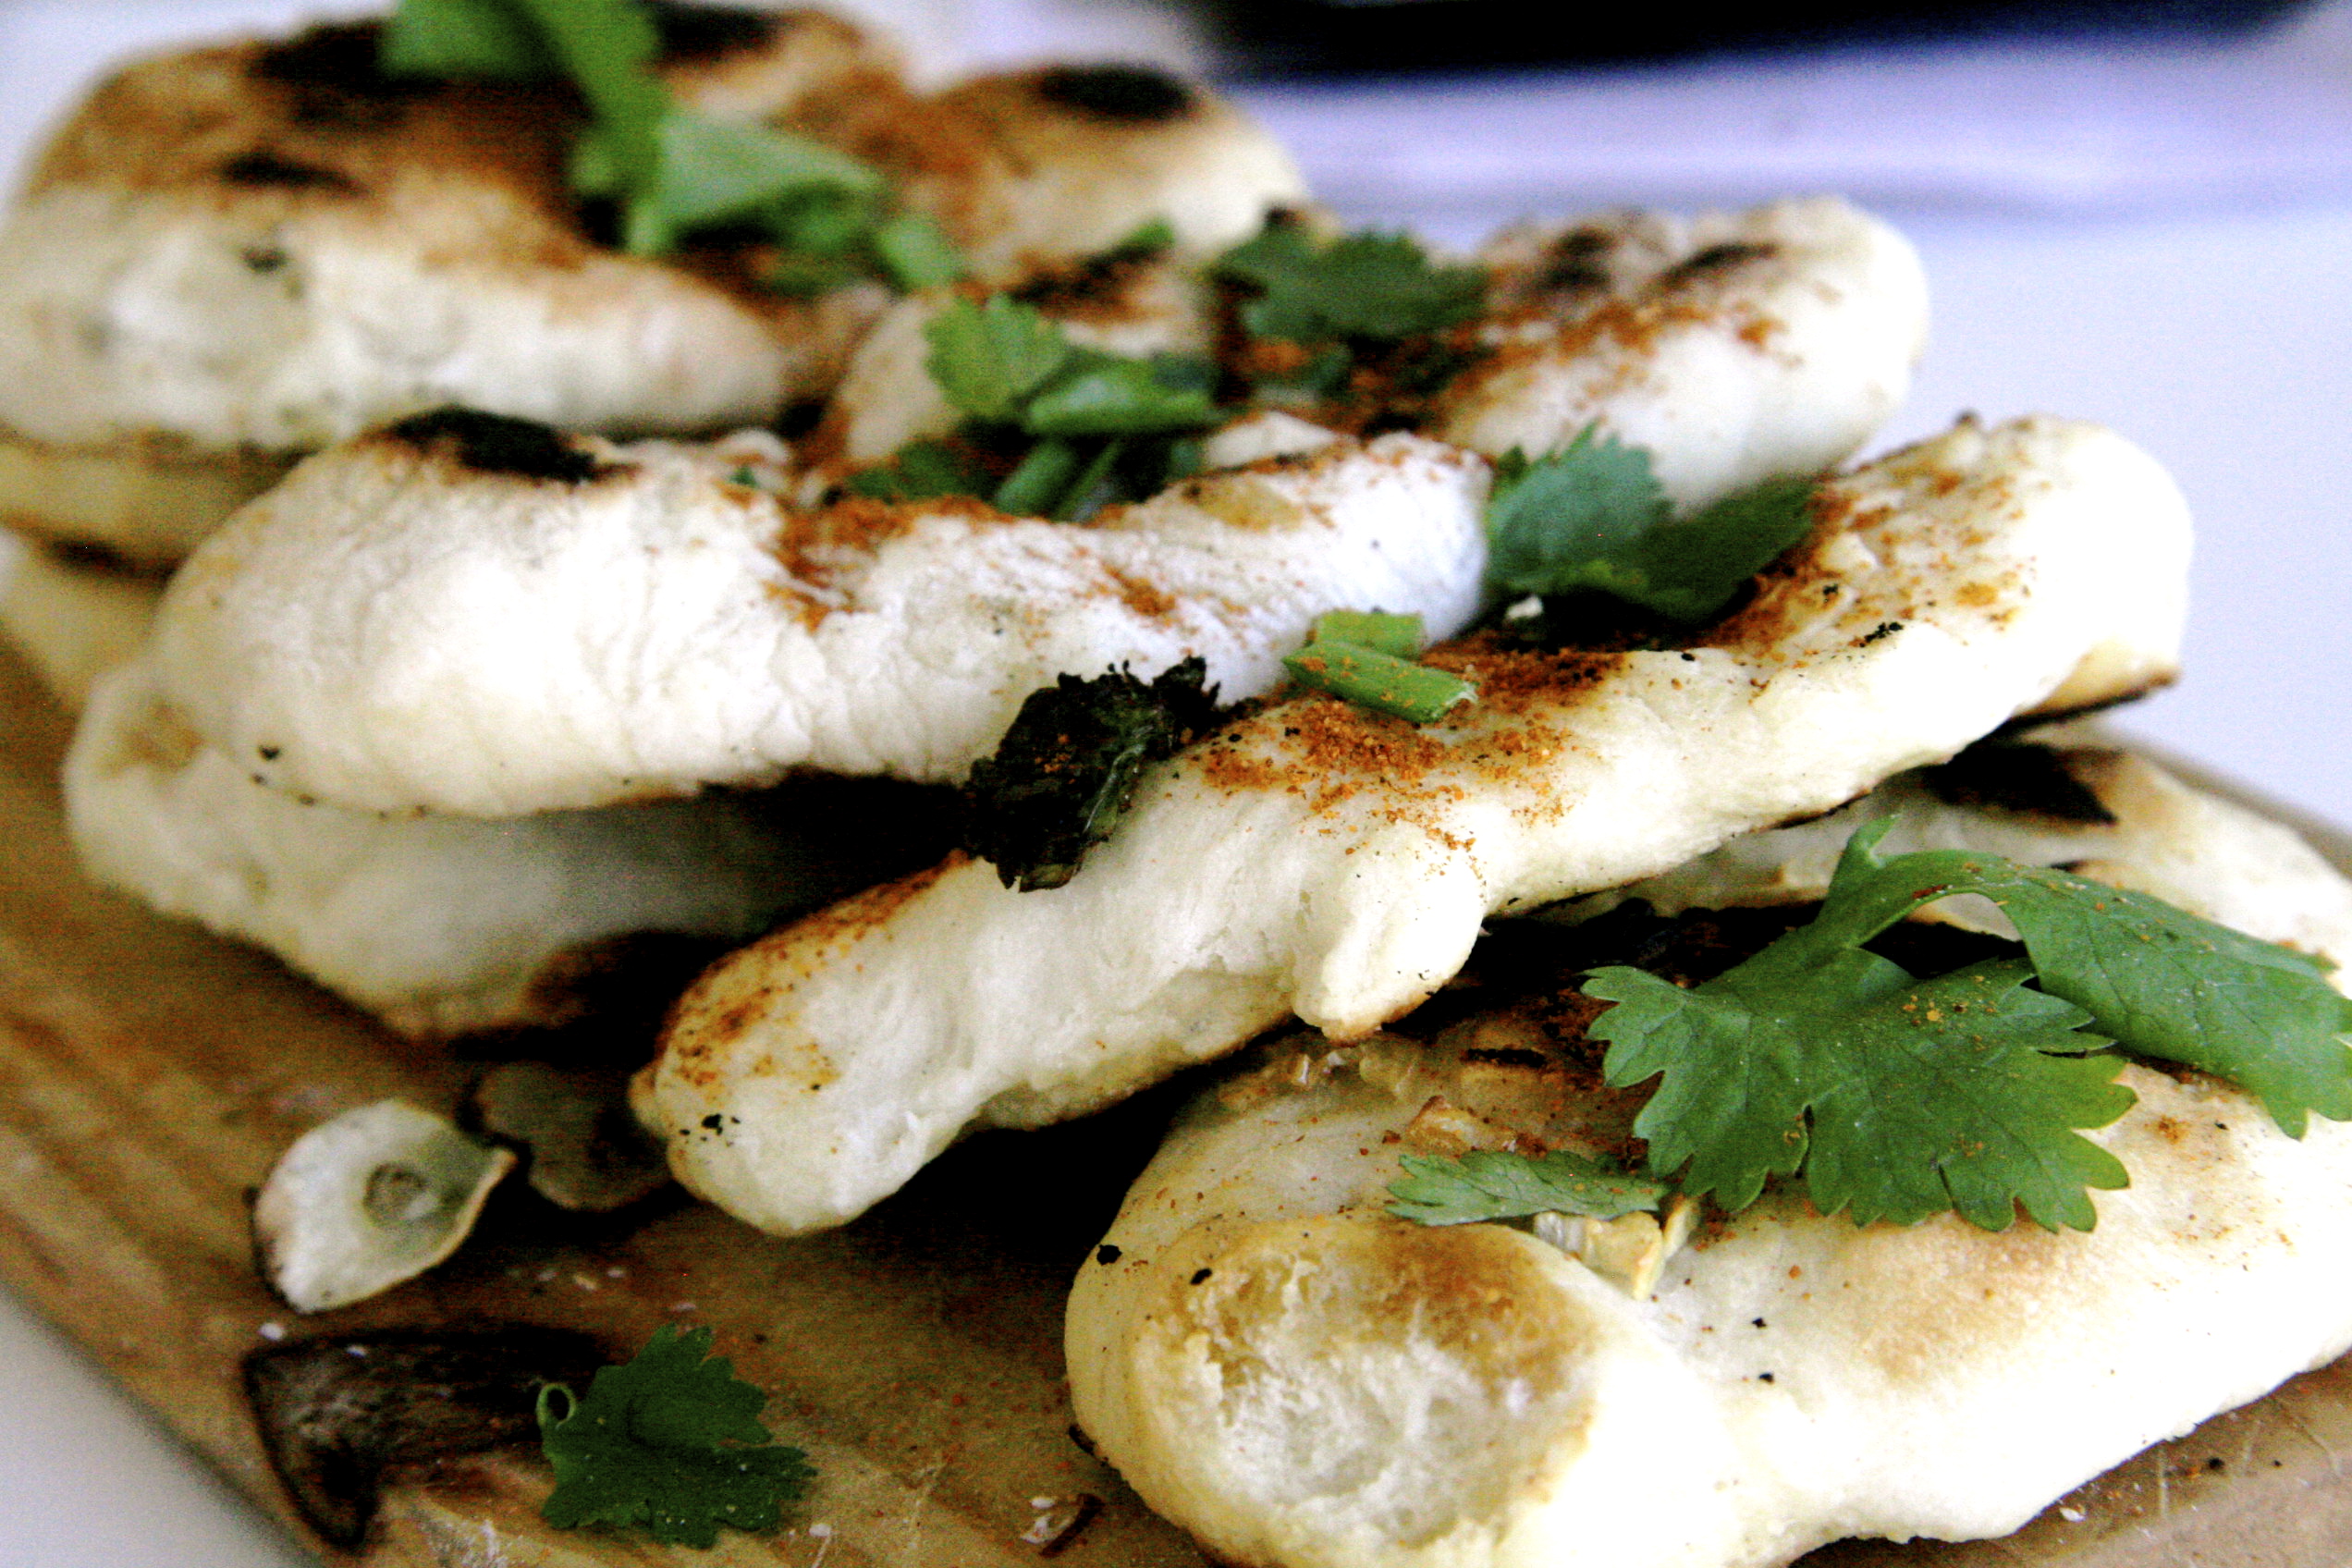
AND you’re done. Top with cilantro if you’re feeling frisky, or maybe some tandoori spice if you are feeling extra spicy. And if you are feeling like a mega fatty like me…
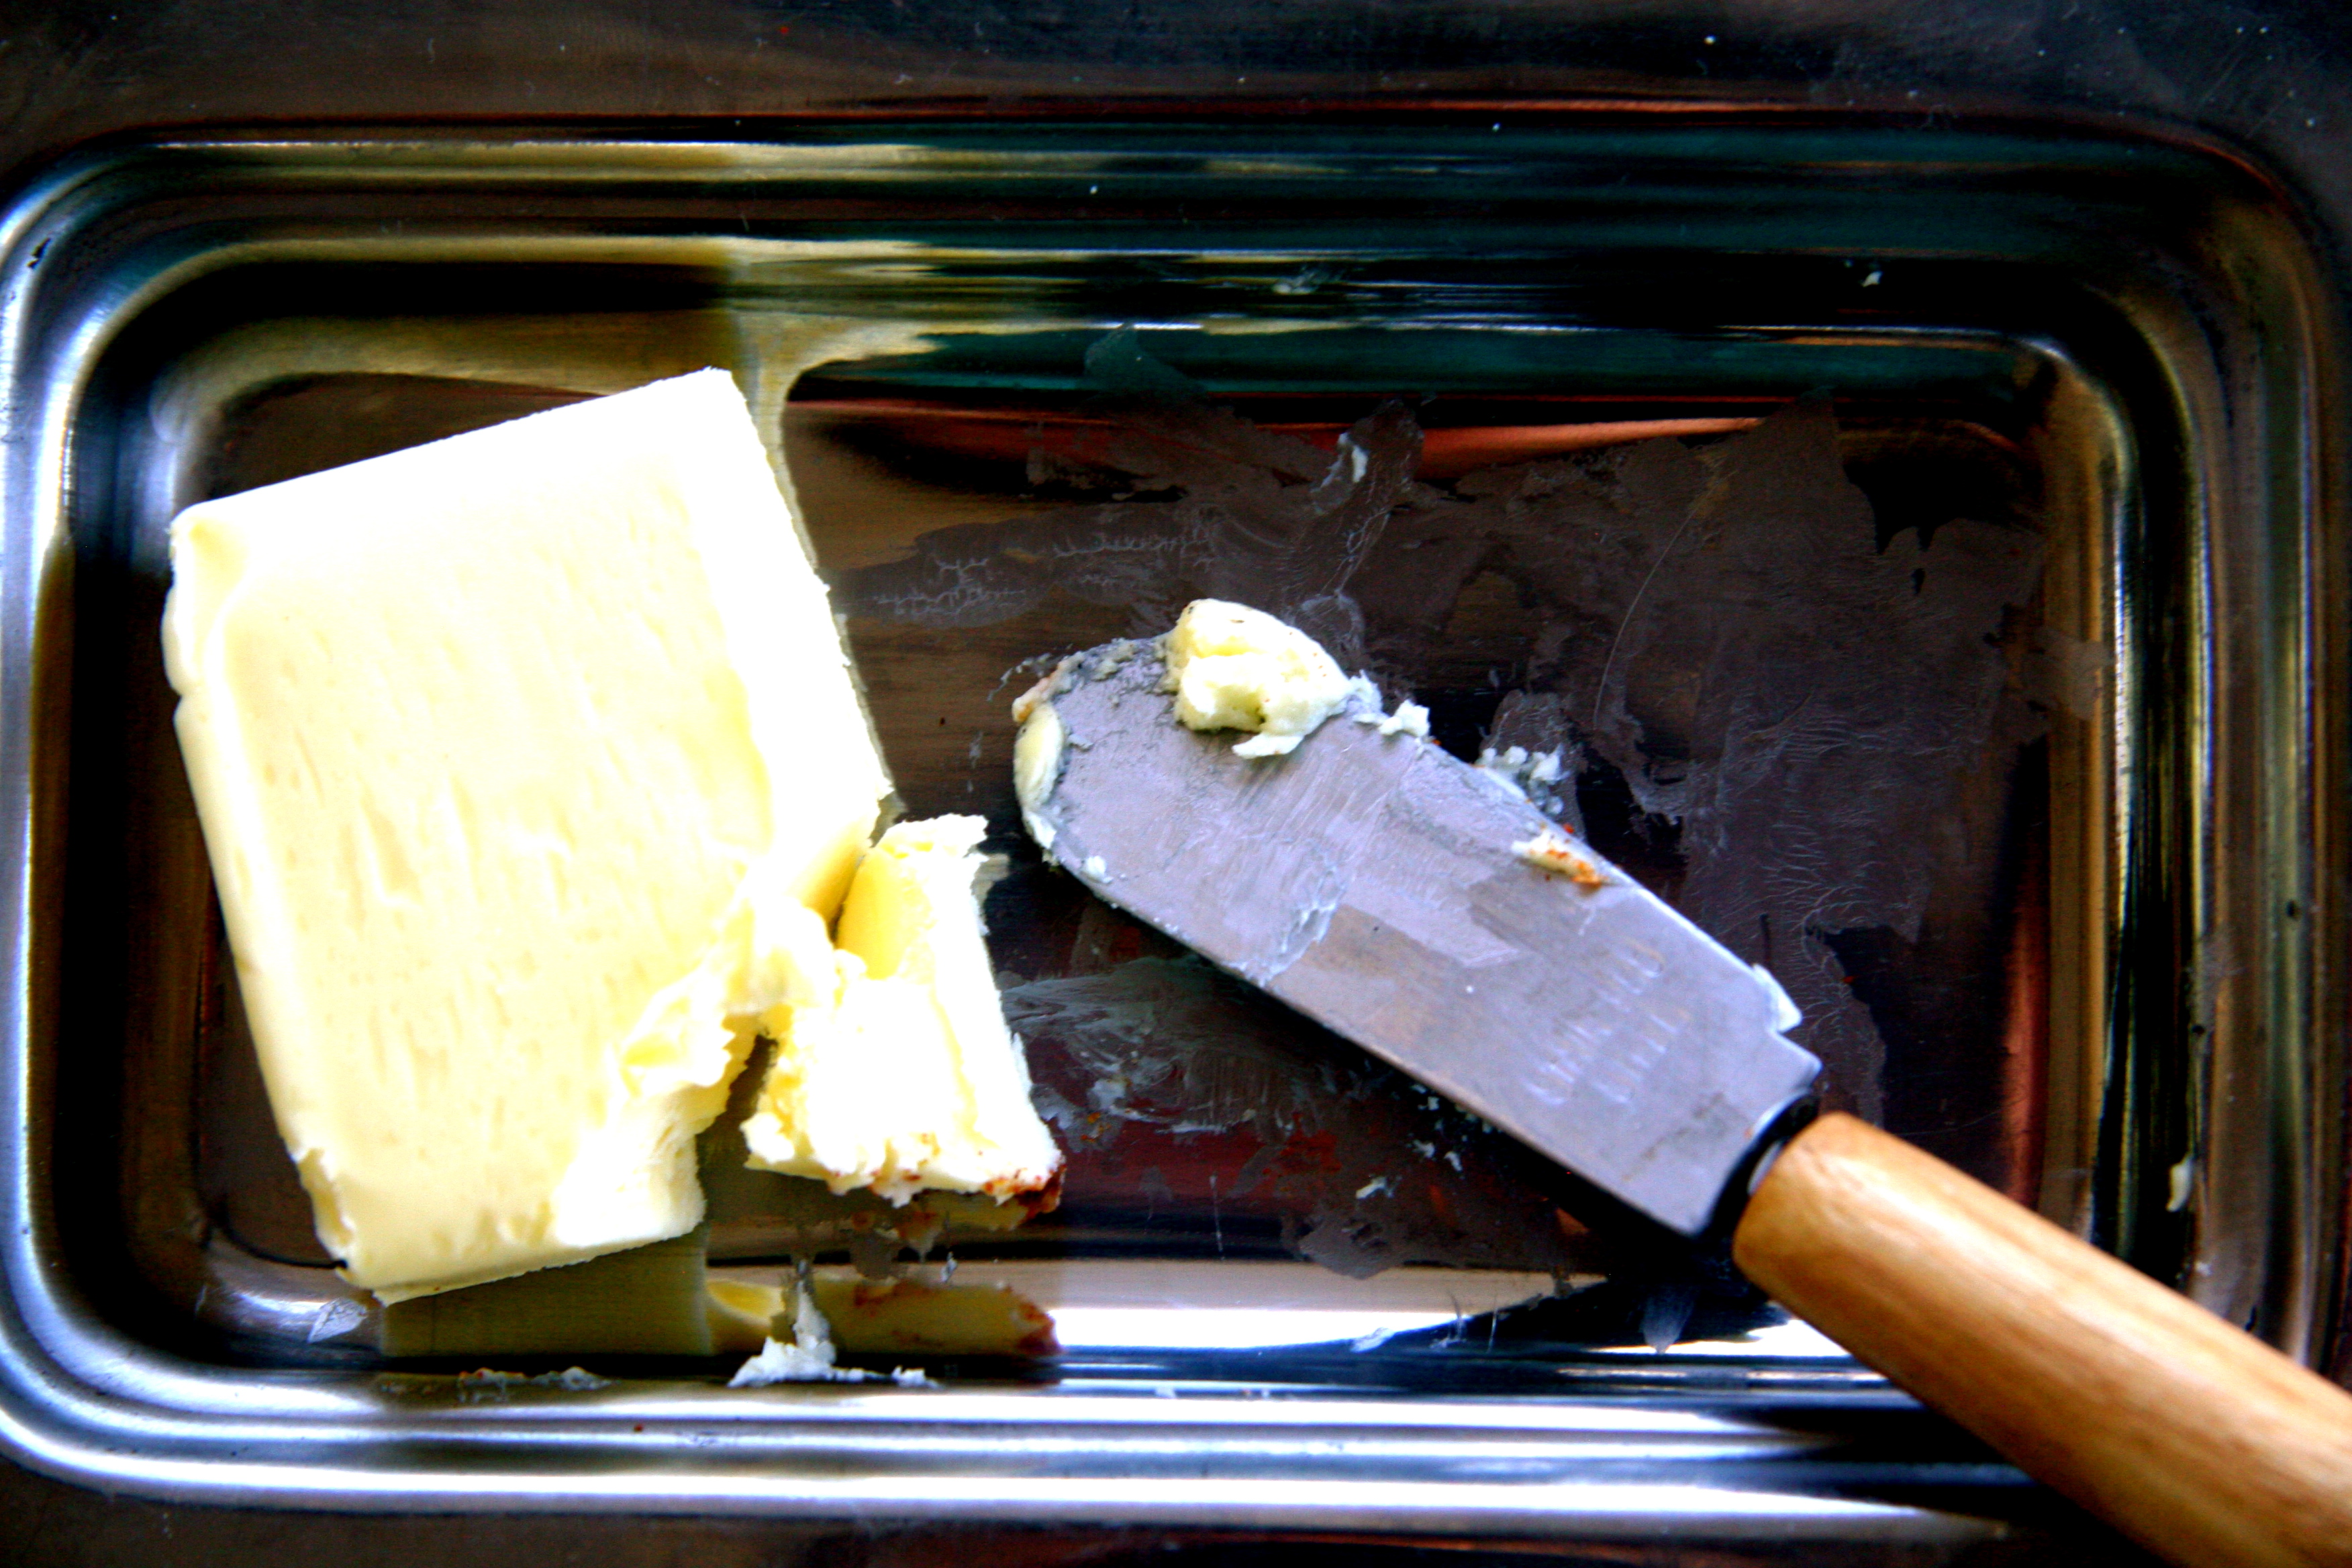
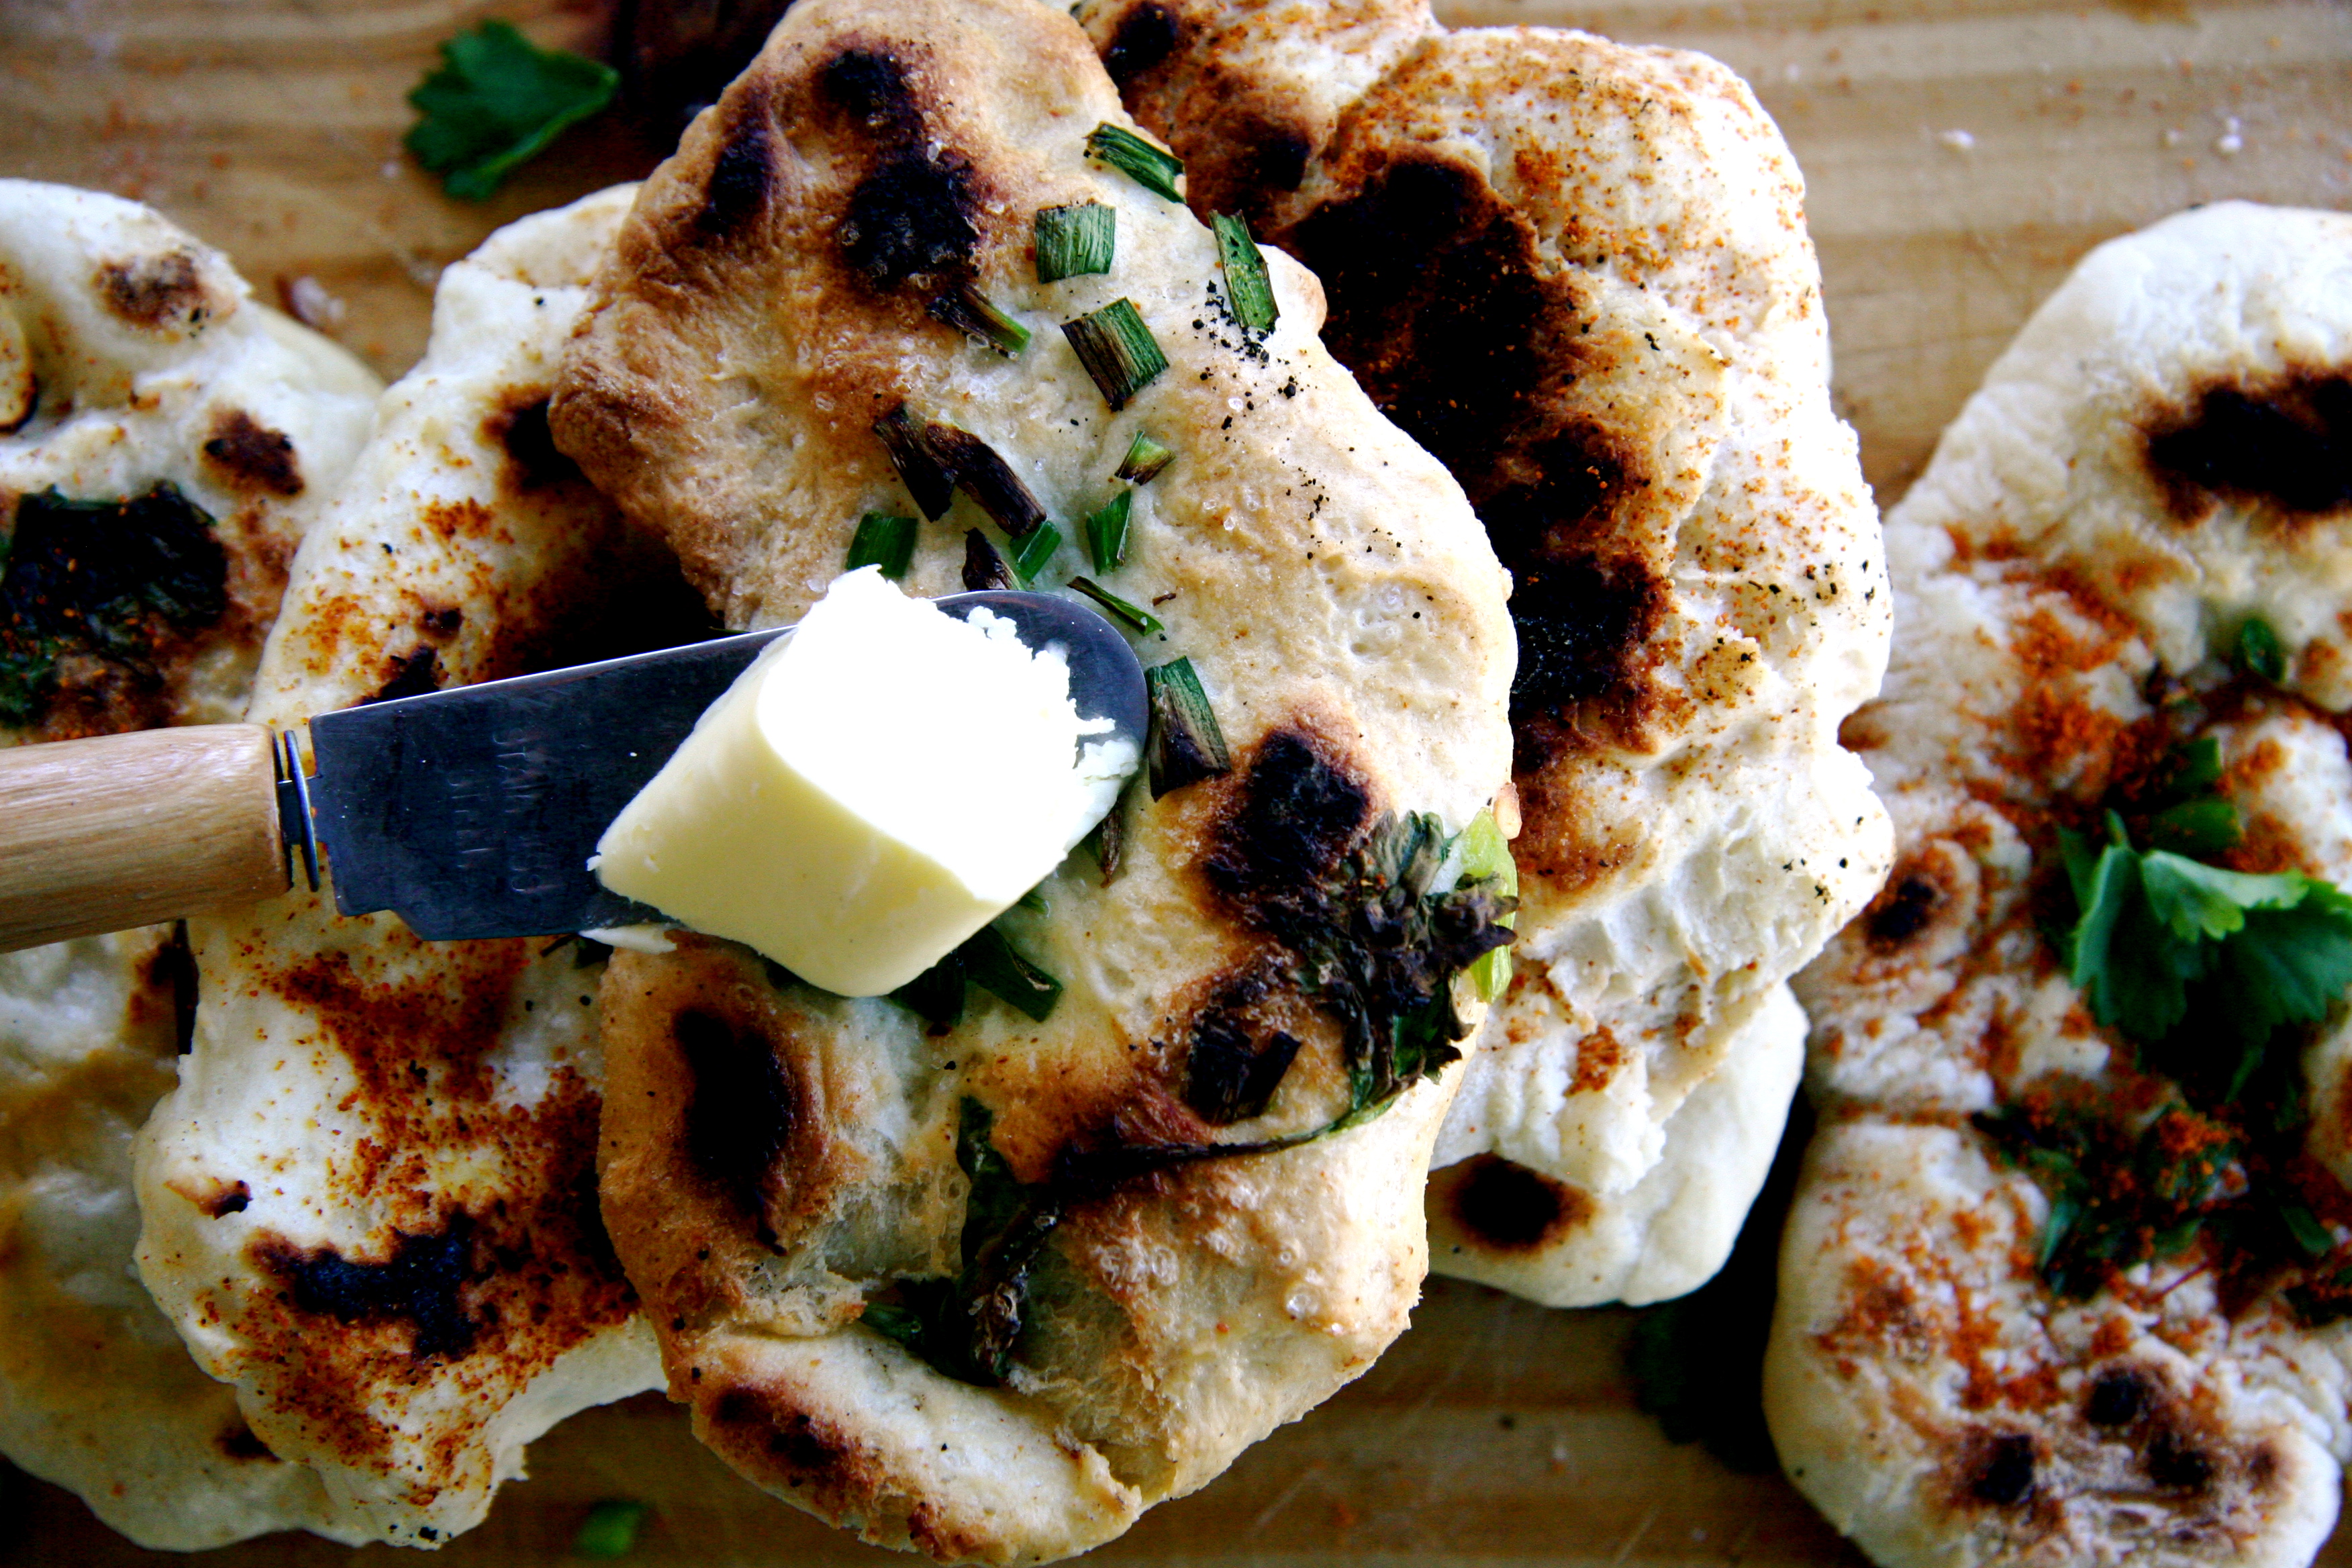
BUTTER THAT BAD BOY UP!
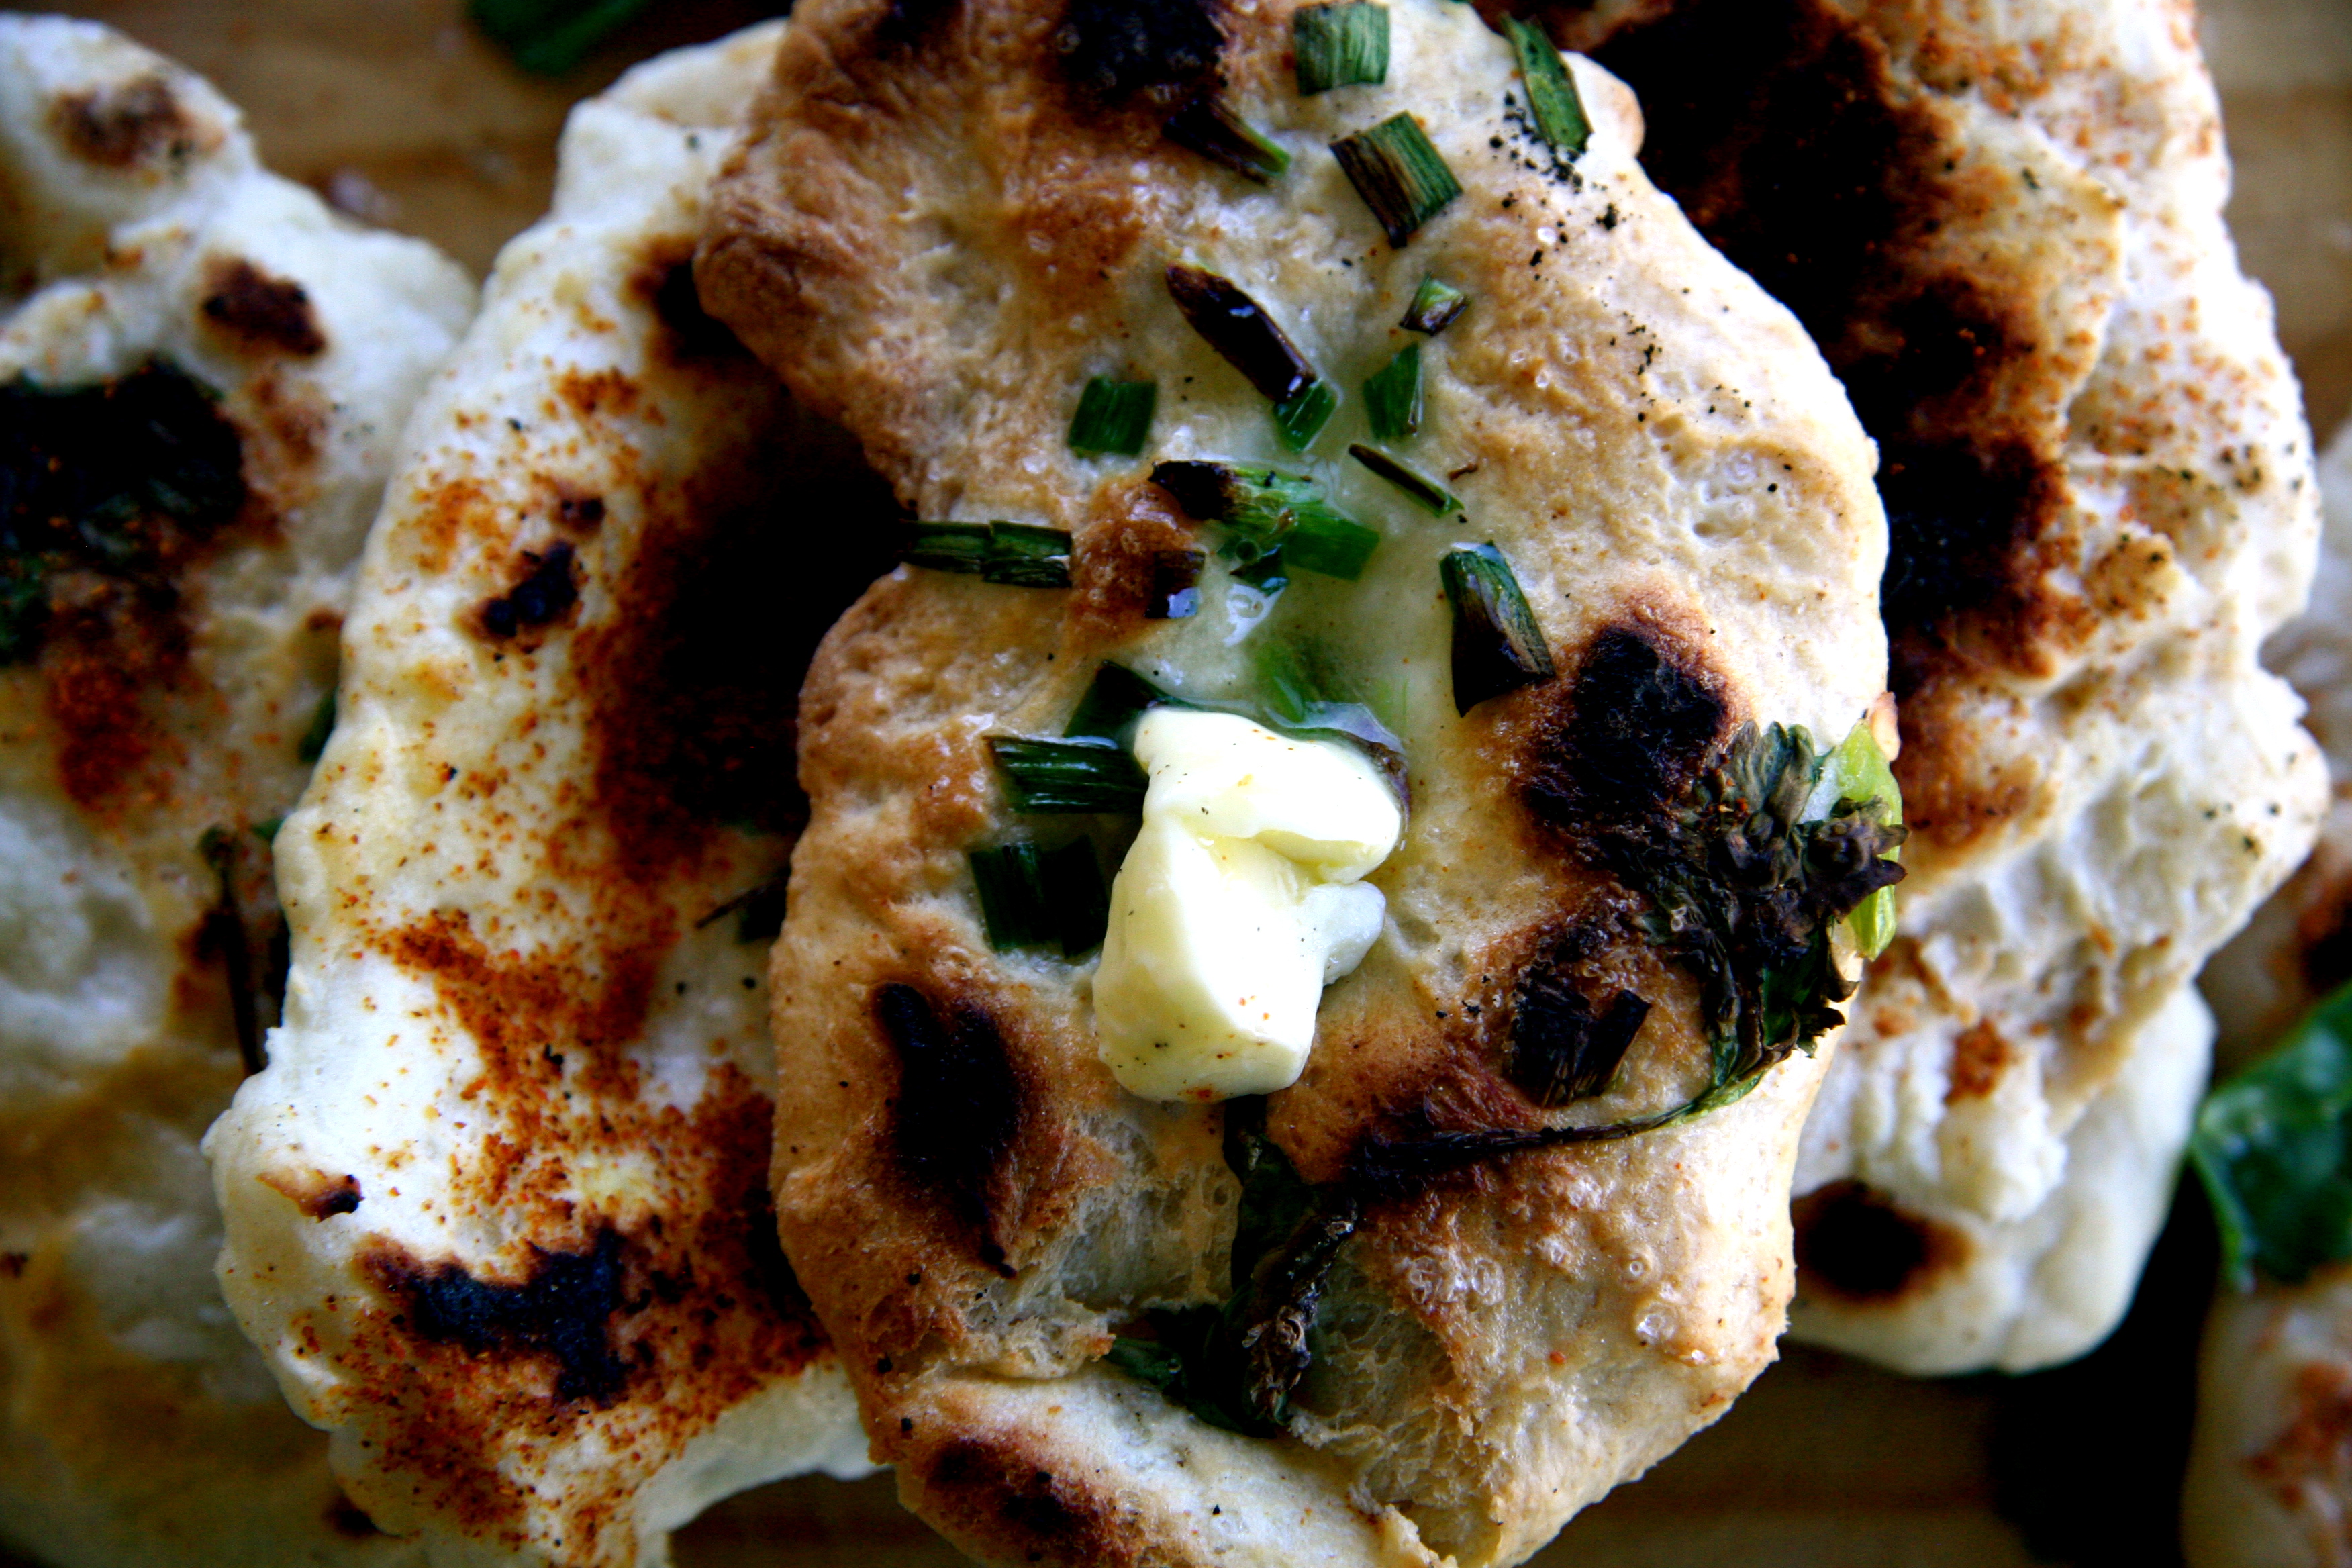
And butter me up some more.
Mmmmm a little more, that’s how I like it.
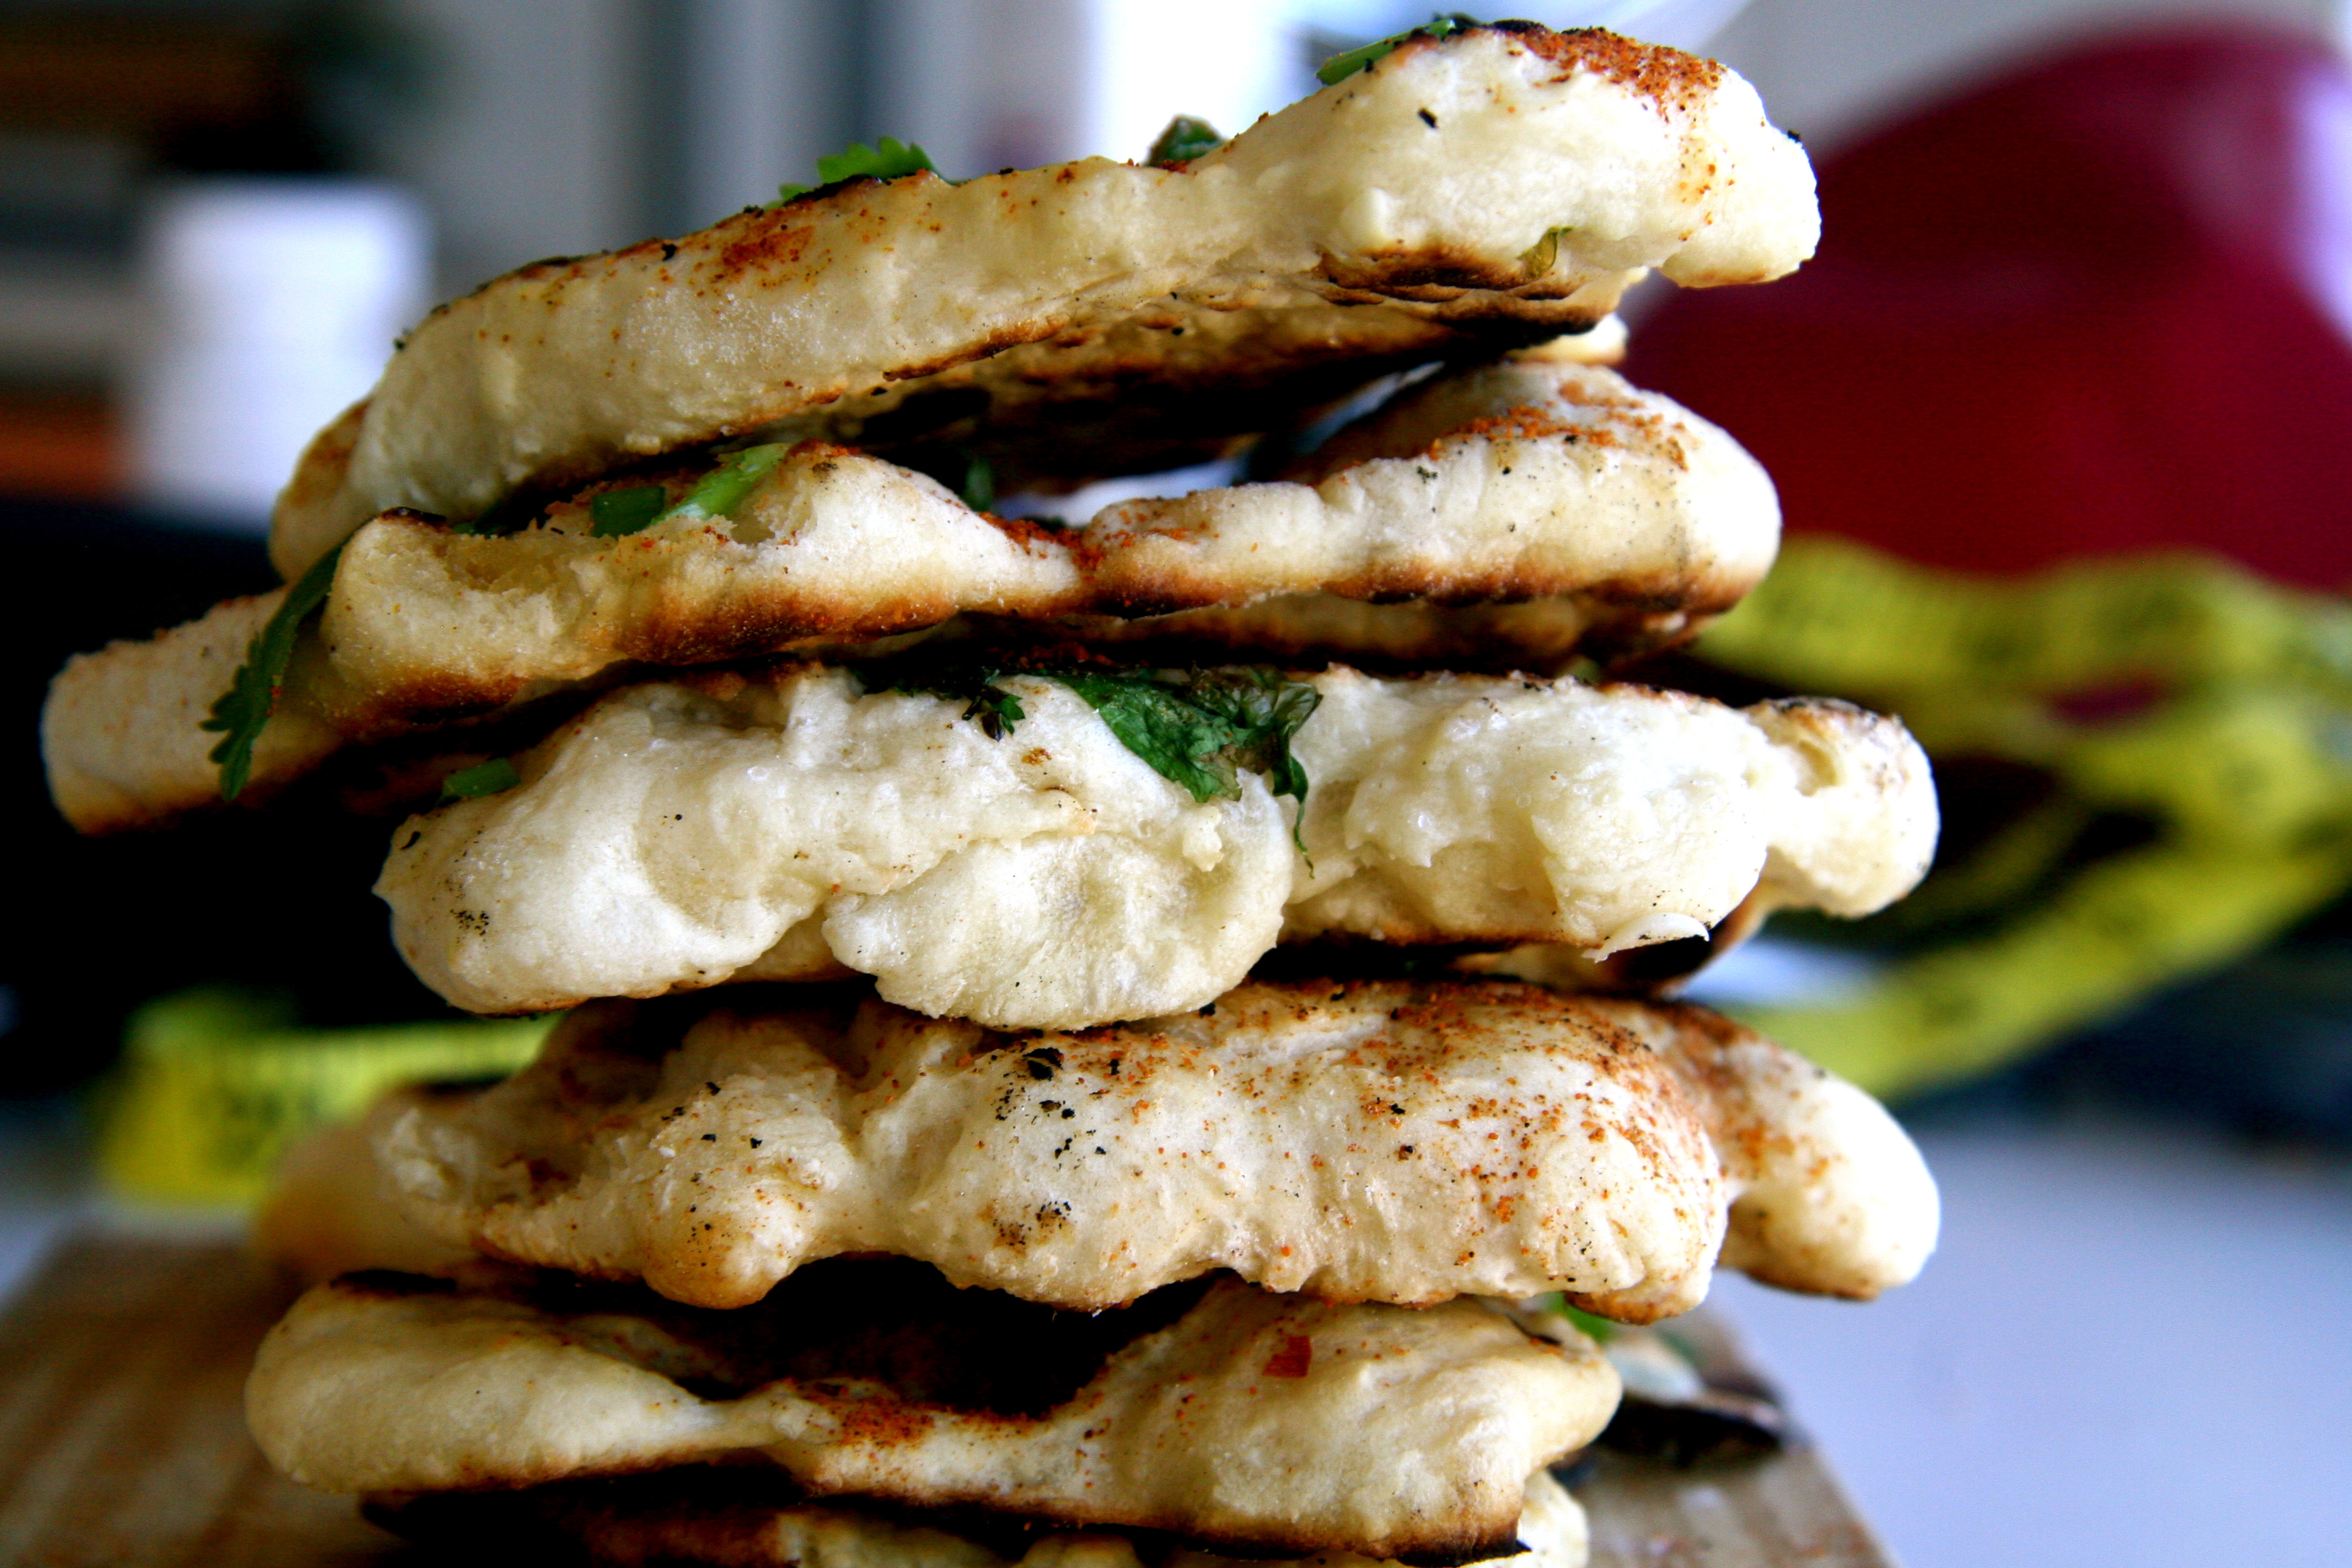
Or stack ’em up and play JENGA!
You can serve alongside a spicy curry. And also great with any sort of mango / tomato / or cherry ginger chutney, or even a cucumber mint raita.
Homemade Naan Bread
Adapted from Indian Simmer on Tasty Kitchen
Ingredients
- 2 cups All Purpose Flour
- ¾ teaspoons Baking Powder
- ½ teaspoons Baking Soda
- ½ teaspoons Sugar
- ¼ teaspoons Salt
- ½ cups Warm Milk
- ½ cups Warm Plain Yogurt
- Optional Toppings: Garlic, Red Pepper Flakes, Ginger, Green Onions, Cilantro, Butter etc.
Directions
1. Mix all the dry ingredients together.
2. Mix milk and yogurt together, warm up if it’s coming directly from the fridge. Pour half the wet mixture into the dry bowl and slowly combine it together with a spoon.
*Note from the original recipe: “I don’t think there’s an exact amount of liquid that should be added to the exact amount of flour to make a perfect dough. So what I do is continue adding liquid slowly and combining it all together slowly until a soft dough is made. The dough should be soft enough for you to be able to dig your finger into it without applying any pressure. If dough sticks to your hand too much, then use little bit of oil on your hands and then punch into the dough.”
3. Cover with a damp cloth and let it sit in a warm place for at least 2 hours.
4. After two hours, flour work space and knead dough for about 2-3 minutes. Divide the dough into smaller balls – depending how big you want your naans. (I know you like your ballz big, but if you wanna play with mini ones, make them cute and small).
5. Roll out the balls so the dough is long and oval shaped.
6. Brush one side with water.
7. Sprinkle the other side with toppings (optional).
8. Heat a cast iron, grill pan, wok, or any thick bottomed skillet. Once it’s very hot, place naan wet side down (it will stick) and cover with a lid.
9. Let it cook for about a minute, or until you see bubbles form. Now flip over for about 30 seconds. You can also hold it directly over the burner with tongs. Once it’s charred in some spots, it’s done.
10. Let cool, smother with butter, and fly high while with pride for making these delicious fluffy, chewy lil’ mothers.
[youtube http://www.youtube.com/watch?v=yY-3hlxn2oU&w=420&h=315]

sammy says
i dont own a griddle pan, is there any other way i can cook this? x
Nati says
is it ok if i add salt to the dough before cooking them? i was planning on making them plain and the topping them up once served on the table (i have guests coming over)
forkyou says
Yes, definitely add salt. I used 1/4 teaspoon in the dough and it could have used more salt.
mechelle says
hi! can i use yeast instead of baking soda? thanks!
forkyou says
I wouldn’t, yeast would make it rise too much.
rosewithoutthorns says
Wow! Thanks for sharing this recipe! You make it look so easy ;) I adore Indian food – particularly the restaurant Mumbai in Palermo (Honduras & Bonpland). But now I make just be able to take my naan home!!
besos,
felicia
http://dishbydish.net
forkyou says
That’s because it IS that easy!
Lisa Cranston says
OMG – My mouth is watering just reading the recipe. I can’t wait to make these.
forkyou says
Please do and let me know how it turns out!
MissJ says
Last time I made naan it was like cardboard, this time…well lets just say I need to do a 10k run tomorrow to relive my guilt – divinooooooo
forkyou says
Jajaja if that’s the case, I should be running a 10k everyday. But I have very little guilt so I probably won’t. Glad you liked it and the recipe worked out!
Goose says
Just made them. I cooked them in an Essen pan, and painted them with melted butter+garlic when done. Perfect!
forkyou says
oooo I want to paint everything with butter and garlic.
Alvaro says
I cooked this today! they came out delicious. Even better with some home-made eggplant pure!
Just one quick thing, is it normal for this bread to be non-salty?
forkyou says
Eggplant puré, so inventive – sounds delicious! Yes, the bread definitely lacks salt, the first time I ate it with insanely spicy curry so I didn’t notice, but the second time I had to sprinkle some salt on top at the end.
Murphy says
I am making this now but with no cast iron pan. Hopefully they will turn out just fine. I am more hungry than picky.
Murphy says
Sooo good and sooo easy! Tandoor can suck it!
forkyou says
YESSSSSSSS! And it worked fine with no cast iron? Watch out, they are more addictive than paco.
Débora C. de D'Eramo says
Looks good! A question: where did you get the cast iron pan?
forkyou says
Avenida Jujuy! http://www.nolachef.wordpress.com/2011/12/21/the-mother-of-all-pans-cast-iron/
TL says
Yum.
Gastronomique Comunicación y Prensa Gastronómica says
Que genia! lo voy a probar